
Installing Virtio Driver
Install a virtio driver on Linux system
CentOS 6/7 system
1[root@localhost ~]# cp /boot/initramfs-$(uname -r).img  /boot/initramfs-$(uname -r).img.bak     # Back up initramfs (optional step)
2[root@localhost ~]# mkinitrd -f --with=virtio_blk --with=virtio_pci /boot/initramfs-$(uname -r).img $(uname -r)
Ubuntu/Debian system
1[root@localhost ~]# echo -e "virtio_pci\nvirtio_blk" >> /etc/initramfs-tools/modules
2[root@localhost ~]# update-initramfs  -u
Install a VirtIO driver on Windows system
Download virtio-win-0.1.171.zip to your Windows instance, unzip it and open the folder, and then you can see the folders corresponding to different versions of the Windows OS. Each folder contains an amd64 subfolder, corresponding to a 64-bit OS.
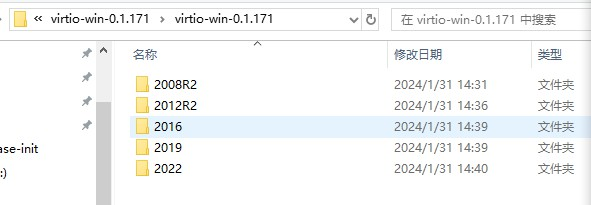
Select the appropriate folder based on the OS version of the source server. For example, if the source server's OS is Windows Server 2019 64-bit, the folder path would be C:est\virtio-win-0.1.171\virtio-win-0.1.171\2019\amd64.
- The source system is Windows Server 2012 R2, 2016, 2019 and 2022:
Open the command prompt, navigate to the directory, and run the command pnputil -i -a *.inf. If you're logged in as a standard user, you must run this command with administrator privileges. If you're an administrator, you can run this command directly.
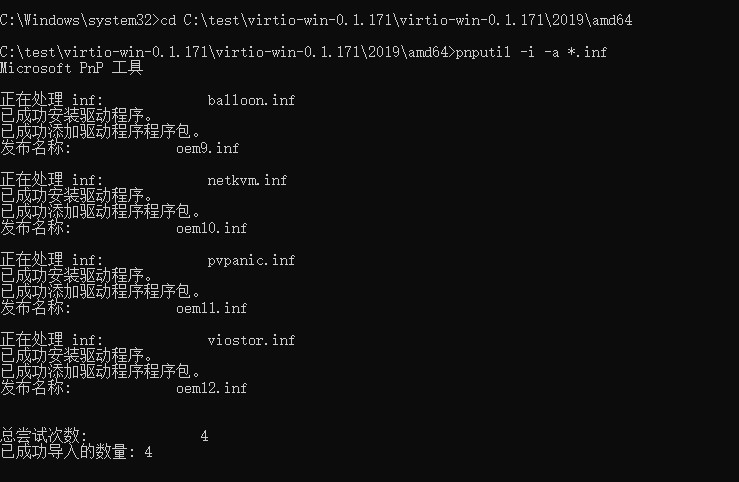
Restart the server for the virtio driver to take effect.
- When the source system is Windows Server 2008 R2, abnormal instance startup may be caused by installing the virtio driver according to Method 1). You can use offline installation of the driver. For specific steps, please refer to the Windows Server 2008 R2 in Install a VirtIO Driver.
Install a MLNX_WinOF2 network interface card driver on Windows system (optional)
For Windows Server 2016, 2019, and 2022, it is recommended to install the MLNX_WinOF2 network interface card driver. For certain instances (such as bcc.ga2, bcc.ica2, bcc.ca2, bcc.ma2, and bcc.la2), installing the network interface card driver enables the recognition of network devices.
Download MLNX_WinOF2.zip to your Windows instance, unzip it and open the folder, and then you can see the folders corresponding to different versions of the Windows OS.
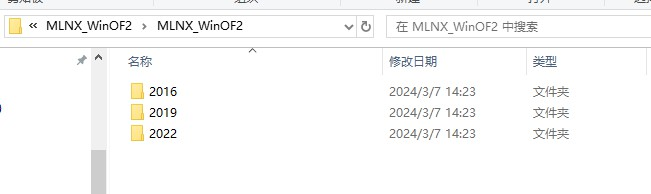
Choose the appropriate folder based on the OS version of the source server. Double-click the exe program to install it using the default settings.