Install GNOME GUI on CentOS 7_2 and Connect via VNC Viewer
This tutorial explains how to install a graphical interface in the Baidu AI Cloud Public Image CentOS 7.2 environment and connect locally using a VNC client.
Note: A graphical desktop may significantly degrade server performance. Improper installation may cause the OS to fail to boot normally. Before installation, back up Create Manual Snapshot for the BCC instance to enable rollback in case of exceptions.
Step I: [Install the gnome desktop environment on BCC](#Install the gnome desktop environment on BCC).
Step I: [Install VNC Server to realize local remote graphical access](#Install VNC-Server for Local Remote Graphical Access).
Step III: [Connect to the instance using the viewer client software](#Connect to the instance using the viewer client software).
Prerequisites
- Ensure that security groups and firewalls permit Port 5901 (vncserver port).
- Download VNC Viewer client connection software.
Install the gnome desktop environment on BCC
- Begin by remotely connecting to and signing in to the server.
- Execute the command:
yum groups install "X Window System" "GNOME Desktop" -y
Please be patient—installing the X Window System environment and GNOME desktop can take a significant amount of time.

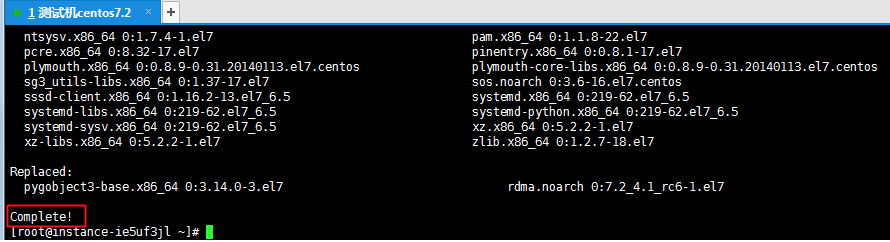
- Execute and wait for the installation to complete. The following interface indicates that the installation is completed:
-
Execute the command
systemctl set-default graphical.targetto enter the graphical interface by default. The default boot mode can be modified later as needed:systemctl set-default multi-user.target //Set to command mode
Plain Text1systemctl set-default graphical.target //Set to graphics mode

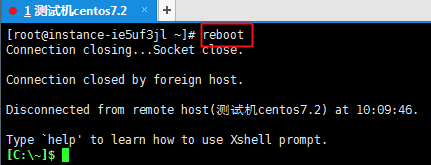
- Execute the command:
rebootto reboot the server
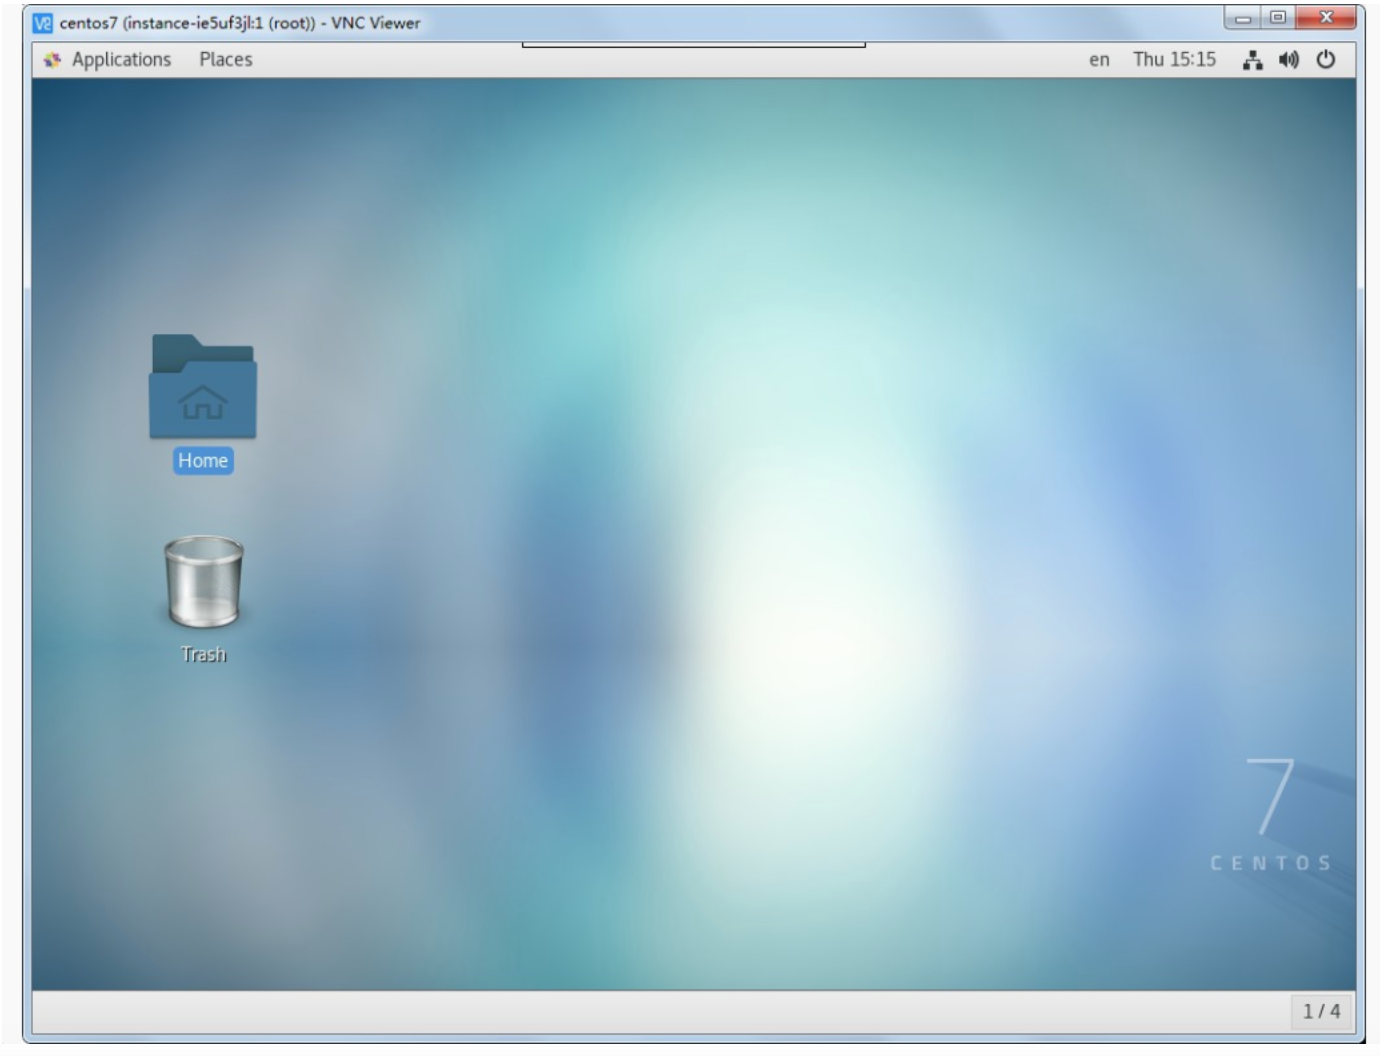
- At this stage, the graphical interface can be accessed via VNC.
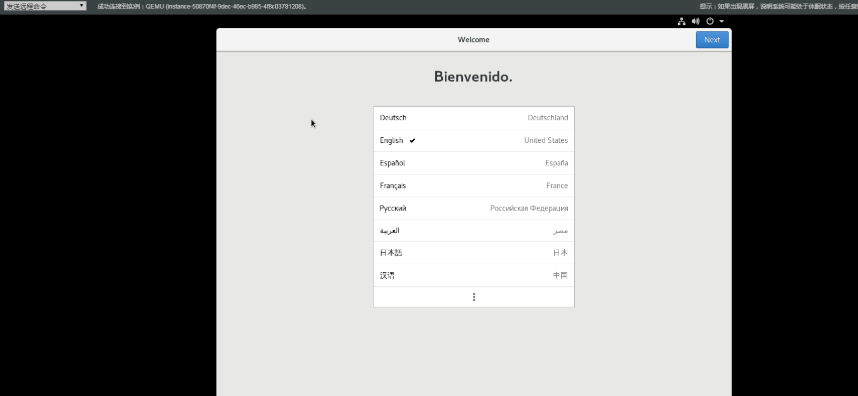
- Proceed to the desktop after completing the setup.
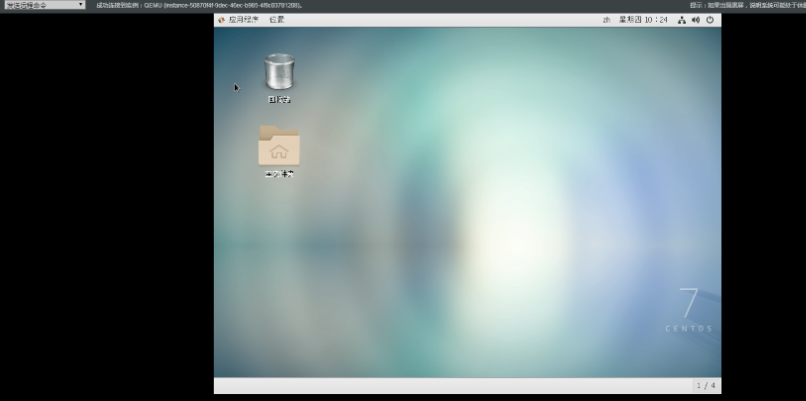
The desktop installation has been successfully completed.
Install VNC Server to realize local remote graphical access
- Install vncserver on the system.
Command: yum install -y tigervnc-server

- Configure the vncserver settings.
(1) Configure VNC password (It requires entering the password twice during initial startup). Command:
1vncserver
2You will require a password to access your desktop.
3
4 Password: (Enter and remember this password)
5
6 Verify: (Re-enter and remember this password)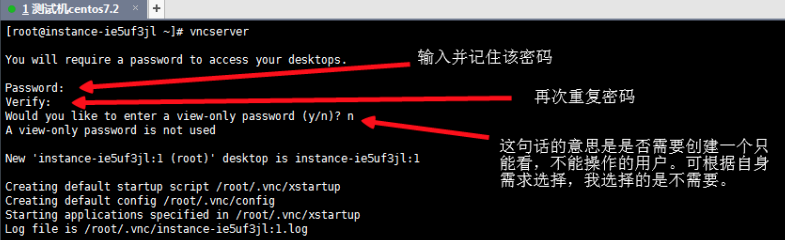
(2) Create and edit the configuration file.
Execute: cp -p /lib/systemd/system/vncserver@.service /lib/systemd/system/vncserver@:1.service
Then execute: vim /lib/systemd/system/vncserver@:1.service
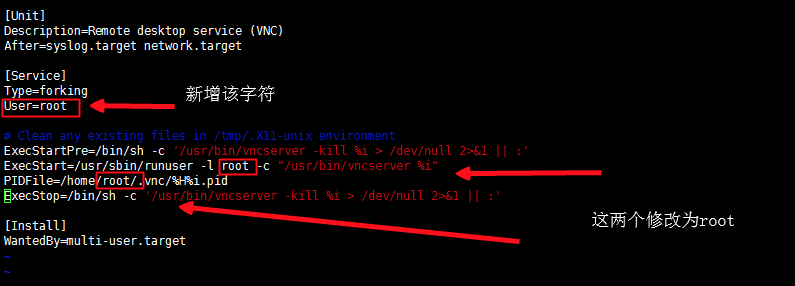
(3) Press the Esc key to exit edit mode, and then type :wq to save and exit.
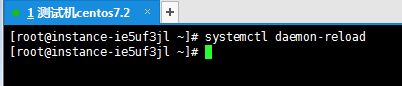
- Execute the following command to restart systemd.
Command: systemctl daemon-reload
- Configure it to start automatically at boot.
Command:
systemctl enable vncserver@:1.service

- Use the following commands to start the VNC Server.
Command: systemctl start vncserver@:1.service
- Run the command ps -ef | grep vnc to check whether the service has started. If similar results are displayed, it indicates the service is running.

Connect to the instance using the viewer client software
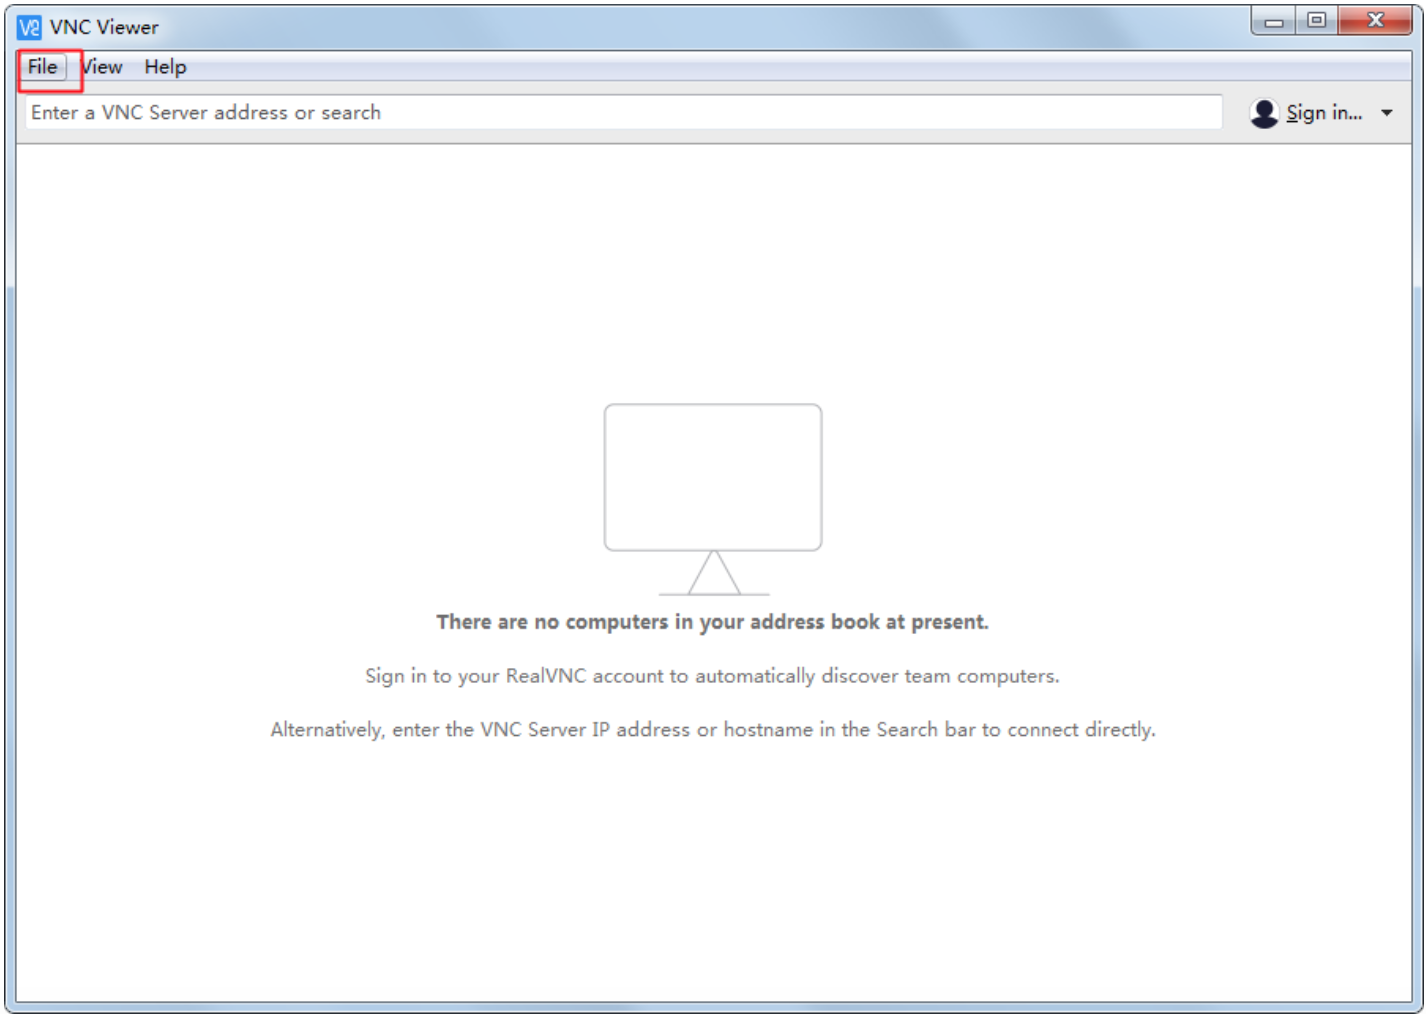
- Connect to the instance using the viewer client connection software provided in the prerequisites:
Click File -> New Connection... to create a new connection.
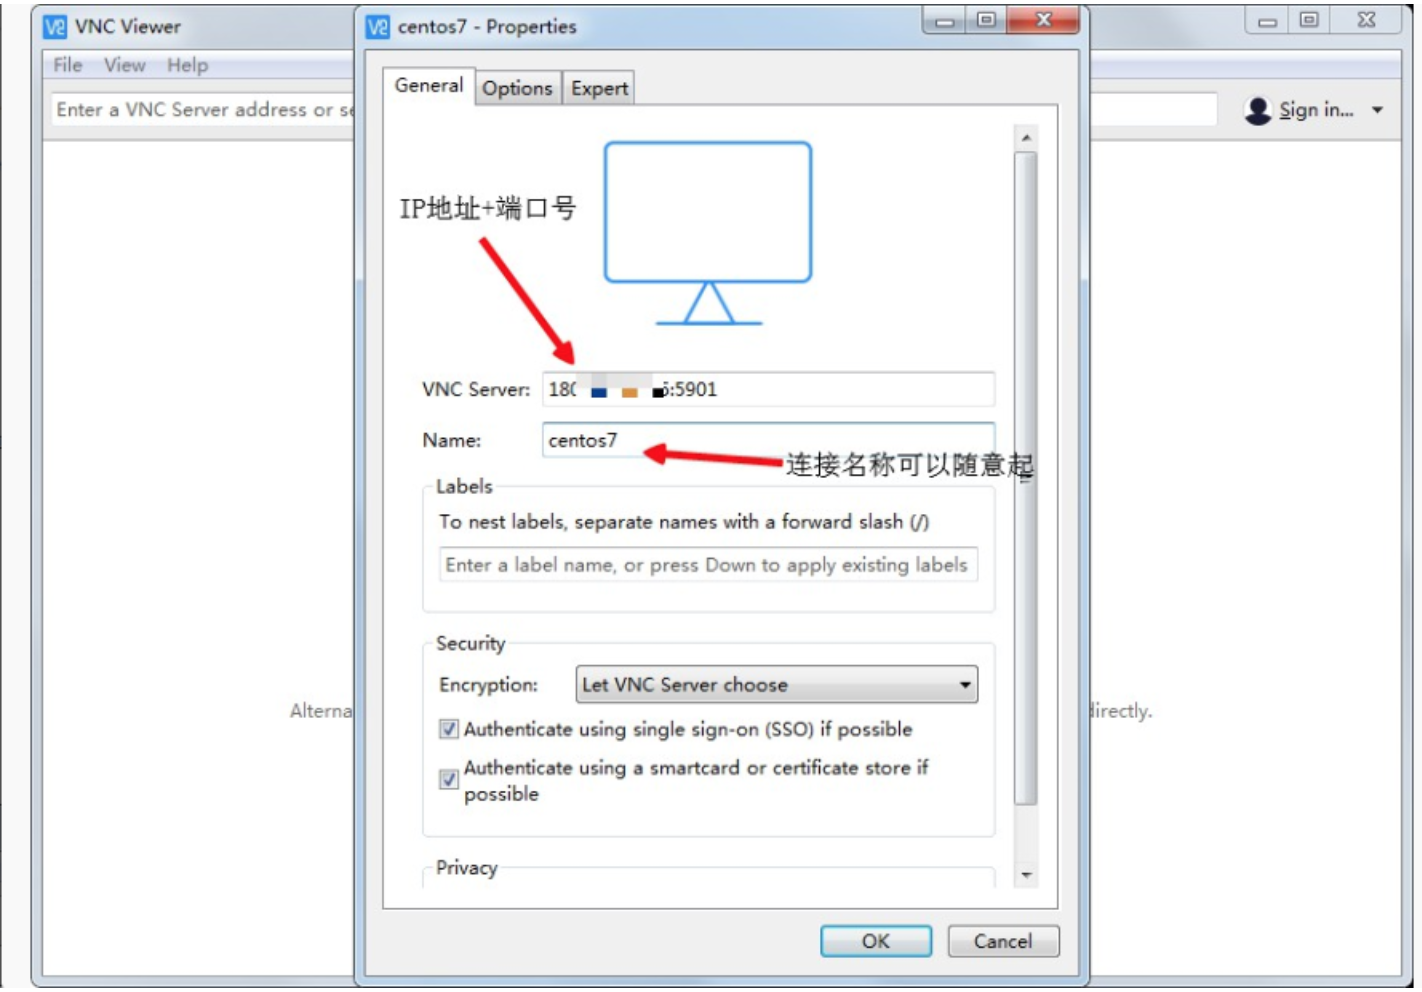
- Fill in the required information.
- Double-click the connection you previously created and then click to connect.
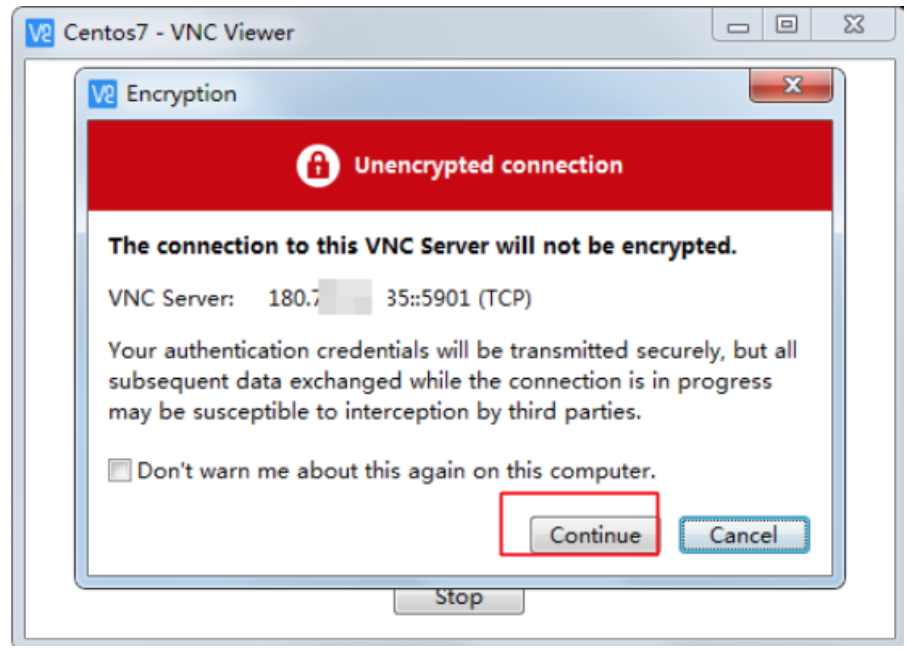
- Enter the password you set in step (1) above.

The connection was successful.