
Manual Deployment of SQL Server 2008 R2 Express Edition
Updated at:2025-10-20
Step 1: Preparations before installation
- Download the installer for SQL Server.
- Download Microsoft SQL Server 2008 R2 RTM - Express with Management Tools (typically the X64 version).
Step 2: Install SQL Server
- Double-click to run the downloaded SQL Server installer SQLEXPRWT_x64_CHS.exe.
- Open the SQL Server Installation Center and choose New Installation or Add Features to Existing Installation from the menu on the right.

- The installation preparation for SQL Server will begin.
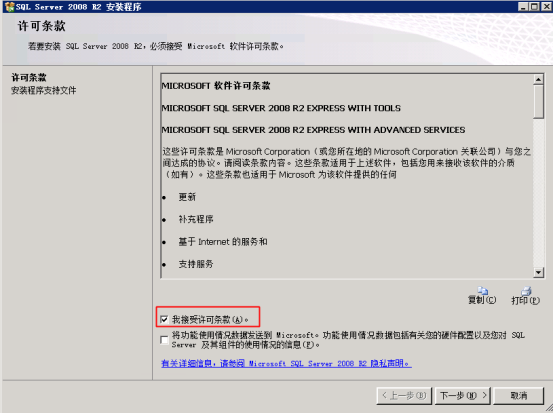
- In the License Terms section, check I accept the license terms and click Next.
- Install the program's support files by clicking Install in the next screen.
- Verify the installation support rules and adjust any items that fail to meet the requirements. Once everything passes, click Next.
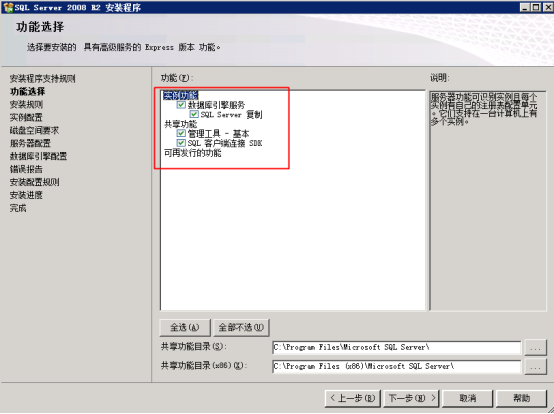
- Choose the desired features during the feature selection step, then click Next.
- The installer will check the installation rules. Once these are successfully passed, click Next.
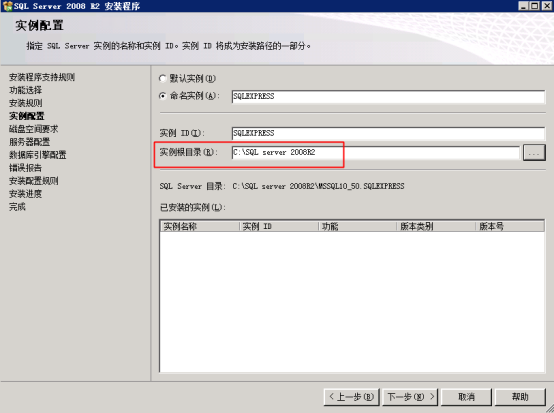
- Configure the instance by specifying the instance name and installation location under Instance Configuration.
- The installer will confirm whether the disk space requirements are met. Once verified, click Next.
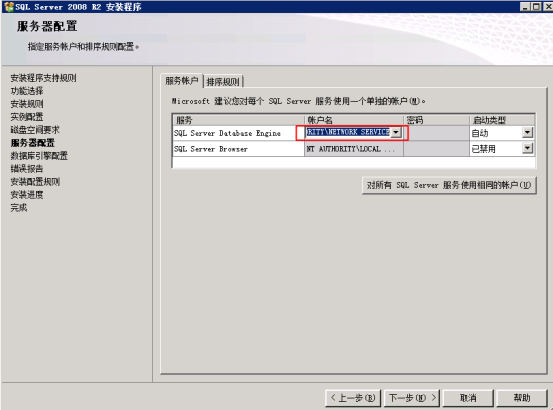
- Configure the server and click Next.
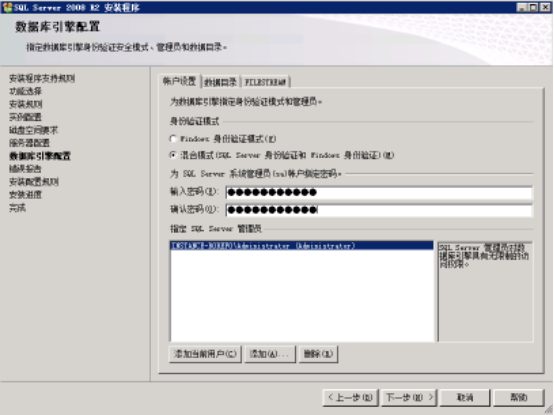
- Under Database Engine Configuration, select Mixed Mode and set a password for the "SQL Server System Administrator Account (sa)," for example, "DFG22344."
- Proceed through the Error Reporting page by clicking Next.
- The installer will run the installation configuration checks. Once completed, click Next.
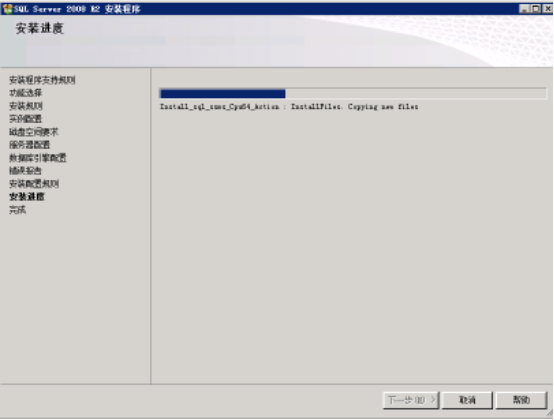
- Begin the program installation process.
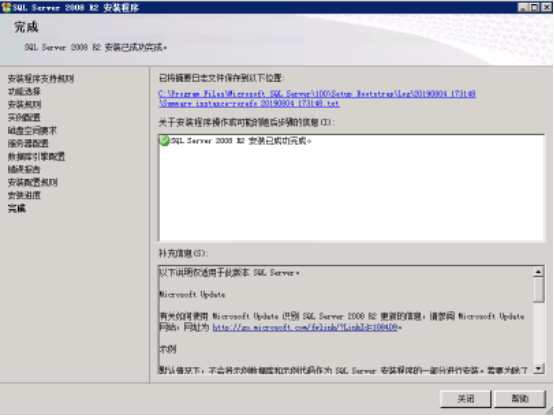
- Installation completed
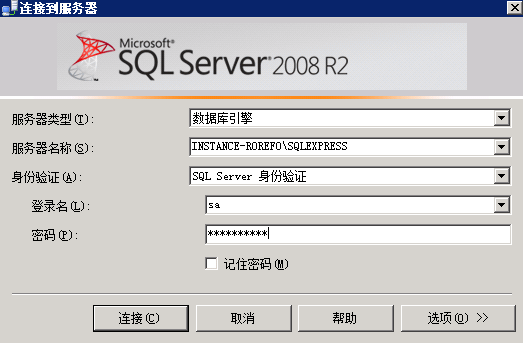
Step 3: Sign in to the SQL Server database
- Navigate to Start Menu - All Programs - Microsoft SQL Server 2008 R2 - SQL Server Management Studio.
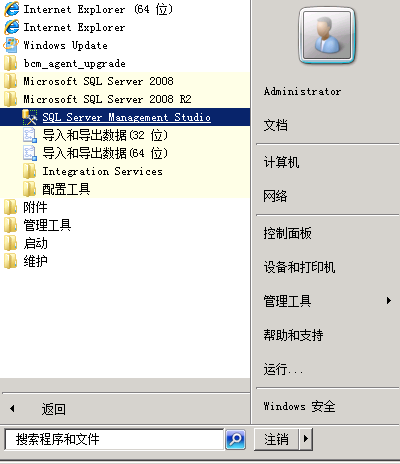
- Open SQL Server Management Studio.
- In the Connect to Server dialog box, select Database Engine as the server type.
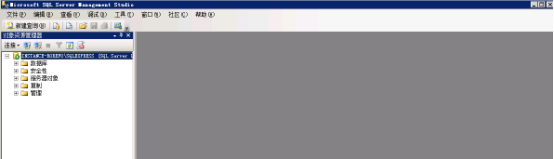
The SQL Server setup process is now complete.