
Configure Multi-User Access to Windows Server
Updated at:2025-10-20
This guide takes Windows Server 2012 R2 OS as an example to explain multi-user remote login configuration for Baidu Cloud Compute (BCC) Windows instances.
Step 1: Sign in to the server
Log in to the server using the built-in remote connection tool on Windows. If remote connection fails, try logging in using VNC.
Step II: Install remote desktop service
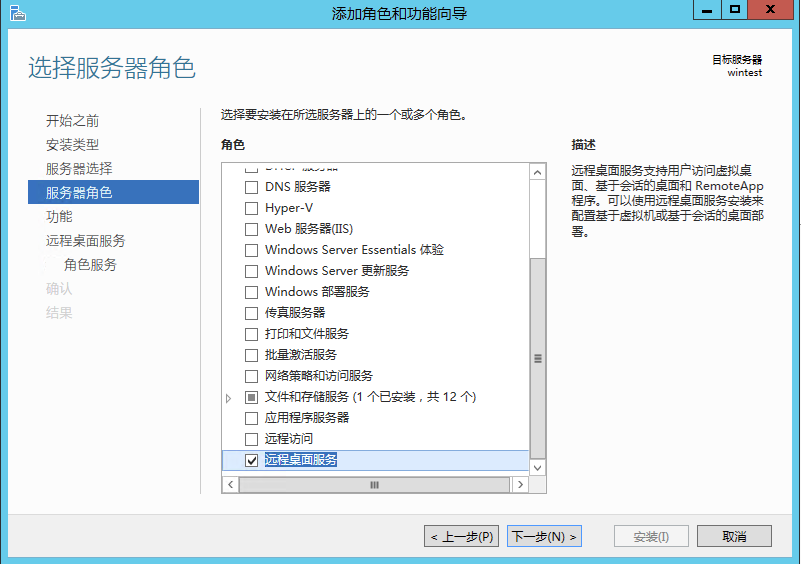
- Open the server manager
 , select Add Role and Function Wizard, choose Remote Desktop Service, and click Next.
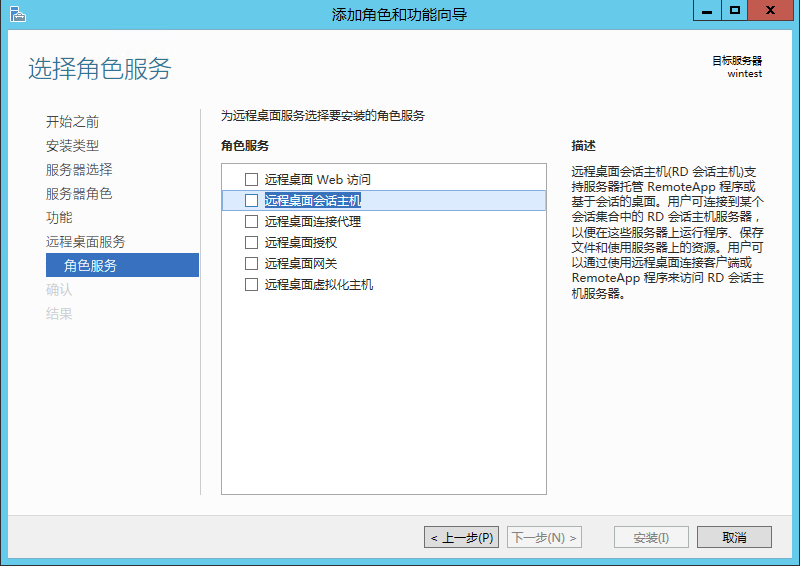
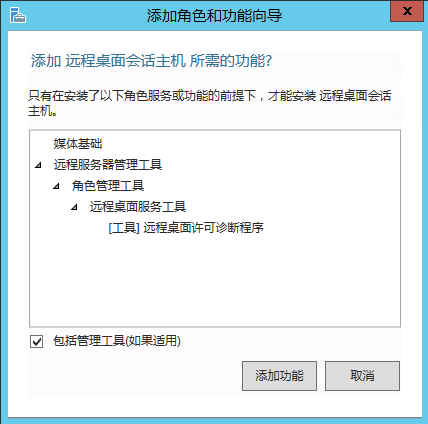
- Click Next three times without making any changes. On the Role Service page, select Remote Desktop Session Host, then click Add Function in the dialog box that appears.
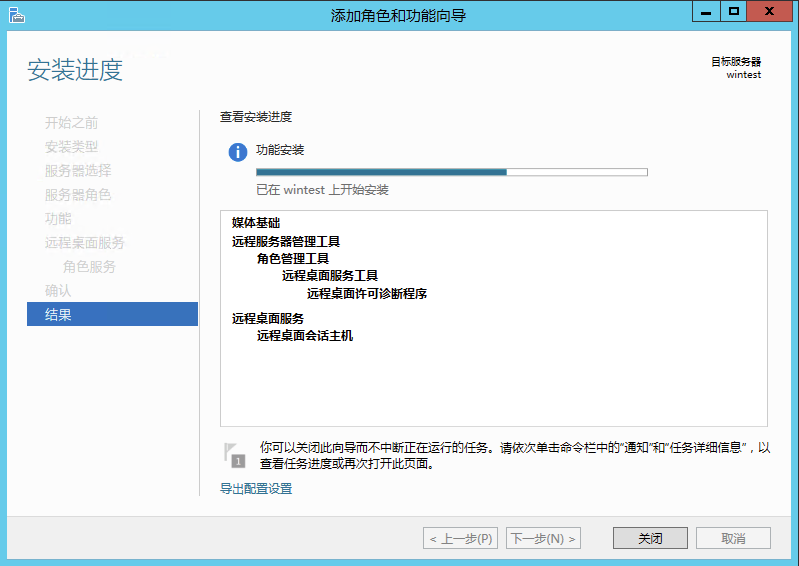
- Keep clicking "Next," then click "Install." Once the installation is complete, click "Disable.\
Step III: Set Local Group Policy Editor
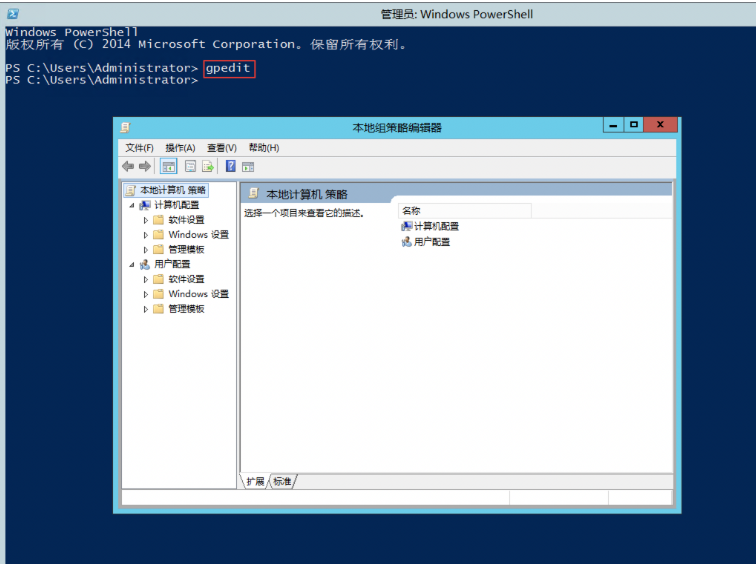
- Open the PowerShell window by clicking PowerShell at the bottom left.

- In the PowerShell window, type "gpedit.msc" and press Enter to open the Local Group Policy Editor automatically.
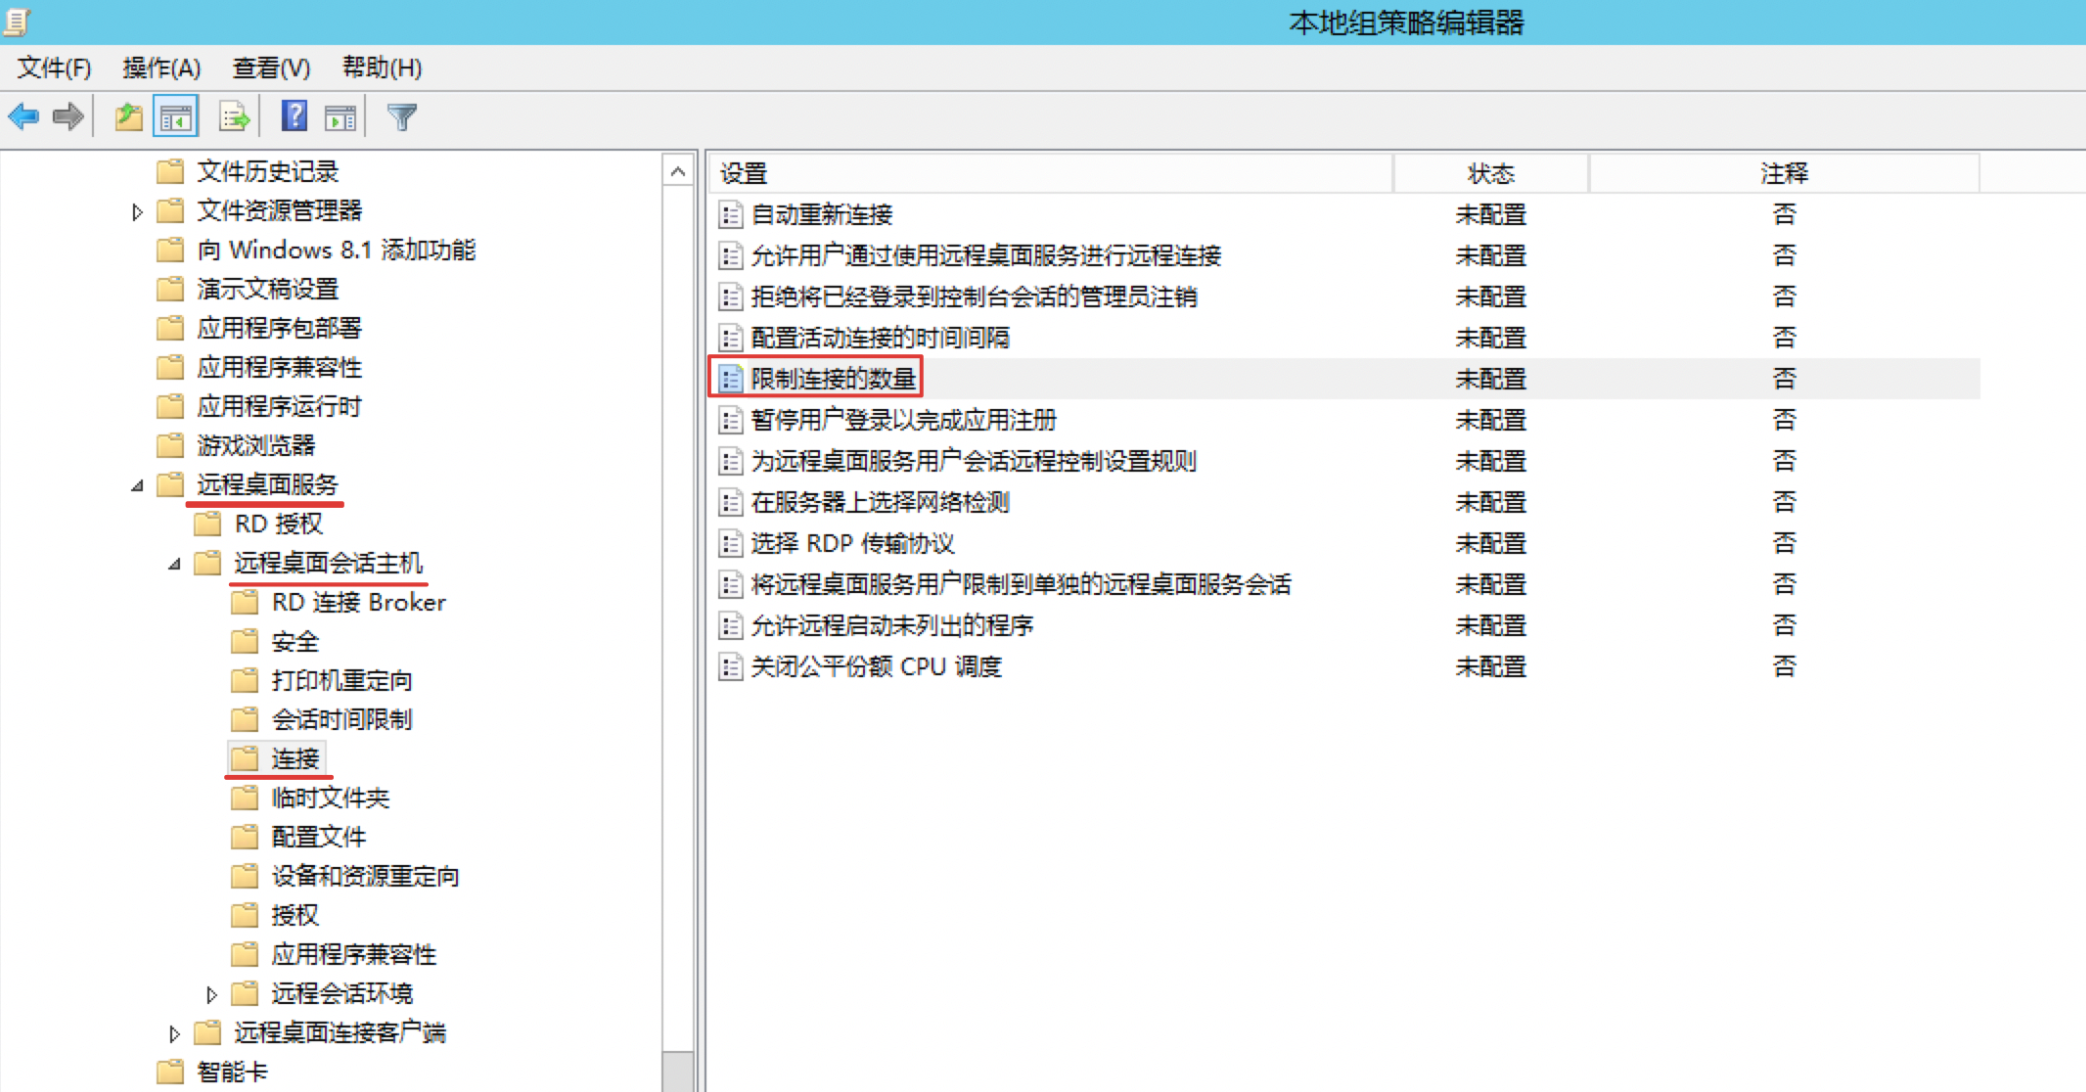
- Navigate to Computer Configuration > Administrative Templates > Windows Components > Remote Desktop Services > Remote Desktop Session Host > Connections, then double-click "Limit Number of Connections.\
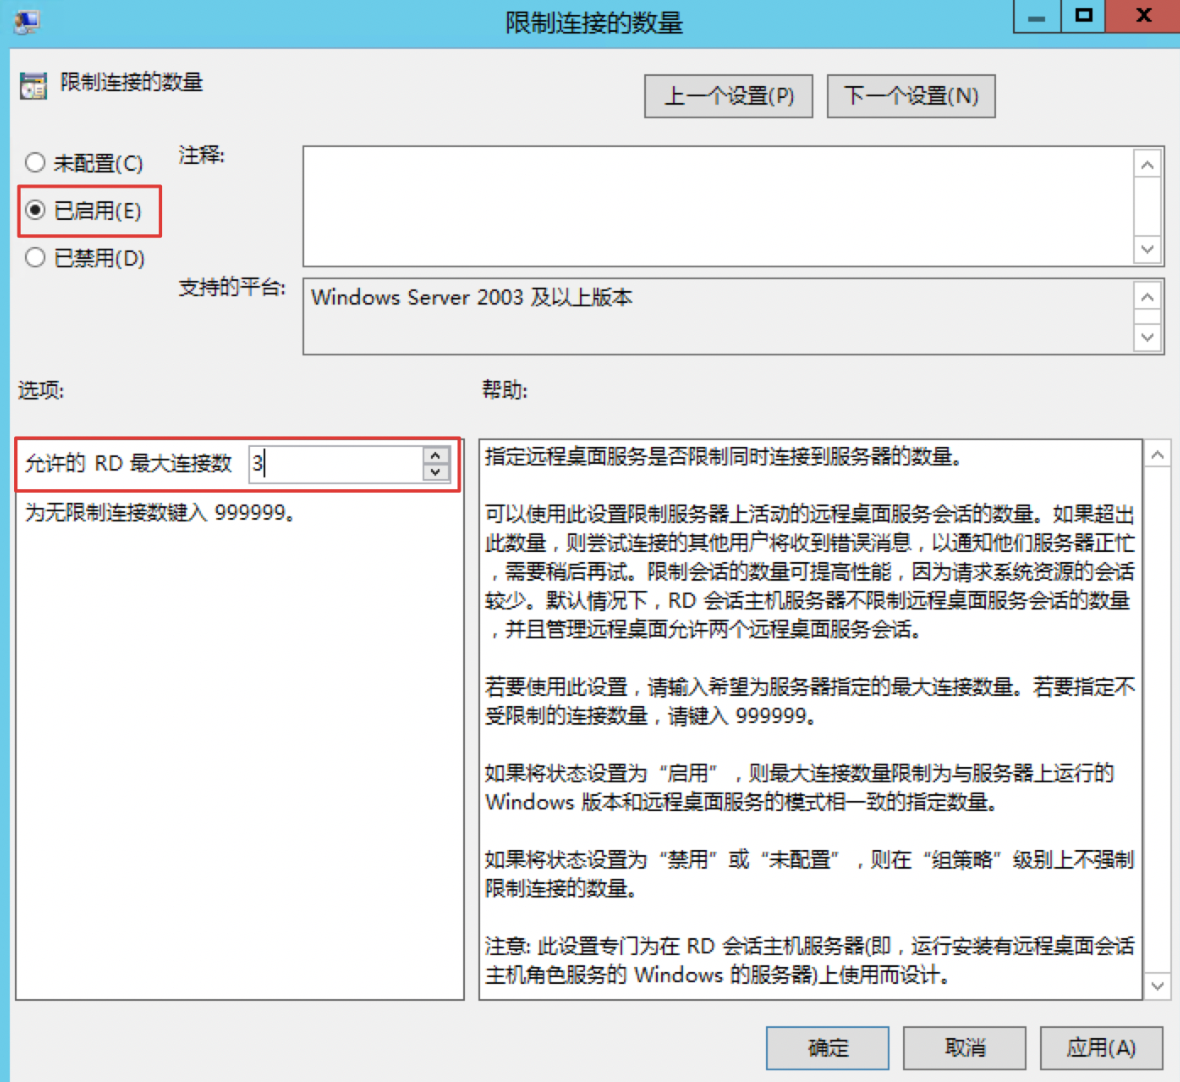
- In the "Limit Number of Connections" window, select "Enabled," enter the maximum number of simultaneous remote connection users in "Maximum Remote Desktop Connections," and then click "Apply" followed by "OK.\
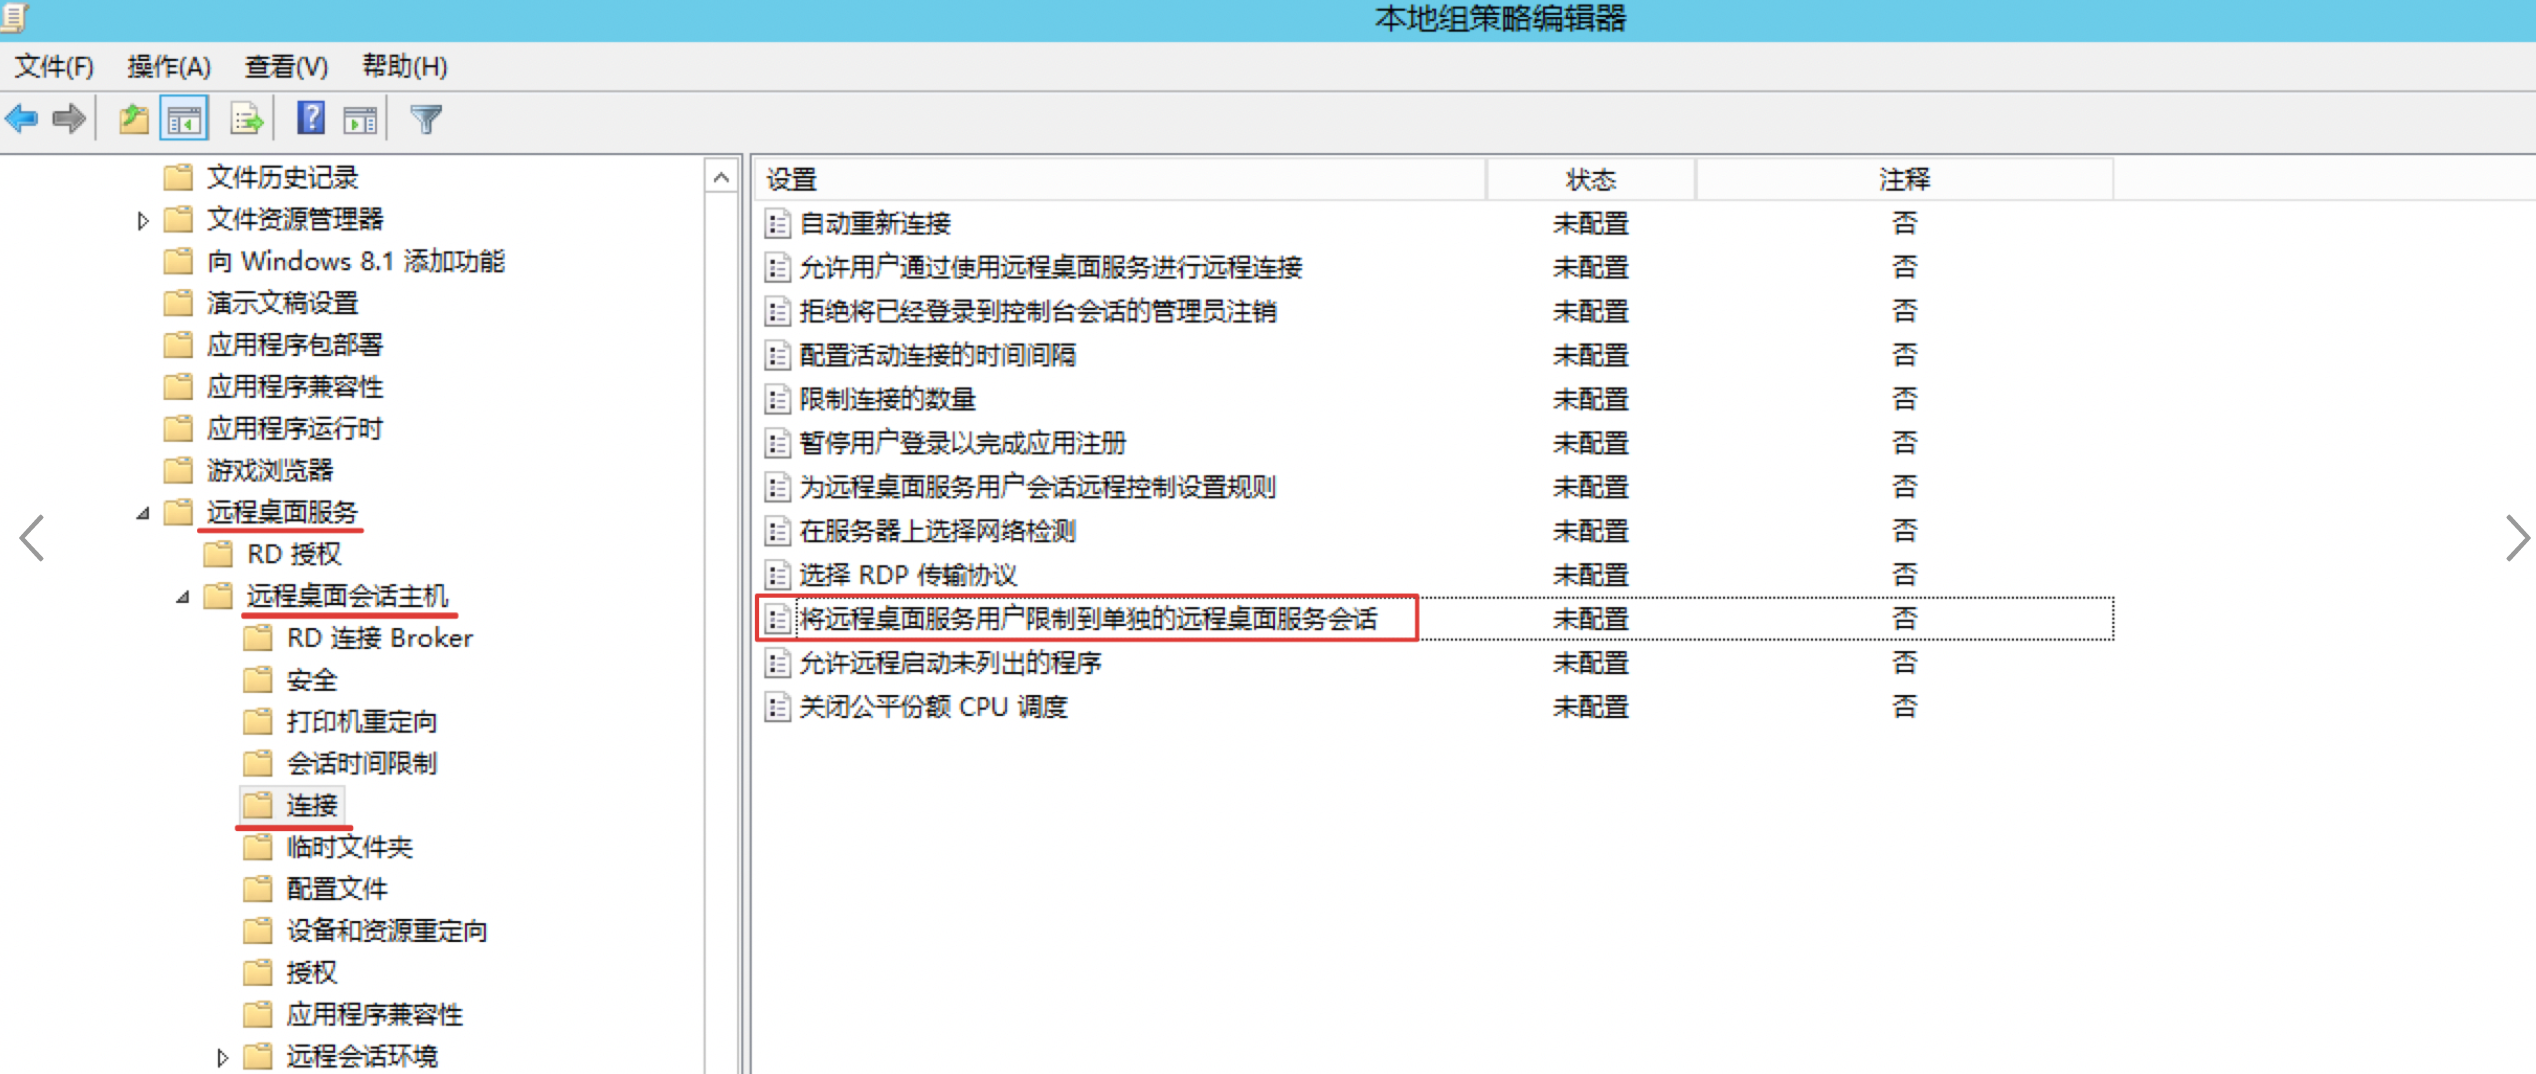
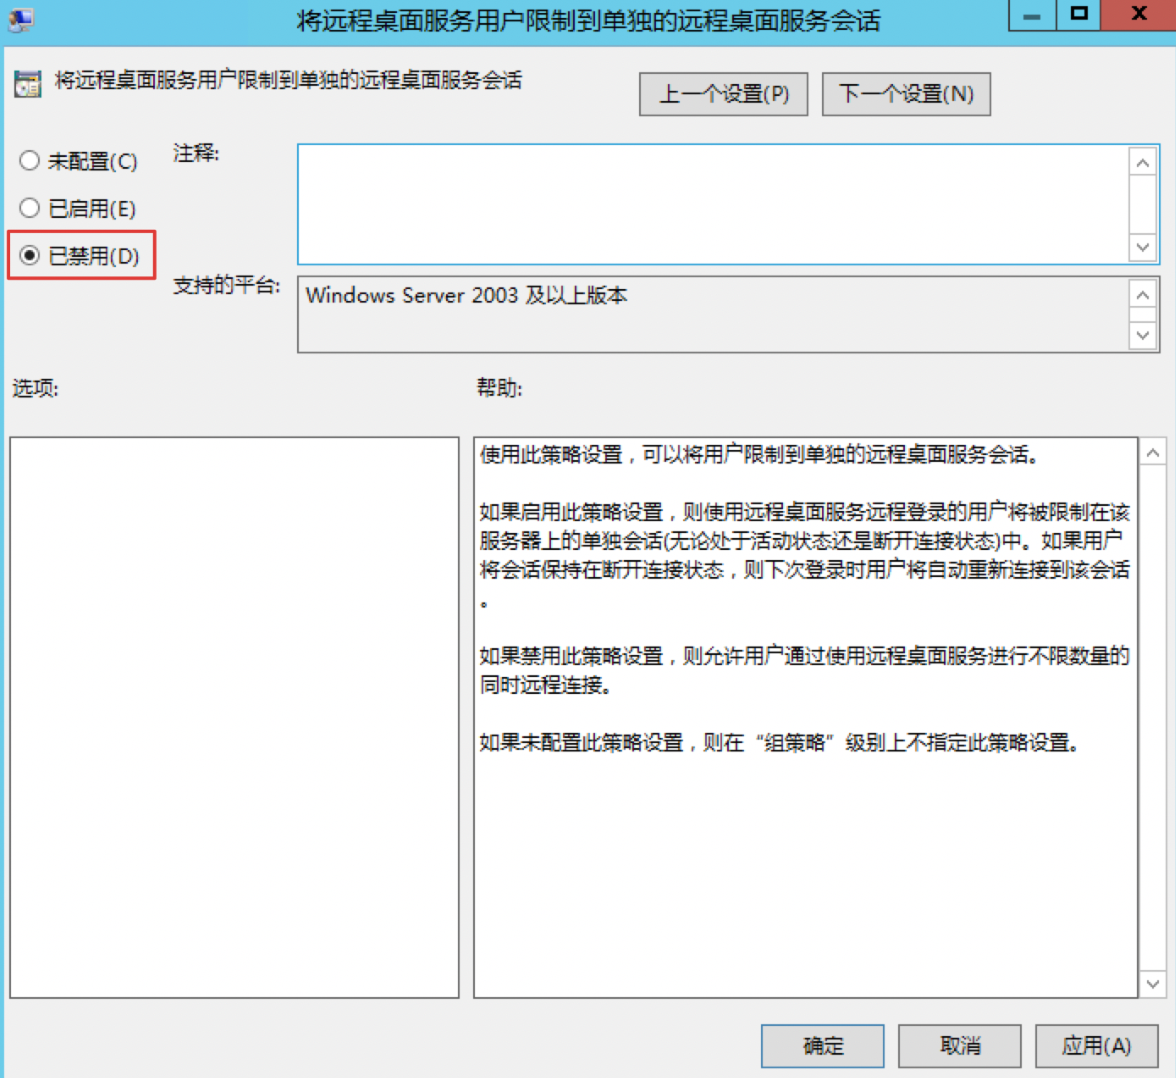
- Navigate to Computer Configuration > Administrative Templates > Windows Components > Remote Desktop Services > Remote Desktop Session Host > Connections, then double-click "Restrict Remote Desktop Services users to a single Remote Desktop session.\
- In the "Restrict Remote Desktop Services users to a single Remote Desktop session" window, select "Disabled." After configuring, click "Apply" and "OK.\
- Once the settings are complete, close the Local Group Policy Editor.
Step IV: Create a new user and add to the Administrators group
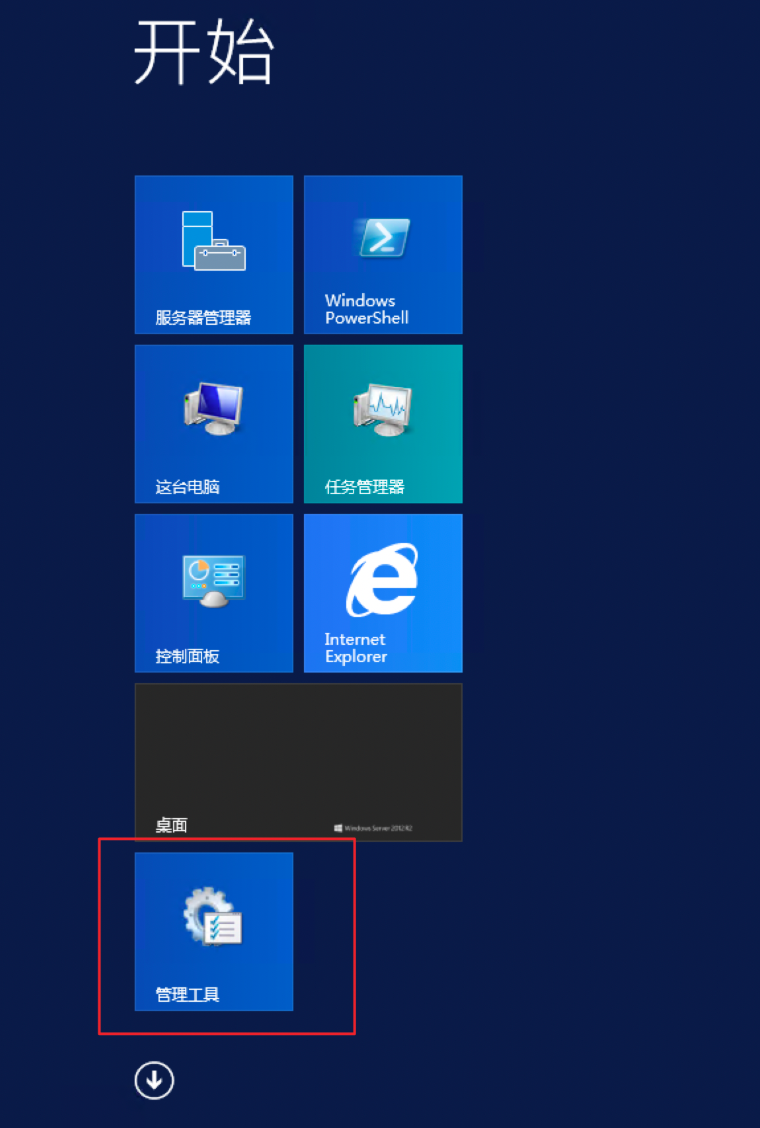
- Open "Management Tools.\
Double-click "Computer Management.\
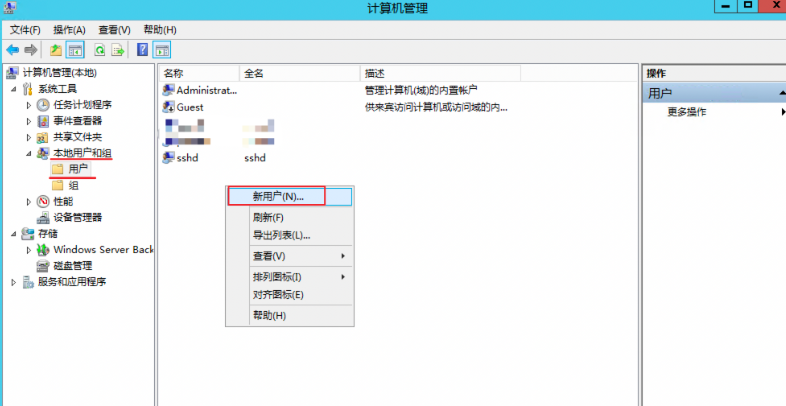
- When the Computer Management window opens, go to Local Users and Groups > Users. Right-click the blank space on the right and select "New User.\
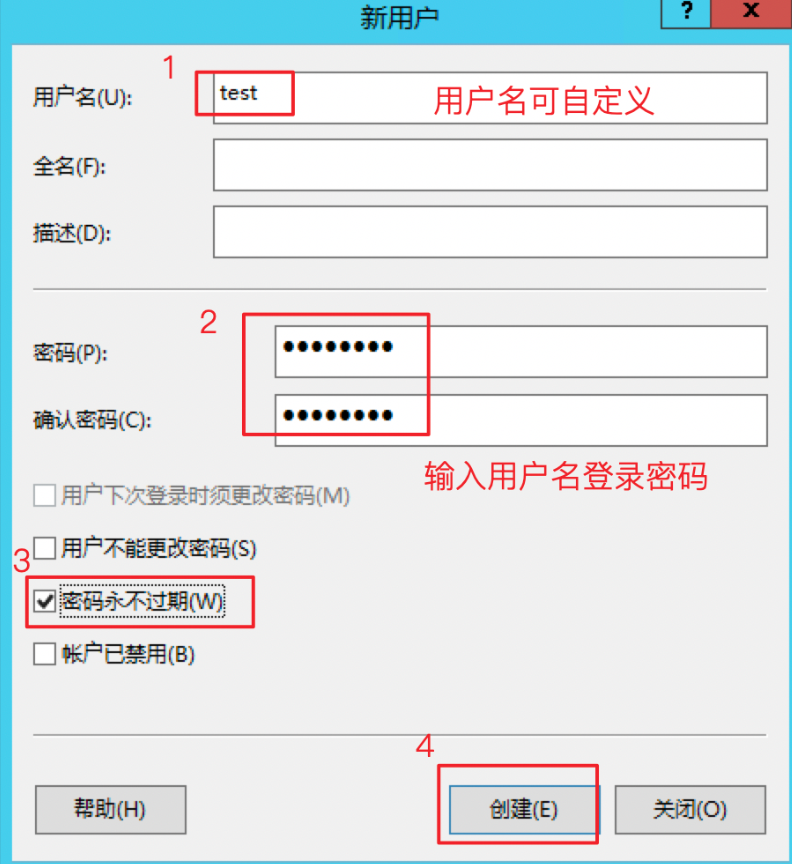
- Enter the username and login password for the user. Uncheck "User must change password at next logon," select "Password never expires," and click "Create.\
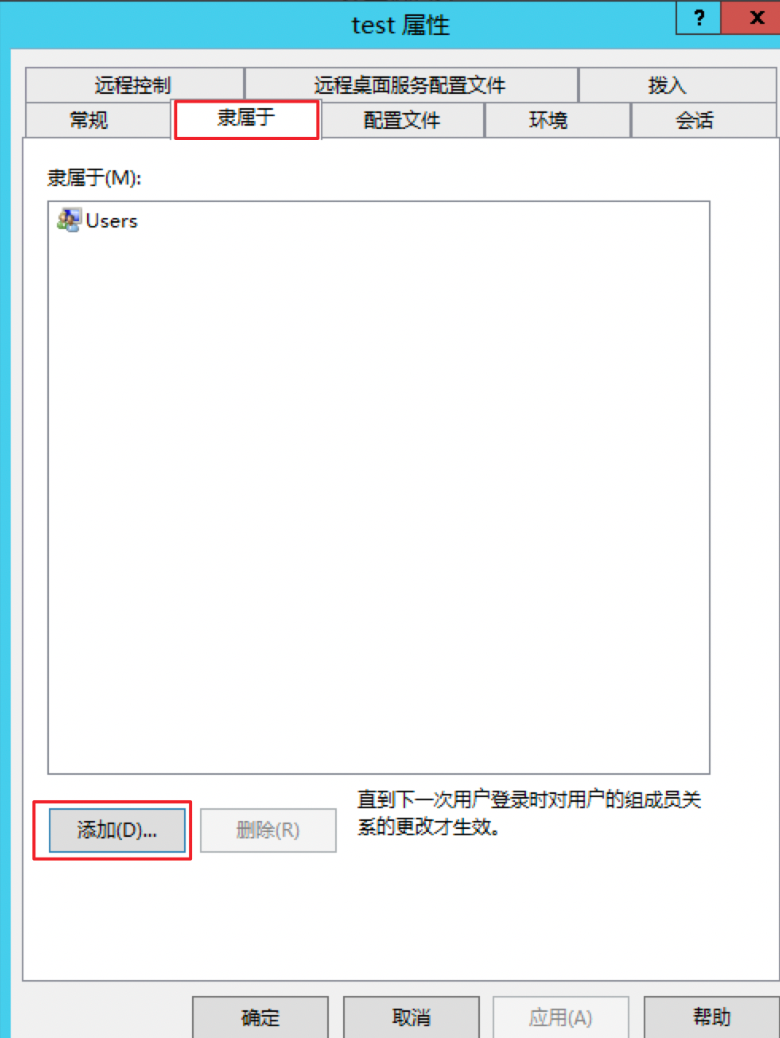
- Once created, right-click the new user and select "Properties.\
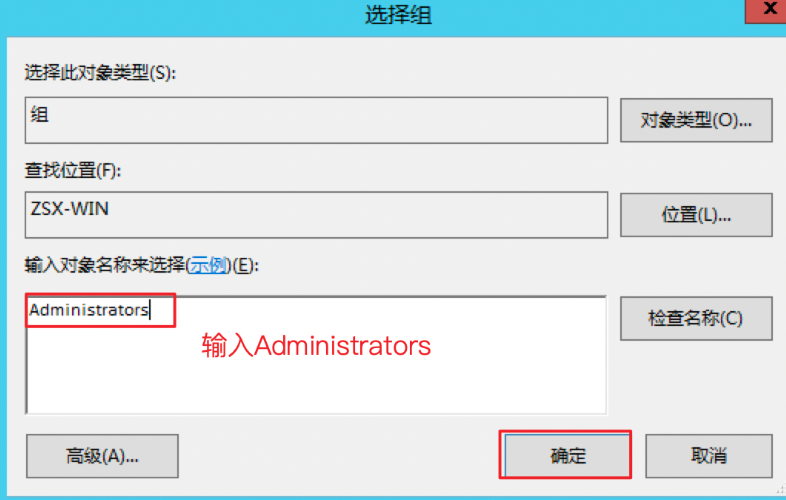
- Go to the "Member Of" tab, click "Add" at the bottom left to assign the user to the Administrators group, then click "Apply" and "OK.\
Step V: Restart the server
Restart the BCC instance, then verify the changes after the reboot.