
Windows Image Creation
This guide uses Windows Server 2012 R2 as an example to demonstrate the process of creating a Windows image tailored for BCC.
Feasibility check
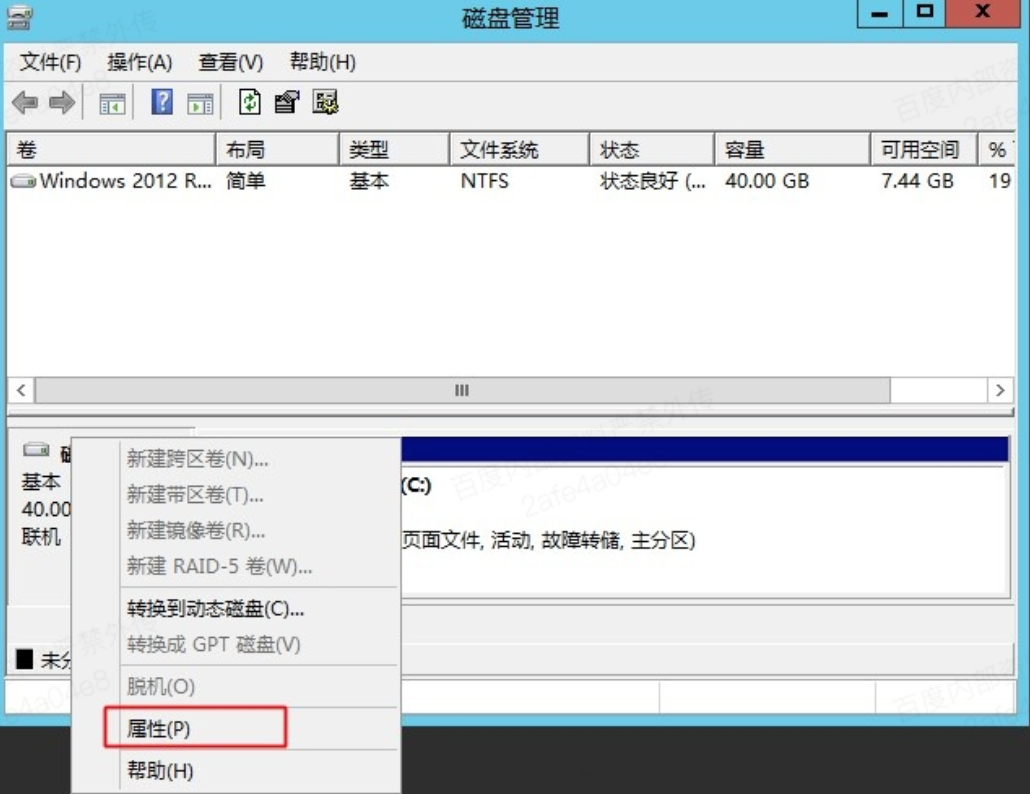
Check disk partition
- In the command line or PowerShell, enter diskmgmt.msc to open the Disk Management tool;
- Open the Disk Properties window;
- Check the Disk Partition format of the volume;
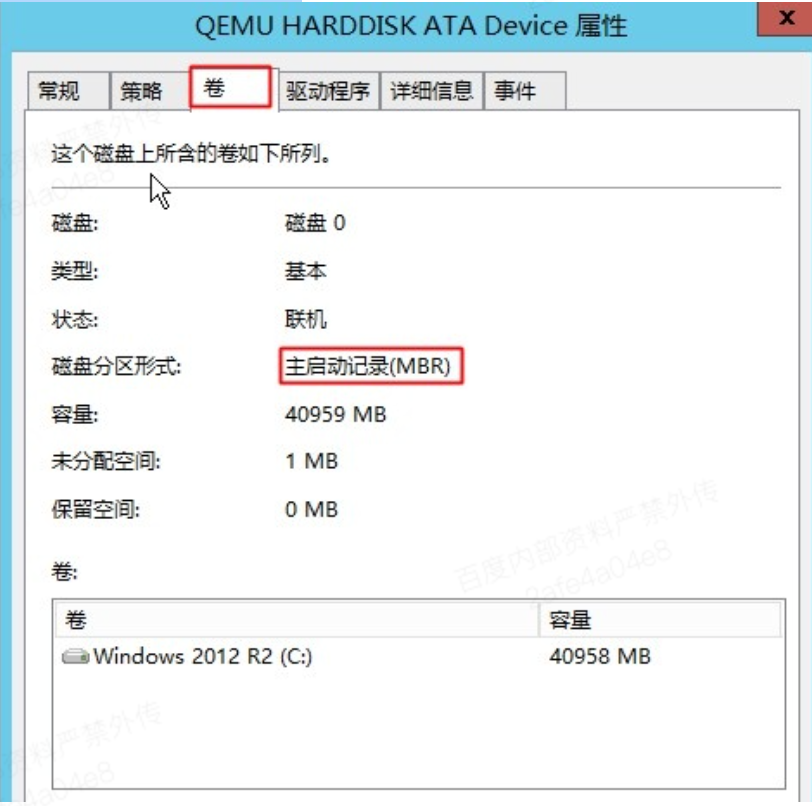
- Currently, only MBR disk partition is supported, and GPT disk partition is not supported;
Preparation
Uninstall software
- Uninstall PC manager or security software to prevent system blue screens or instability;
- Uninstall any conflicting drivers (e.g., VMware tools, Xen tools, etc.).
Install cloudbase-init
For details, refer to the installation of cloudbase-init
Export image
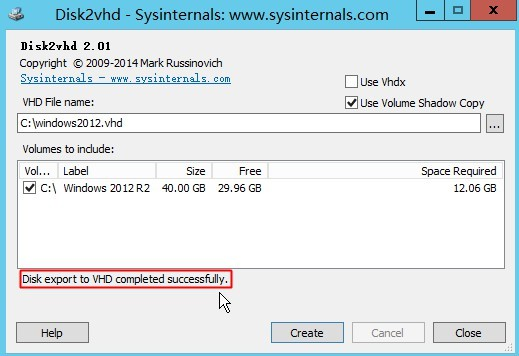
Microsoft provides an official image export tool disk2vhd.exe for use.
- Download and run disk2vhd.exe;
- Select the volume where the system partition is located, and fill in the export mirror path;
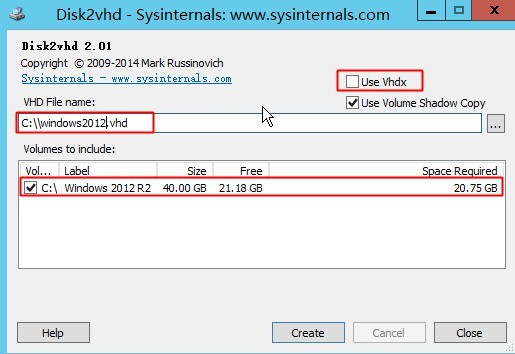
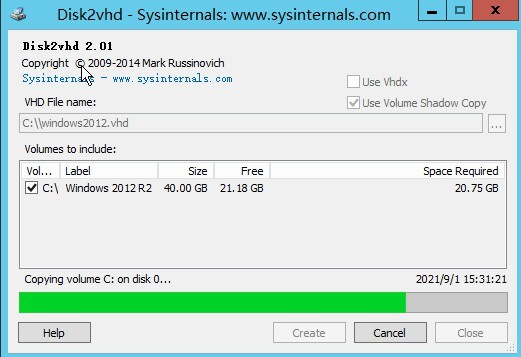
- Click Create to start image extraction and wait for completion;
Install VirtIO driver
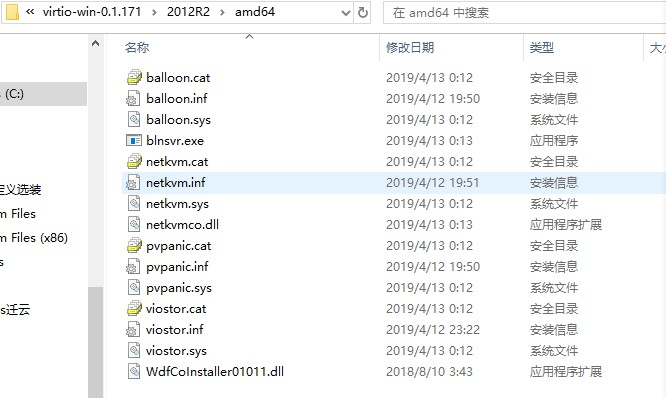
- Download the virtio driver file and decompress it;
Select the driver version based on the current OS type, e.g., the driver file of Windows Server 2012 R2 is located at C:\virtio-win-0.1.171\virtio-win-0.1.171\2012R2\amd64;
- Mount the image and install the driver offline;
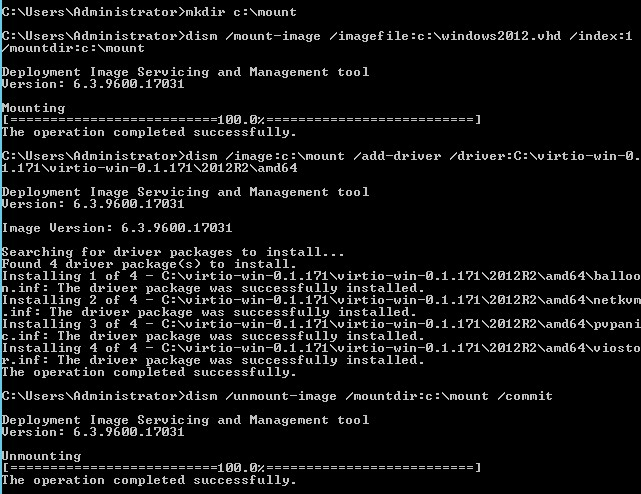
- When the source system is Windows Server 2012 R2, 2016, 2019 or 2022, you can directly open the cmd command window on the source system and execute the following commands in turn:
mkdir c:\mount
dism /mount-image /imagefile:c:\windows2012.vhd /index:1 /mountdir:c:\mount
dism /image:c:\mount /add-driver /driver:C:\virtio-win-0.1.171\virtio-win-0.1.171\2012R2\amd64
dism /unmount-image /mountdir:c:\mount /commit
- When the source system is Windows Server 2008 R2, the vhd file needs to be copied to another Windows virtual machine (intermediate system);
If the intermediate system is Windows Server 2012 R2, 2016, 2019, or 2022, refer to 1) to execute the command directly;
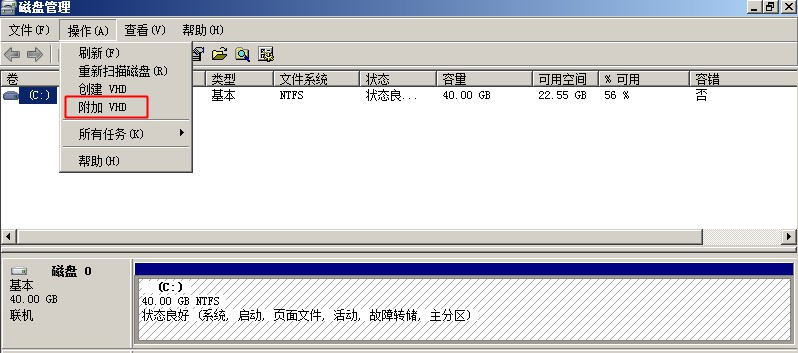
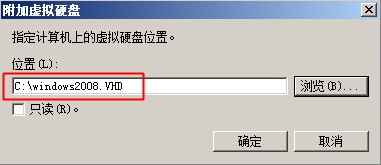
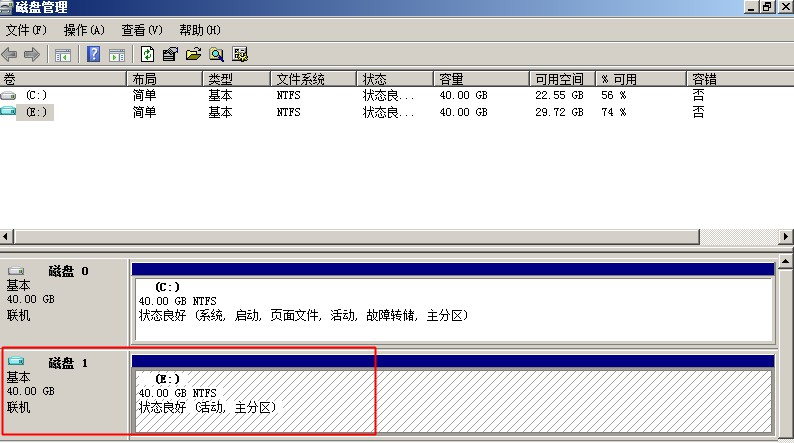
If the intermediate system is also Windows Server 2008 R2, use the Disk Management tool to attach the generated VHD Image file (non-read-only mode is required for driver installation):
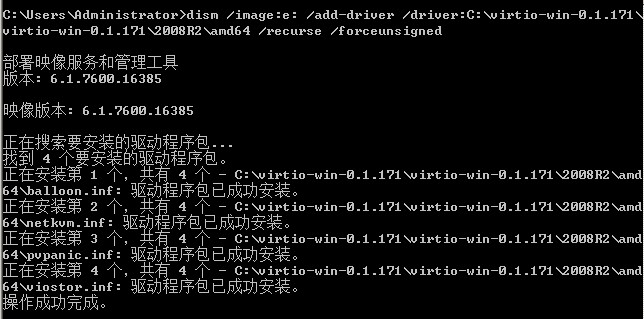
Use DISM tool for offline driver installation:
dism.exe /Image:{partition where vhd image is located} /add-driver /driver: {driver path} /recurse /forceunsigned
For example: dism.exe /Image:e: /add-driver /driver:C:\virtio-win-0.1.171\virtio-win-0.1.171\2008R2\amd64 /recurse /forceunsigned
Detach VHD image disk:
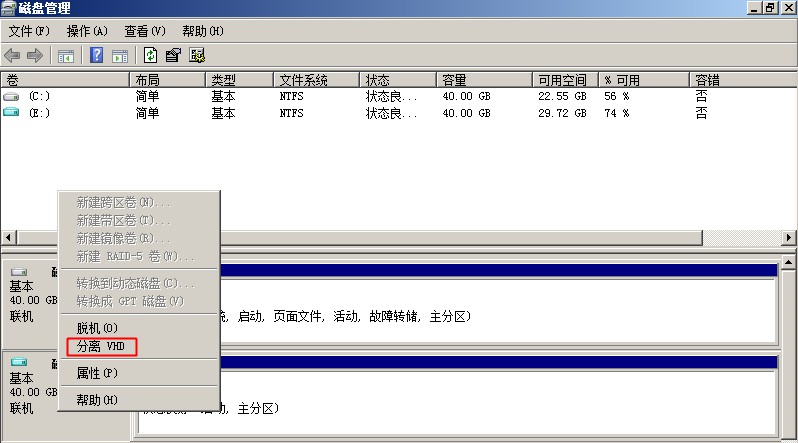
- At this point, the image creation is completed;
Currently, BCC supports the import of image in VHD format. For format conversion, please refer to Image Format Check and Image Format Conversion.