Install GUI on Ubuntu 18_04 and Connect via VNC Viewer
This tutorial explains how to set up a graphical interface on a Baidu AI Cloud Public Image Ubuntu18.04 environment and connect to it locally using a VNC client.
Note: Adding a graphical desktop may significantly reduce server performance. Incorrect setup might prevent the OS from booting as expected. Prior to installation, create a manual snapshot of the BCC instance for rollback in case of unforeseen issues.
Step I: [Install the desktop environment on BCC](#Install the desktop environment on BCC).
Step II: [Install VNCserver service](#Install VNCserver service).
Step III: [Connect to the instance using the viewer client software](#Connect to the instance using the viewer client software).
Prerequisites
- Ensure that security groups and firewalls permit Port 5901 (vncserver port).
- Download VNC Viewer client connection software.
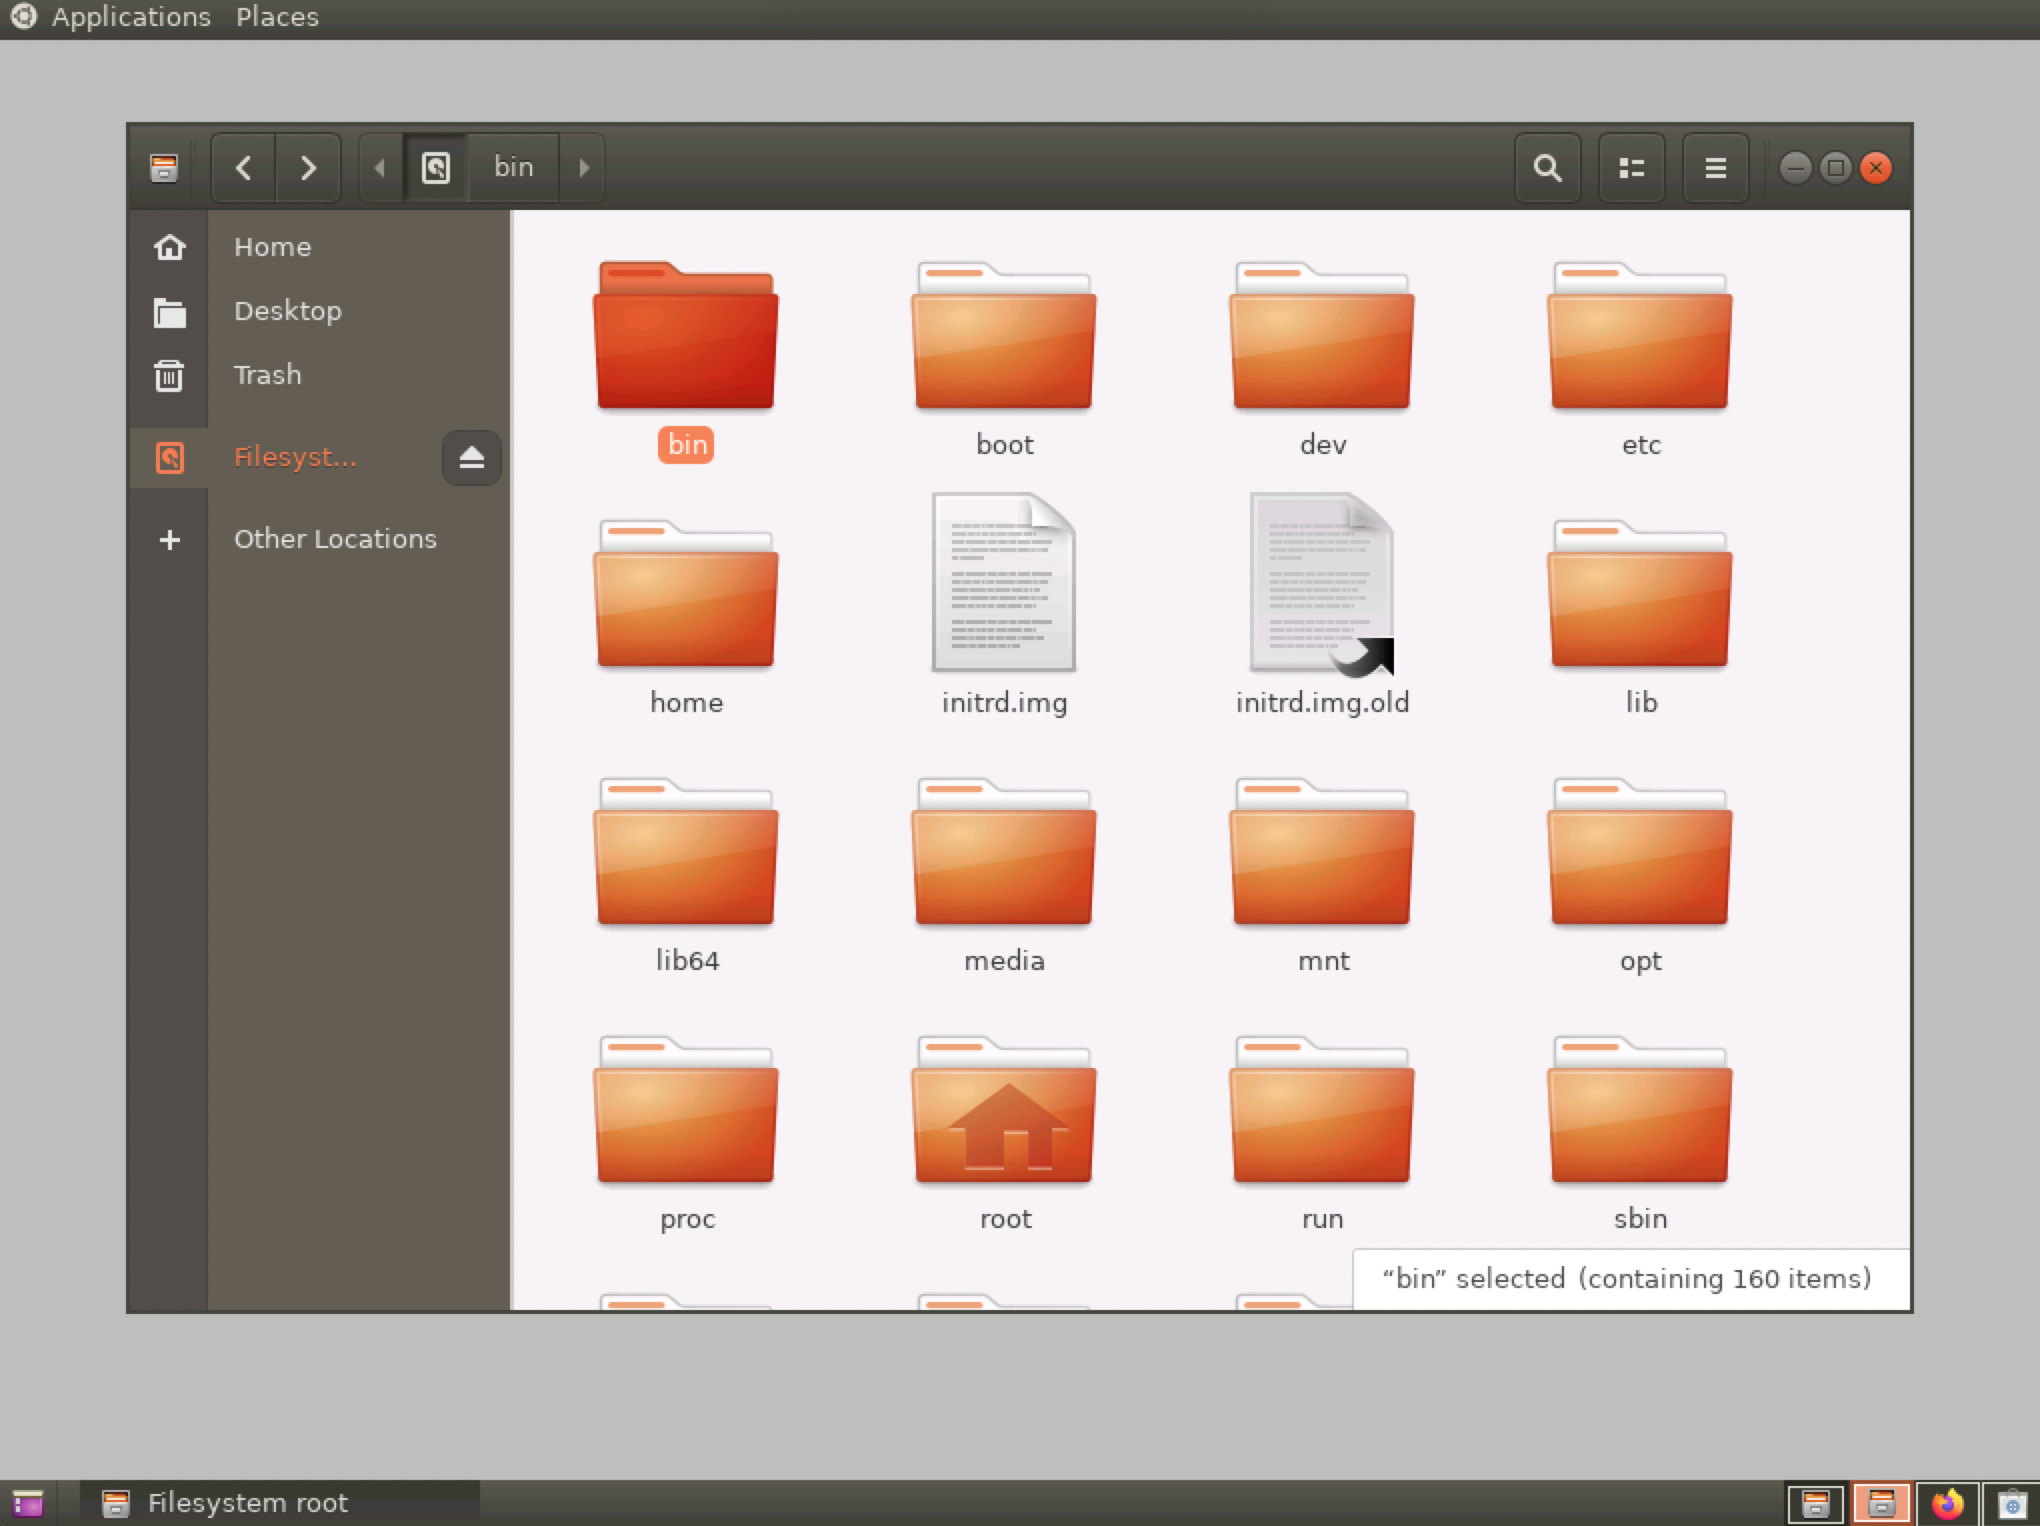
Install the desktop environment on BCC
- Connect to the server either remotely or through VNC.
- Execute the command:
apt-get update && apt-get upgrade -yto update sources.

- Execute the command
apt-get install ubuntu-desktop gnome-panel gnome-settings-daemon metacity nautilus gnome-terminalto install environment.

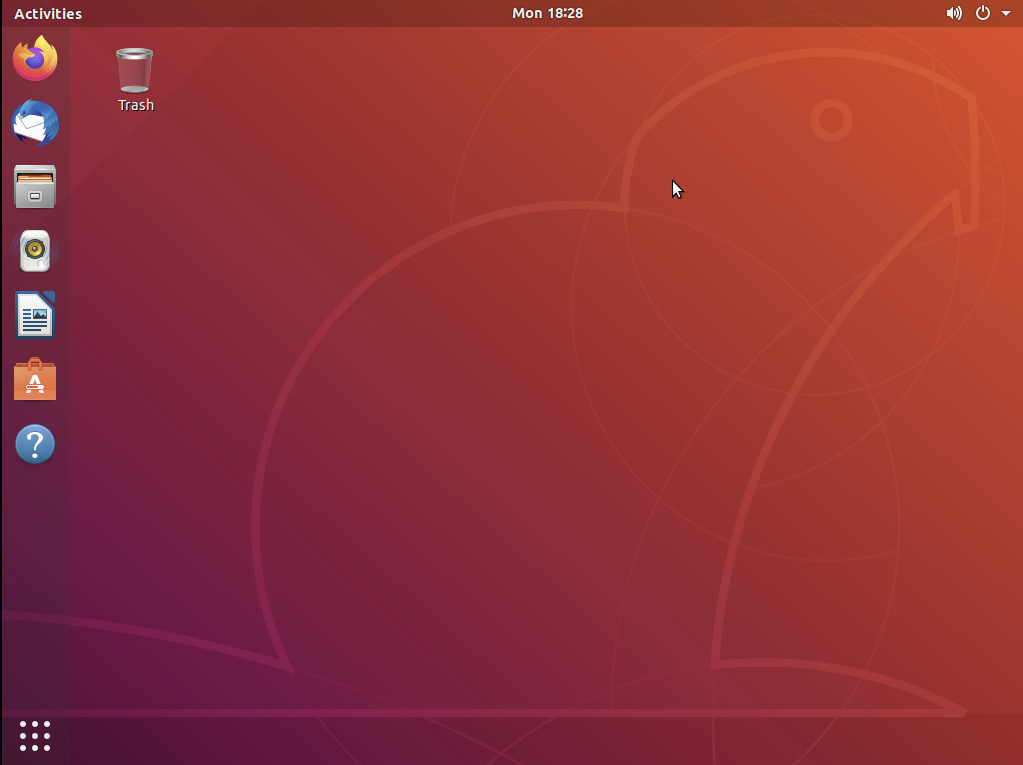
- After rebooting, you can use VNC to sign in to the graphical interface
reboot.
Install VNCserver service
- Execute the command
apt-get -y install vnc4serverto install vncserver.

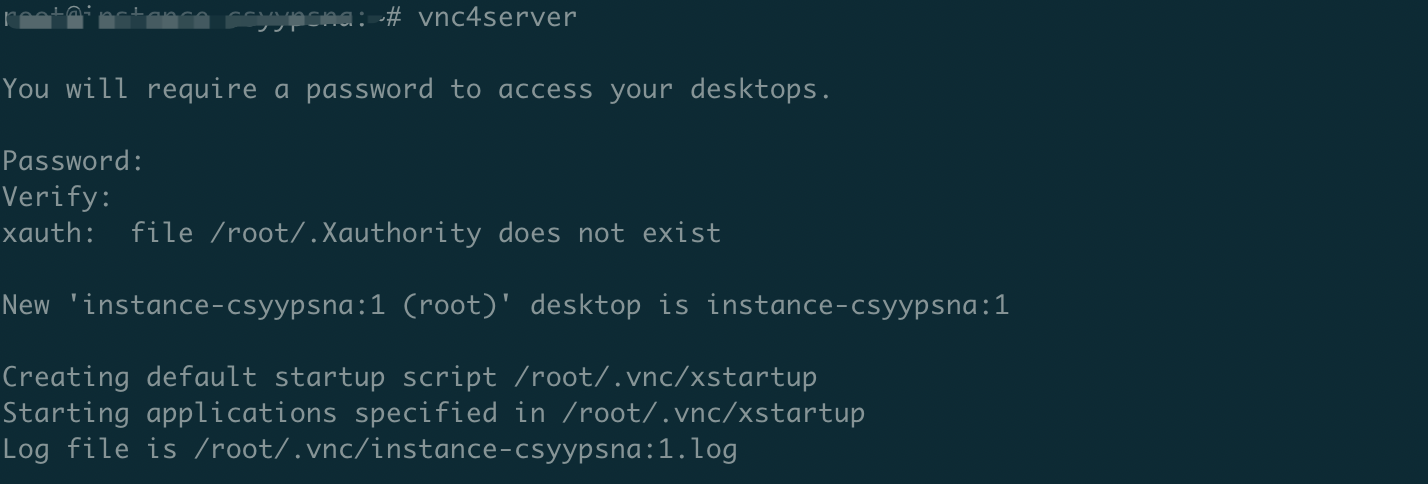
- Run the
vncservercommand to start the VNC server.
- Use
ps -ef | grep vncto check whether it is started and view the port number in use.

You will be able to confirm that the service is running correctly and using Port 5901.
- Run the command cp -p ~/.vnc/xstartup ~/.vnc/xstartup.bak to back up the original xstartup configuration file.
- Adjust the vnc4server startup configuration by following these steps.
(1) Run the command vim ~/.vnc/xstartup to open the file.
(2) Press the i key to enter edit mode.
(3) Replace the file content with the following.
1#!/bin/sh
2# Uncomment the following two lines for normal desktop:
3# unset SESSION_MANAGER
4# exec /etc/X11/xinit/xinitrc
5[ -x /etc/vnc/xstartup ] && exec /etc/vnc/xstartup
6[ -r $HOME/.Xresources ] && xrdb $HOME/.Xresources
7xsetroot -solid grey
8vncconfig -iconic &
9x-terminal-emulator -geometry 80x24+10+10 -ls -title "$VNCDESKTOP Desktop" &
10x-window-manager &
11gnome-panel &
12gnome-settings-daemon &
13metacity &
14nautilus &
(4) Press the Esc key to exit edit mode, then type :wq to save changes and exit.
- Execute the following commands in order to create a new session.
vncserver -kill: 1 #Terminate the original desktop process (assuming desktop number is :1)
vncserver :1 # Generates a new session
Connect to the instance using the viewer client software
- Connect to the instance using the viewer client connection software provided in the prerequisites: Click file-------New connection..to create a new connection.
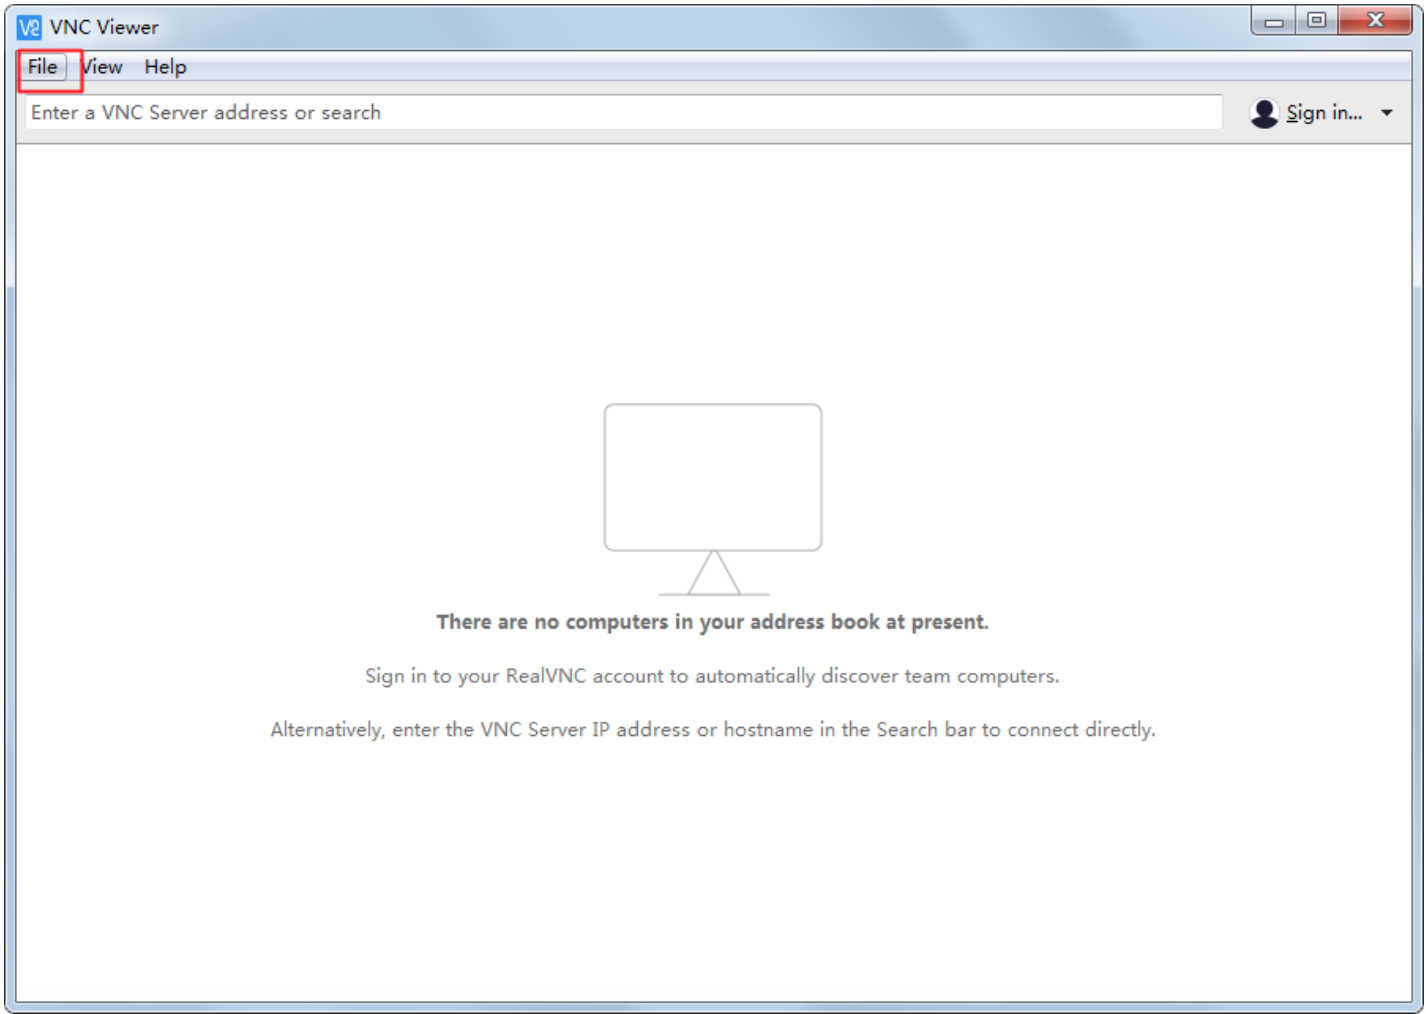
- Input the necessary information.
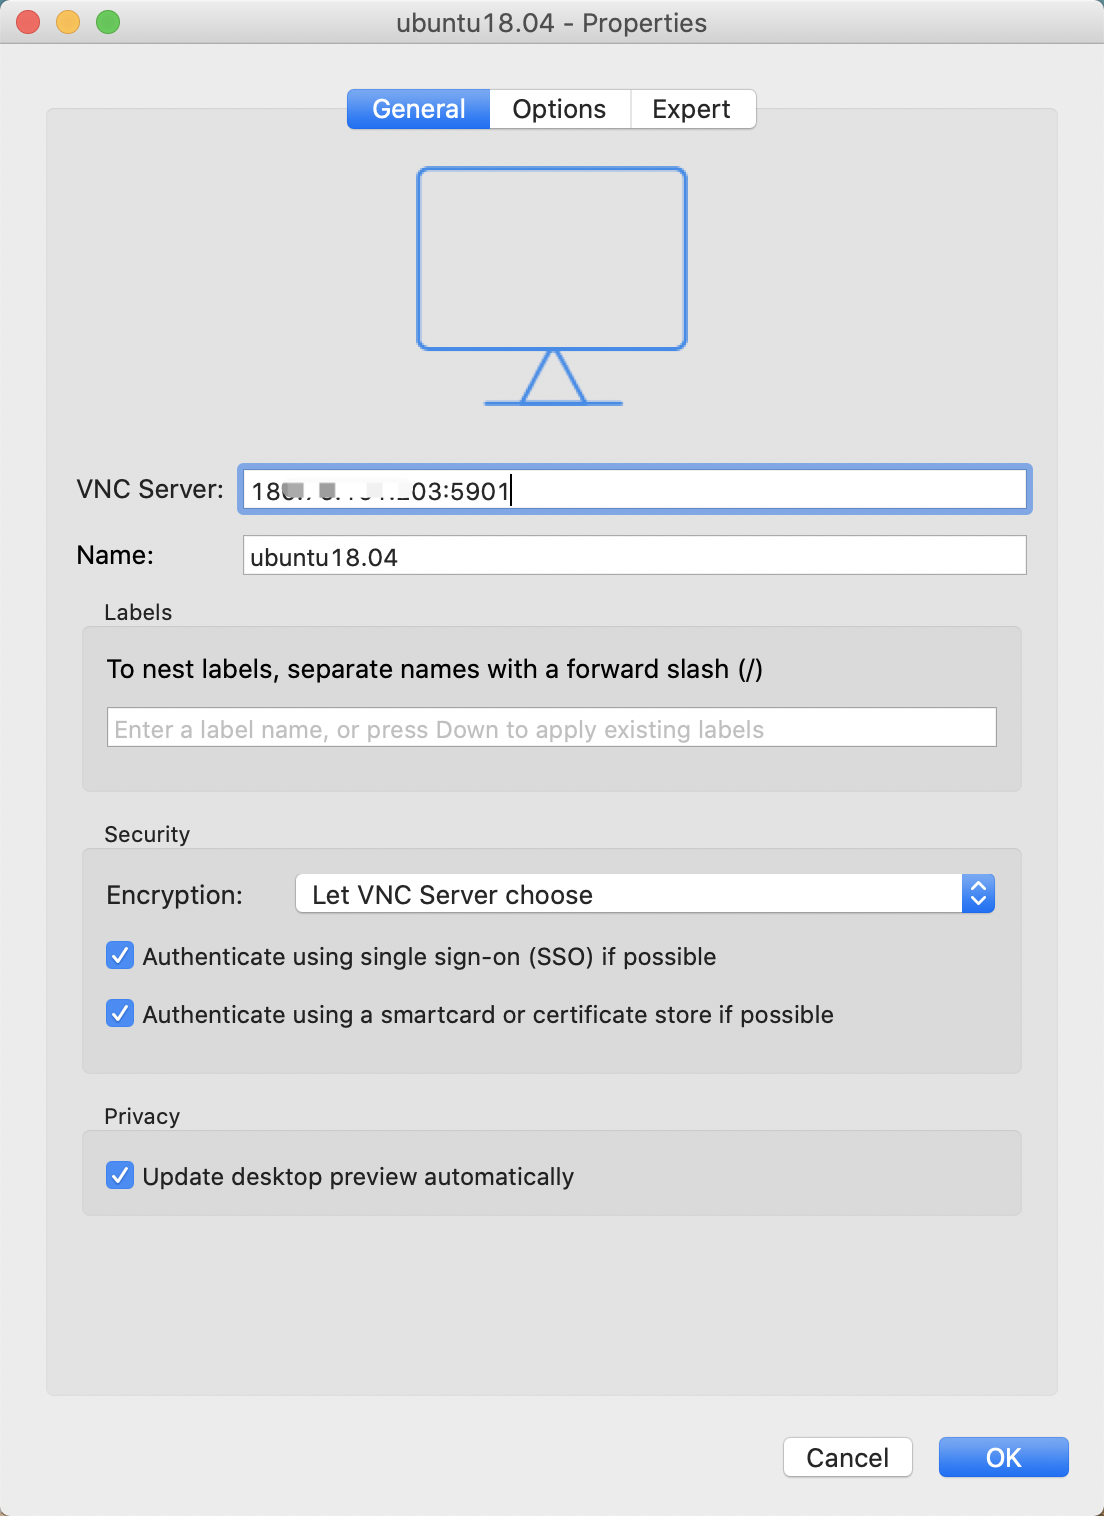
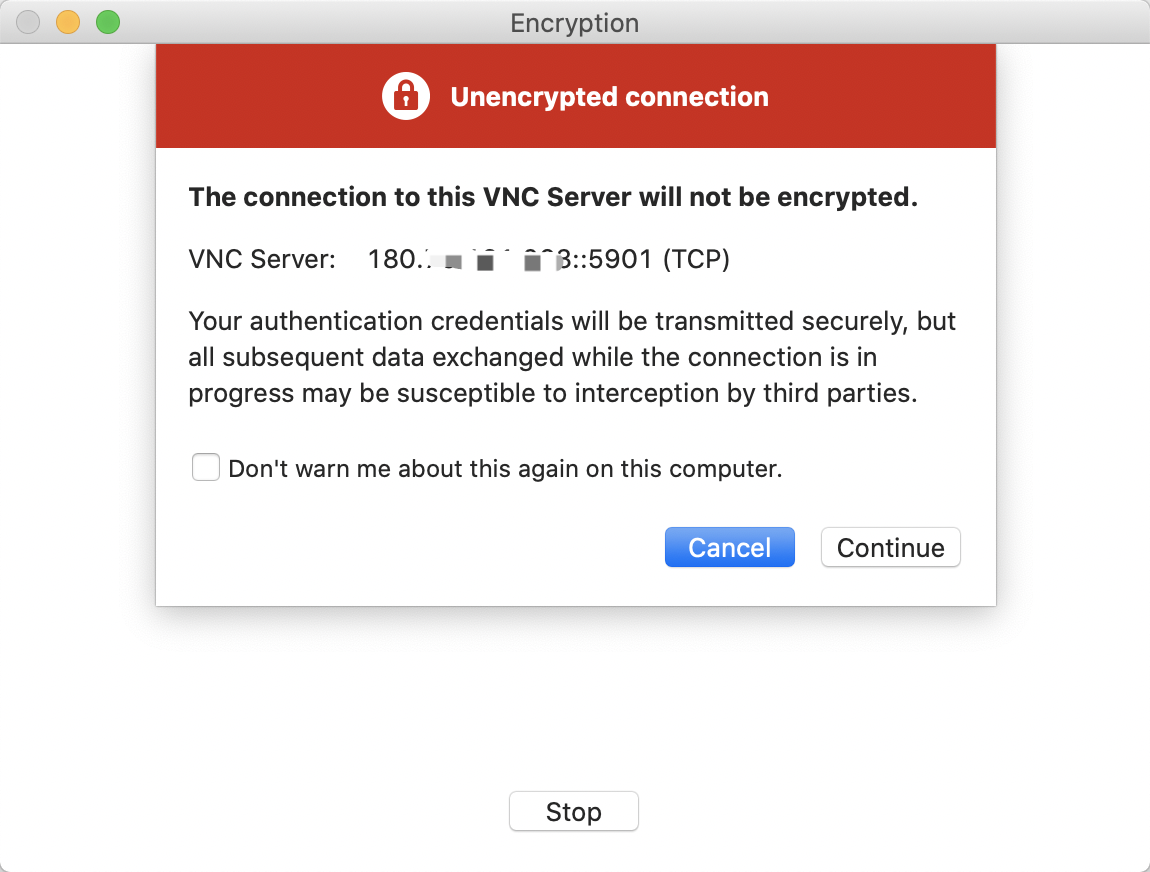
- Click Continue.
- Enter the password you set during Step 2 of "install vncserver" here.
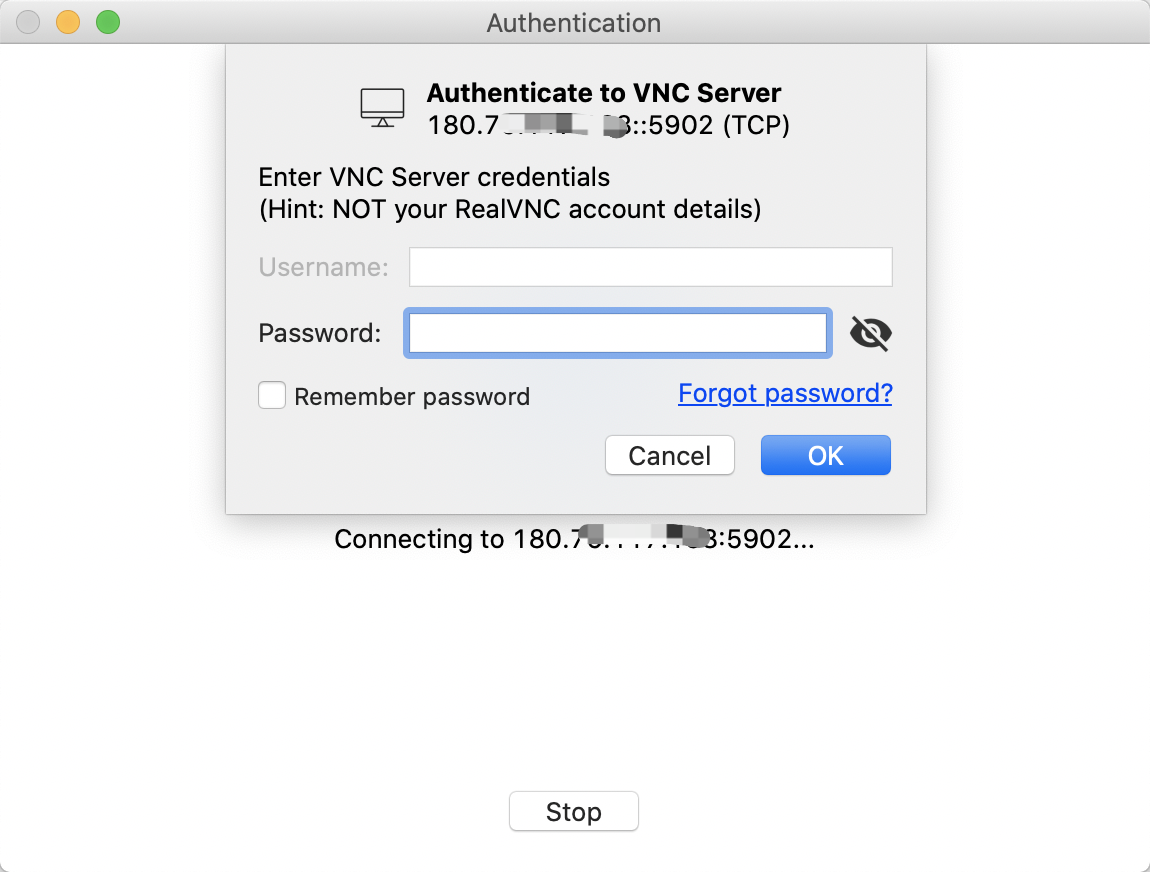
- The connection was successful.