
Rollback snapshot
Background
Rolling back a snapshot restores the disk to the state it was in at the time the snapshot was taken. For instance, if you created Snapshot A for Disk A at 17:00 on May 20, 2015, and decided to roll back to Snapshot A at 17:00 on May 21, 2015, the data on Disk A would revert to its state as of 17:00 on May 20, 2015. Thus, any data written between 17:00 on May 20, 2015, and 17:00 on May 21, 2015, would be permanently lost.
Prerequisites
- The cloud disk server has already generated snapshots, and the cloud disk server being used for rollback is not currently in the process of creating a new snapshot.
-
For snapshots taken from data disks, you must detach the data disk from the connected BCC instance prior to performing a rollback.
- For BCC instances running Windows OS, you need to remove the disk through Windows Disk Management before detaching the CDS disk in the management console. Failing to do so will cause the console to display an error.
- For BCC instances running Linux OS, it is recommended to first safely detach the disk within the operating system using the
umountcommand, and then proceed with the detachment operation in the console. - For specific operations, please refer to [Detach CDS Disk](CDS/Disk Operation Guide/Basic Operations/Unmount Cloud Disk Server.md).
Note
The Rollback Snapshot operation is irreversible. Please use it with caution. Before using it, please back up the relevant stored data to avoid impacting the system.
Operation steps
- Sign in to BCC Console and enter the Instance List page.
- From the left navigation menu, select Snapshot -> Snapshot List to access the Snapshot List page.
-
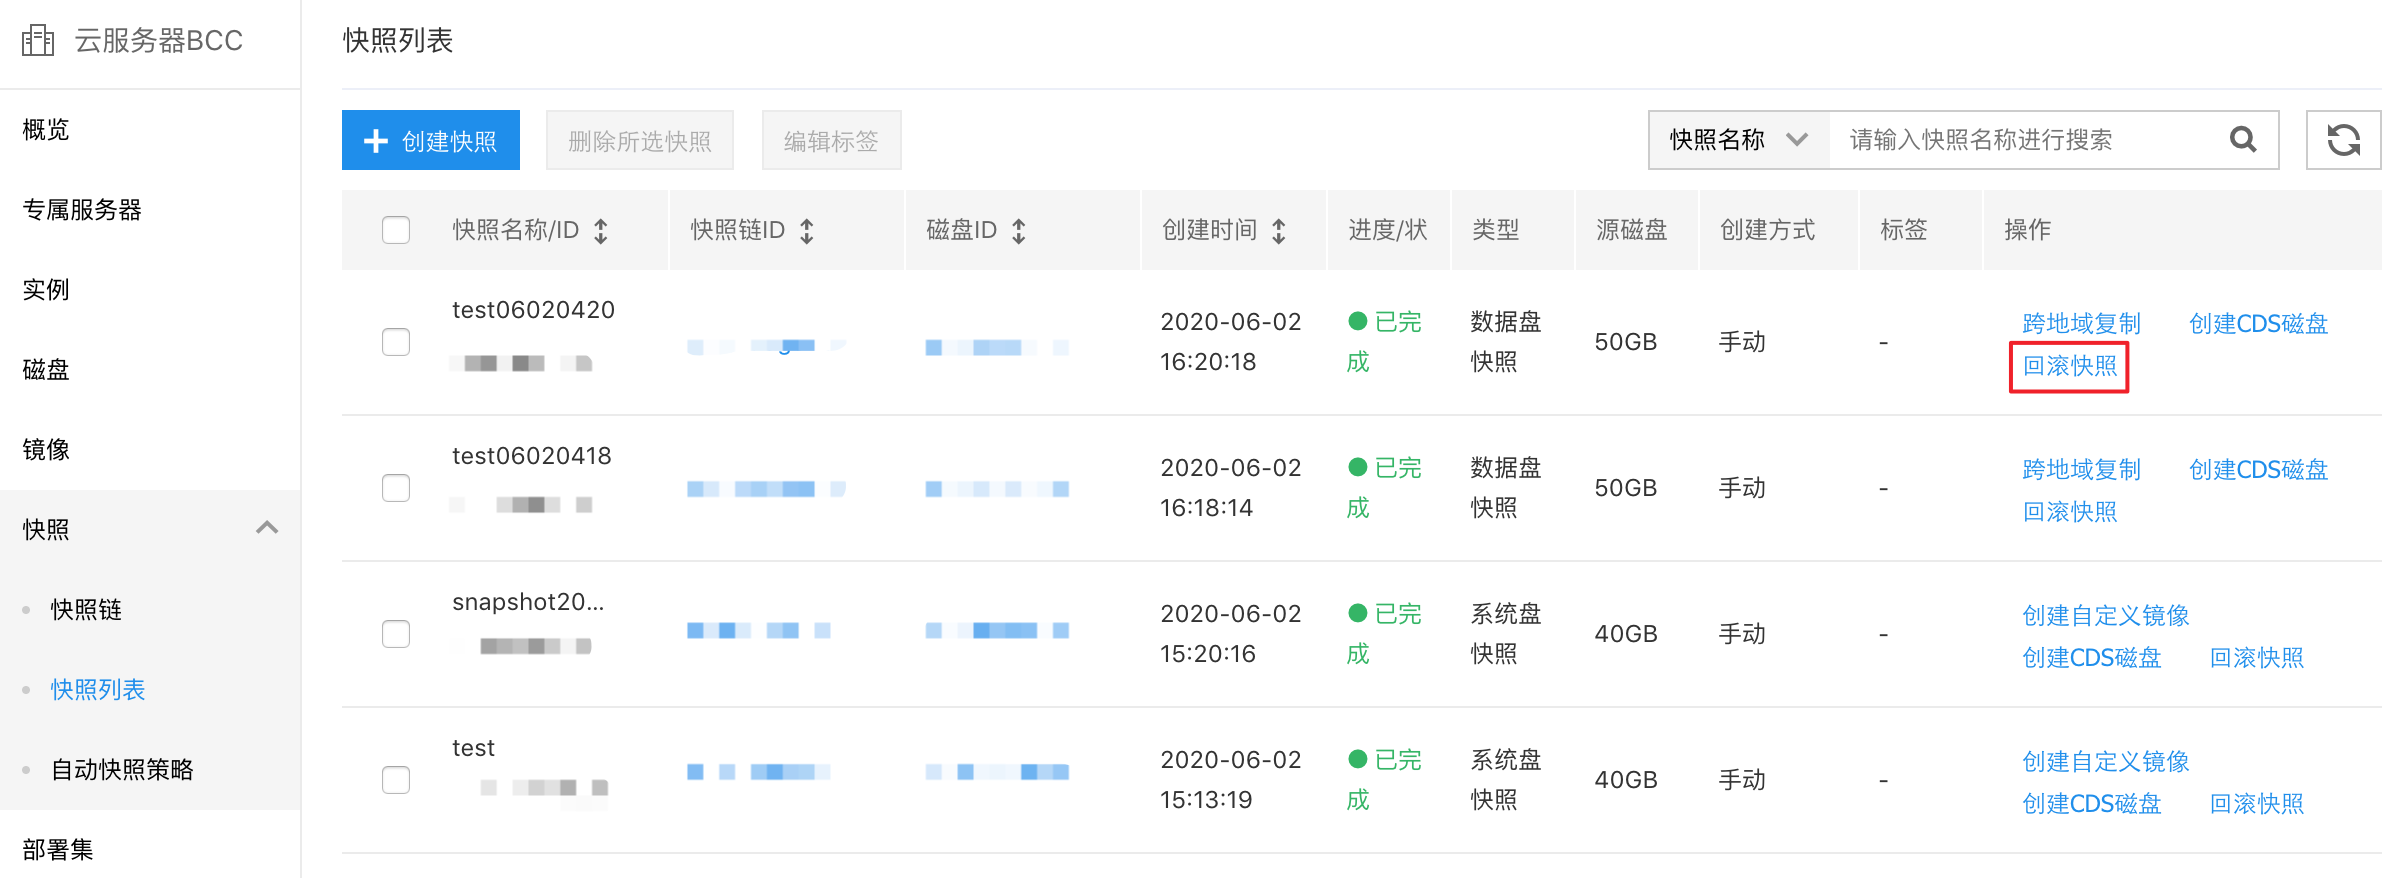
Select the snapshot you want to operate on and click Rollback Snapshot in the rightmost operation bar, as shown in the following figure.
- In the pop-up OK dialog box before rollback, click OK.
- In the security verification pop-up window, enter the SMS verification code and click OK to complete the snapshot rollback.