
Use Rescue Mode
Operation scenarios
When a BCC instance encounters issues like missing GRUB boot files, critical system files, or corrupted/missing lib dynamic library files, the OS might be unable to boot into single-user mode for repairs. In such cases, you can utilize rescue mode for system restoration. This document provides guidance on using rescue mode.
Rescue mode is generally used when the system is unable to boot normally and requires repair of the system disk. It is not recommended to operate in rescue mode on instances with normal workflow, as it may disrupt active services.
Prerequisites
- Only instances with Linux-based operating systems support rescue mode; Windows-based instances do not support this feature.
- Baremetal EBC instances do not currently support rescue mode.
- Rescue mode can only be accessed when the instance is in Running or Stopped status. If the instance is Running, entering rescue mode will require a reboot of the instance.
- During an instance’s rescue mode, operations like power on, power off, reboot, configuration modifications, and password resets are not supported. To perform such actions, please exit rescue mode first.
Operation steps
Enter rescue mode
- Log in to the Baidu Cloud Compute (BCC) Console and navigate to the Instance List page.
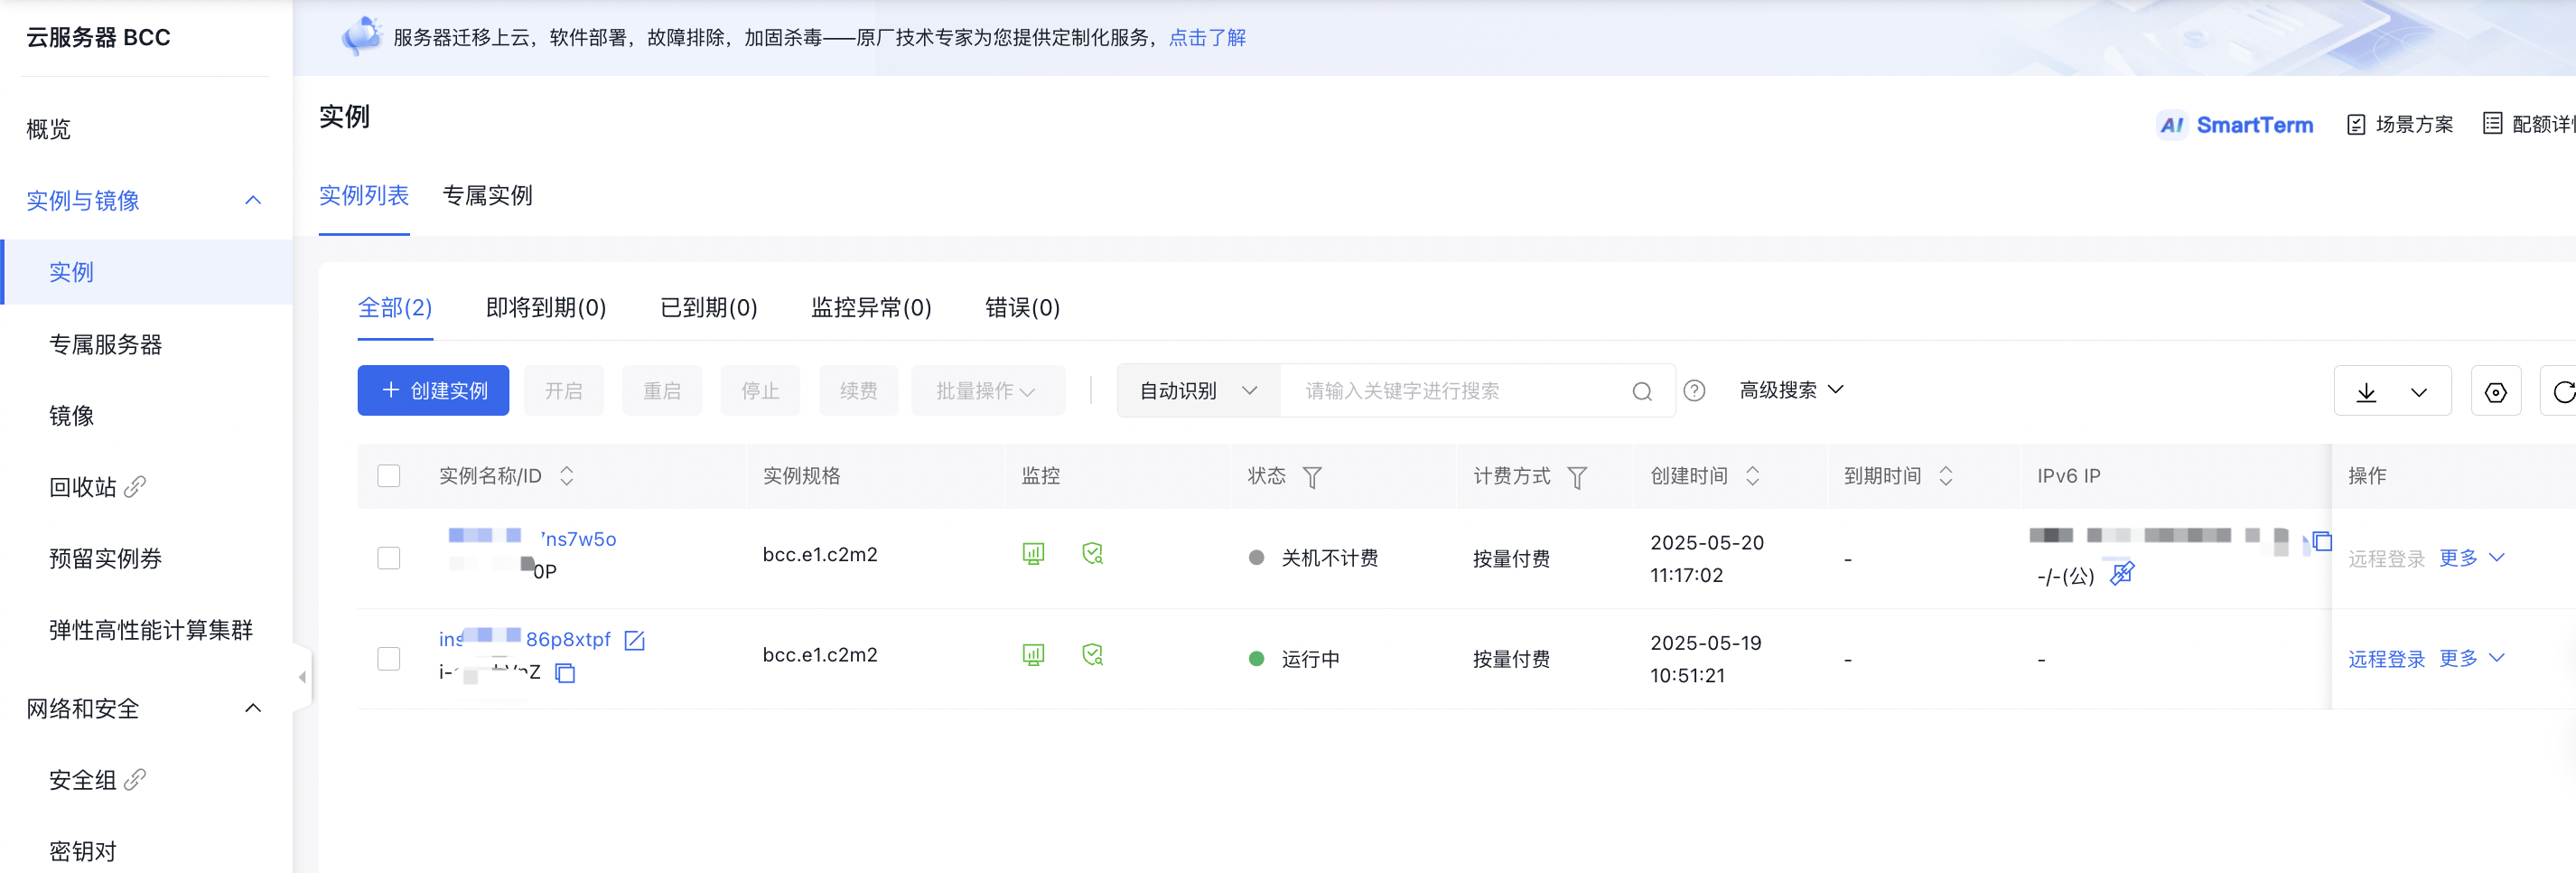
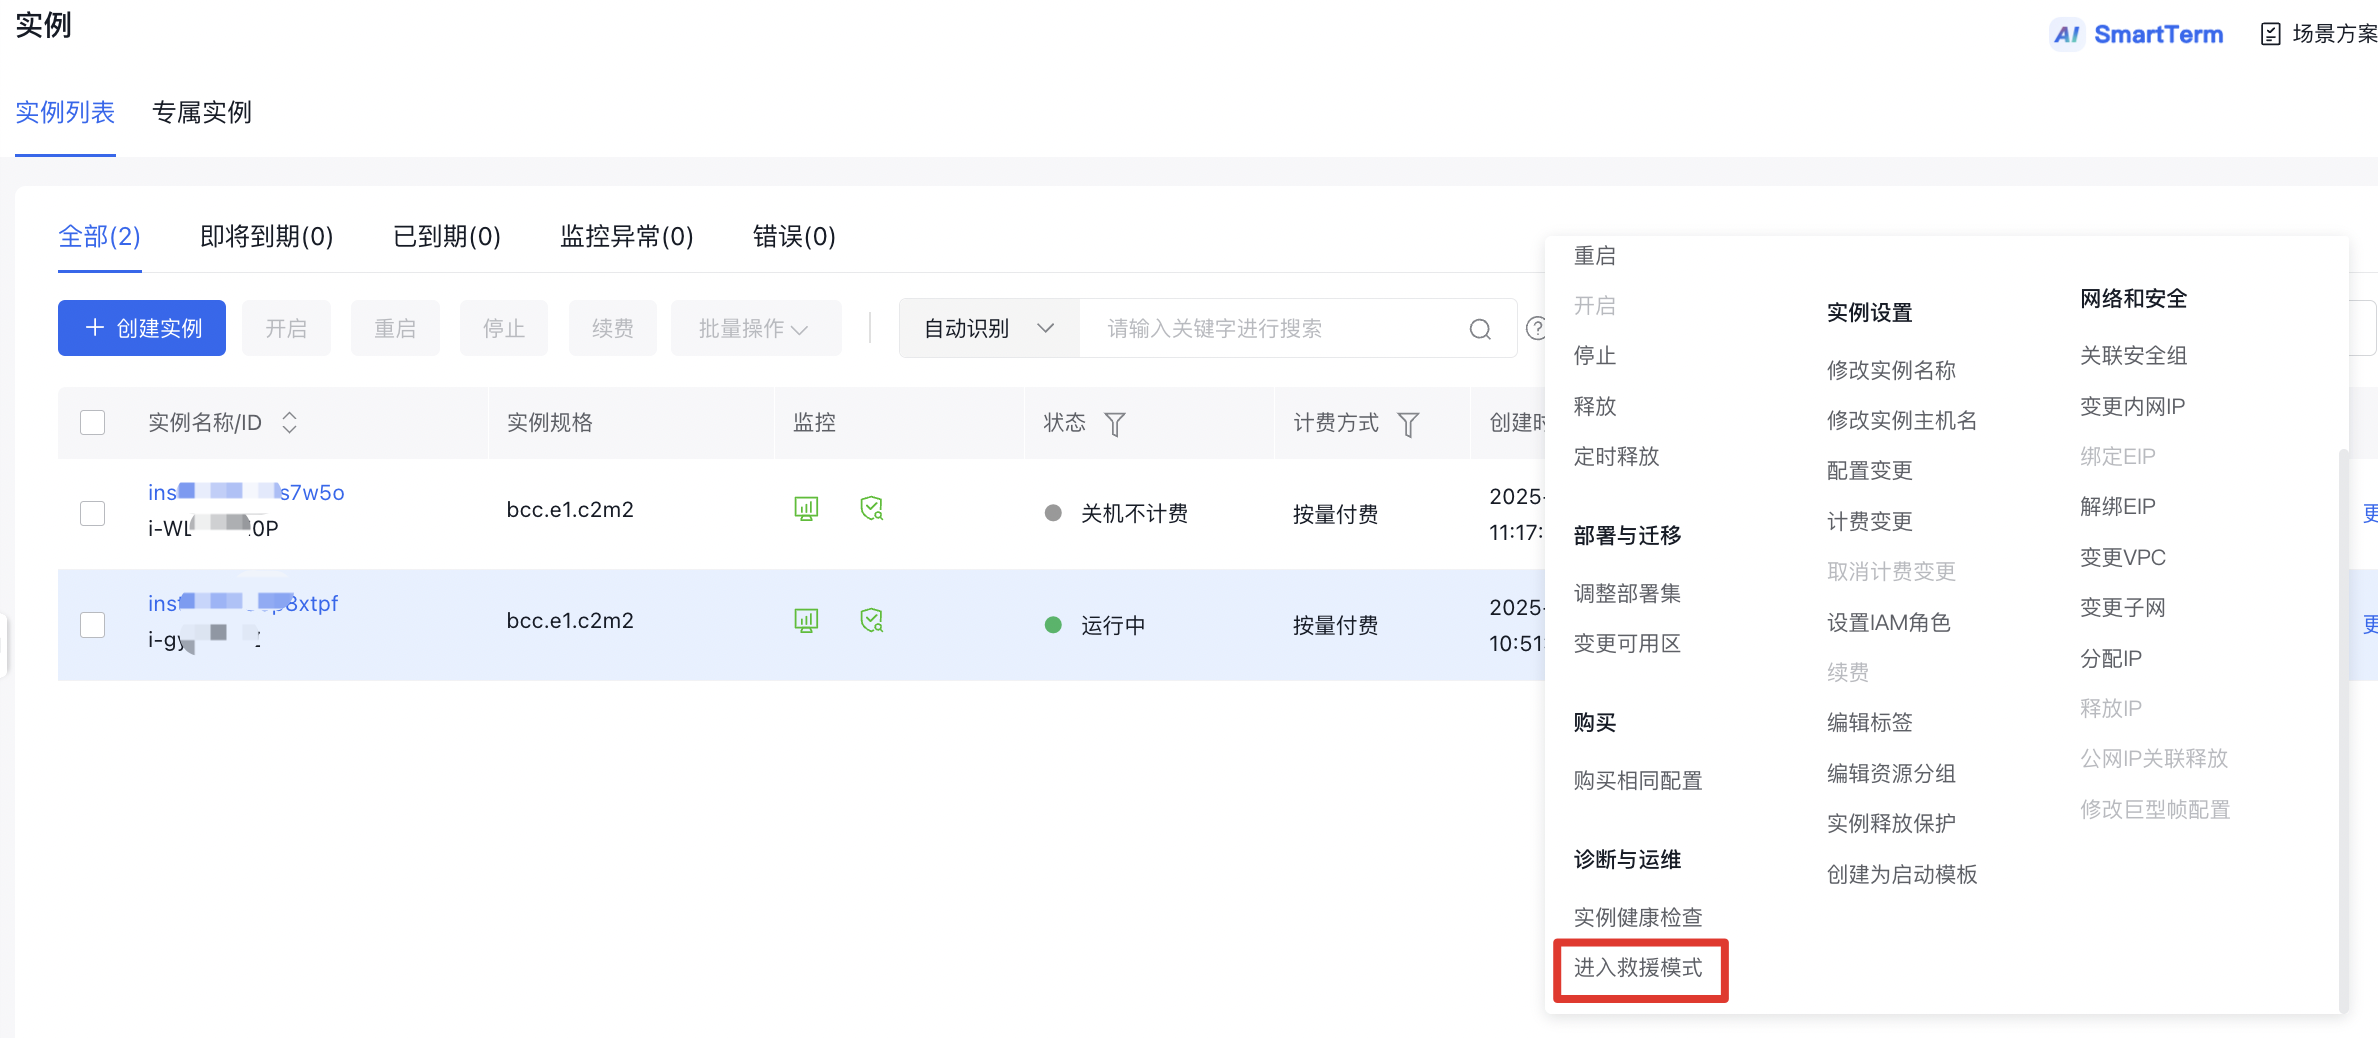
- Choose the instance you wish to repair, and click More >> Enter Rescue Mode in the right-hand operation menu, as illustrated below.
- In the Rescue Mode pop-up window, set the login password to access the instance during rescue mode. Further details are provided below.
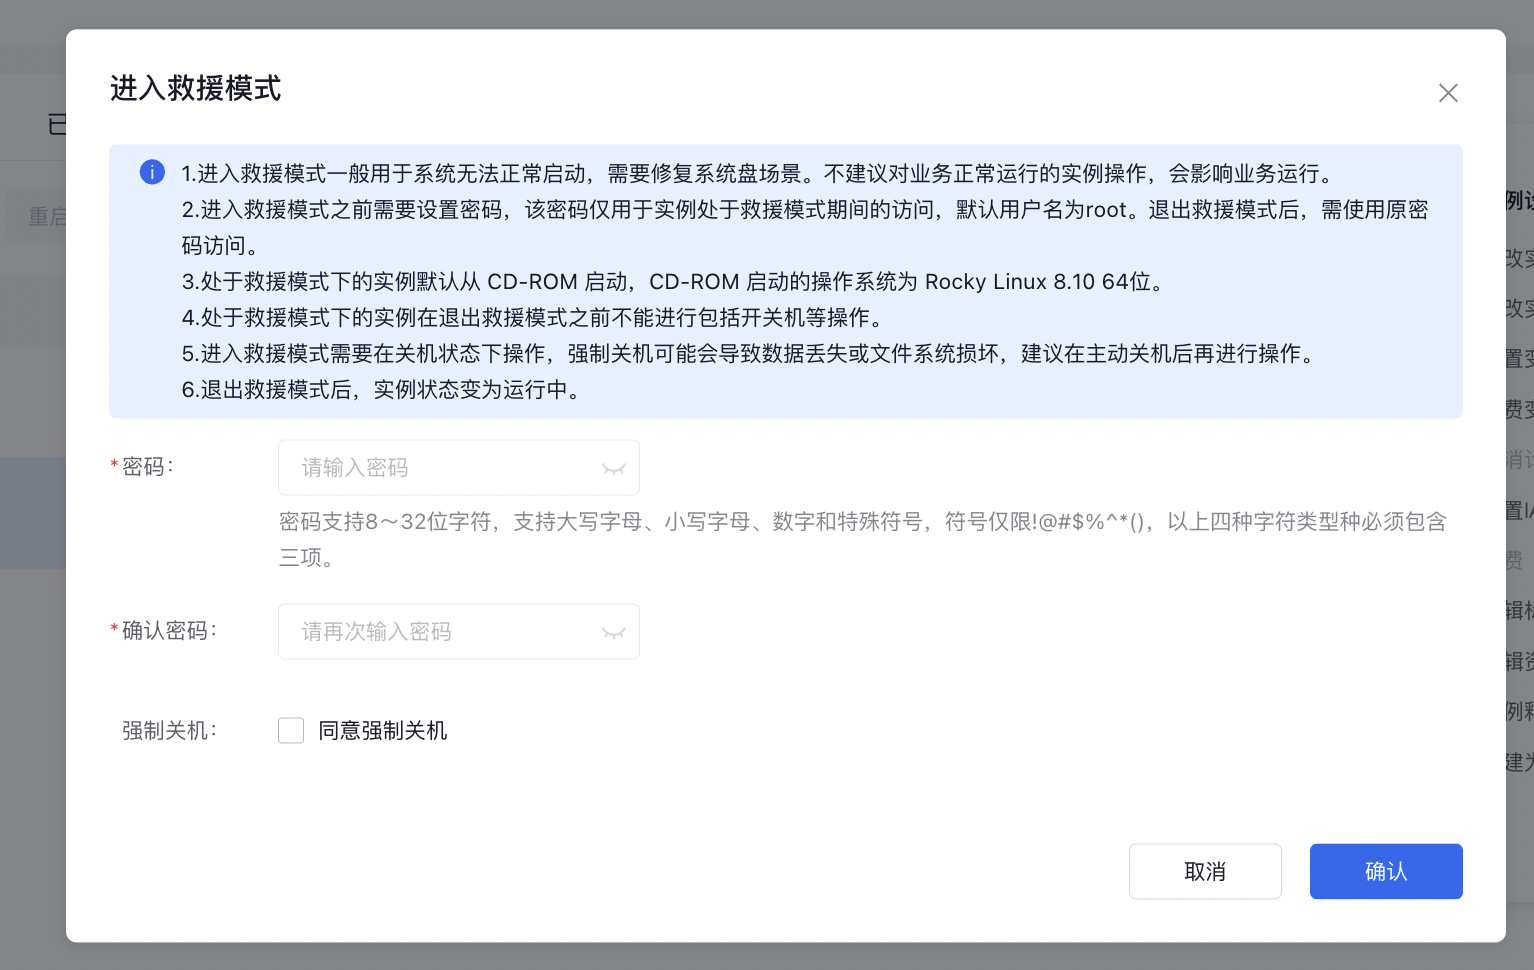
- Click Confirm.
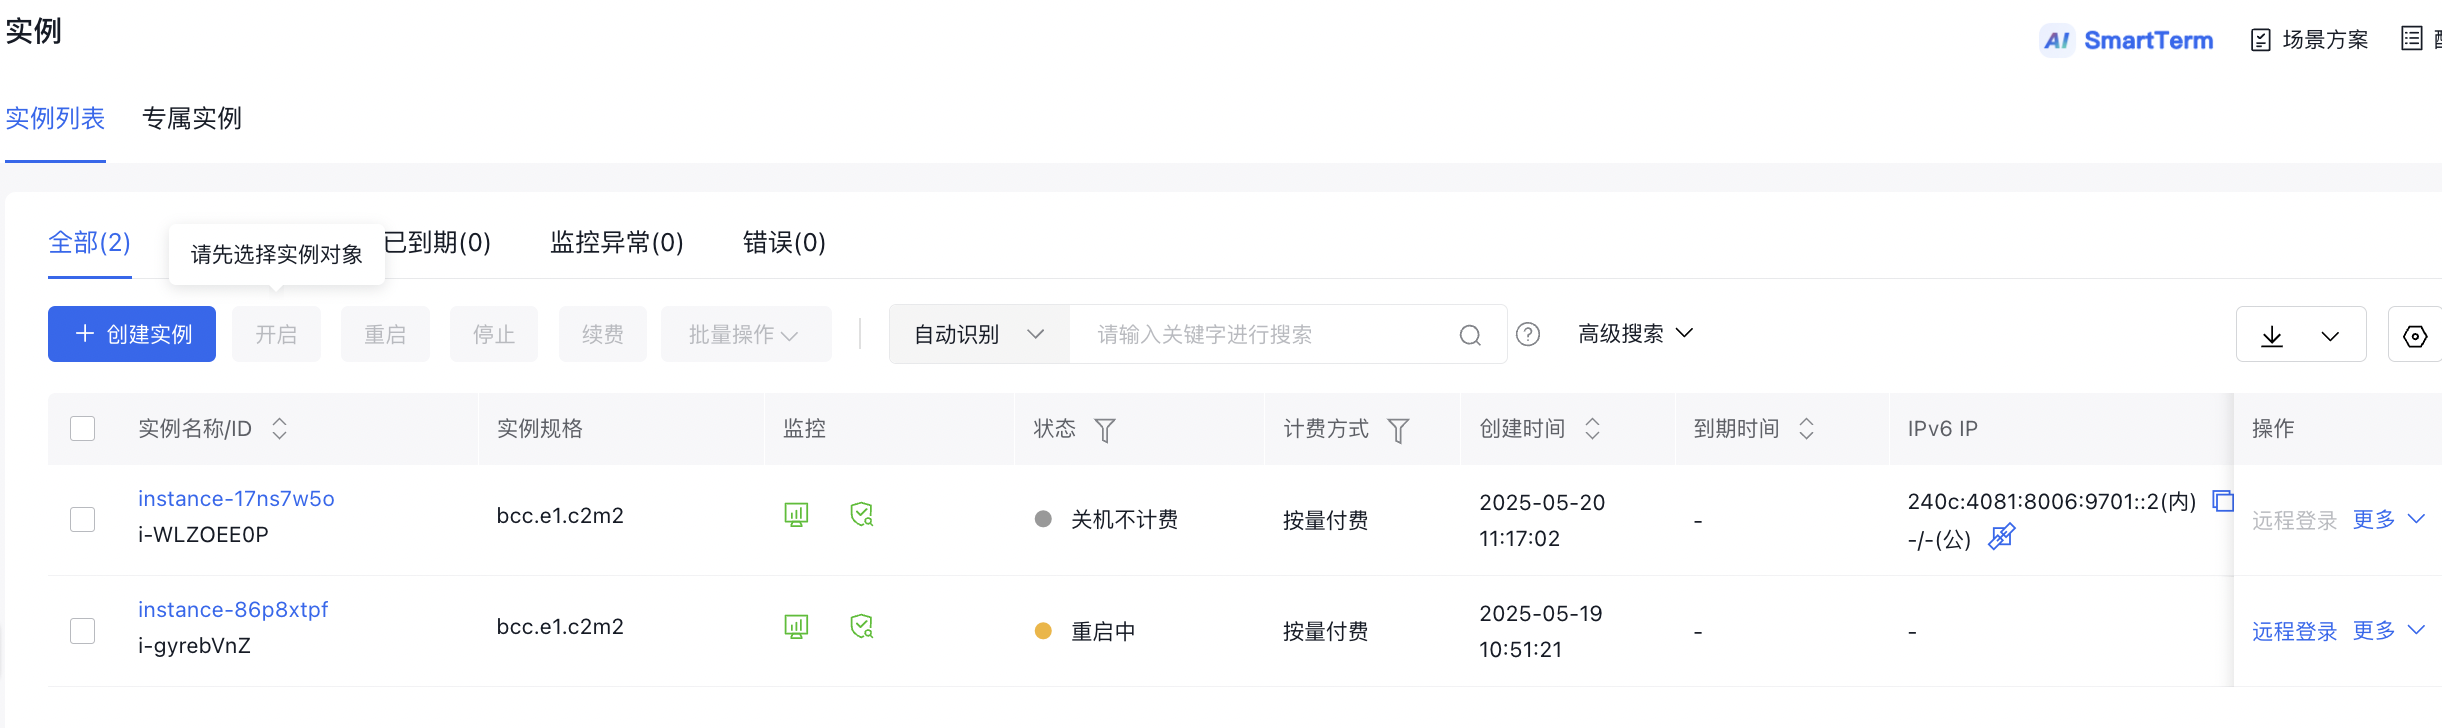
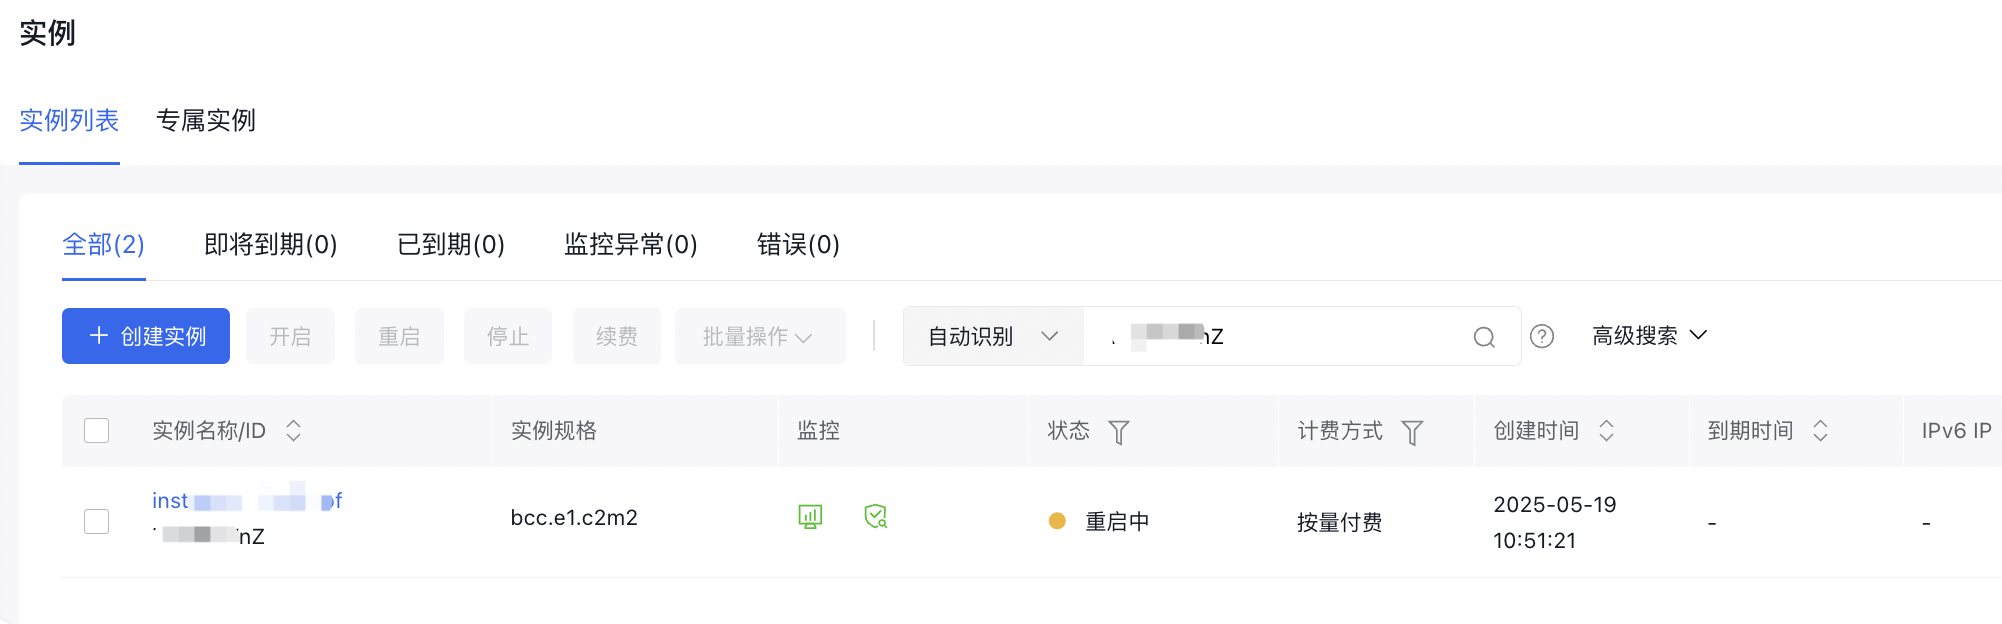
At this stage, the instance status will display as Rebooting and entering rescue mode. Once the status changes to what is shown below, it means the instance has successfully entered rescue mode. You can now proceed to repair the instance.
Use rescue mode for system repair
- Remotely log in to the instance using the root account and the password set in step 3.
- If the instance has a public IP address, you can sign in to the instance via SSH;
- If the instance lacks a public IP address, you can access the console and connect to the instance using SmartTerm or VNC.
- After logging in, mount the system disk for the root partition.
In rescue mode, the system disk for the instance is labeled as vda, with the root partition being vda1. By default, the partition remains unmounted. Note that the root partition may vary depending on the operating system, such as vda2 or others; determine it according to the OS and then proceed to mount it.
Once mounted successfully, you can modify or repair the data in the root partition.
Taking Ubuntu 22.04 OS instance as an example:
In rescue mode, the system disk for the instance is labeled as vda, with the root partition being vda2. By default, the partition remains unmounted.
- Mounting the system disk of an instance for root partition
1mkdir -p /mnt/sysroot
2mount /dev/vda2 /mnt/sysroot
Once mounted successfully, you can access the data in the root partition.
- Run commands by
chrootunder the root directory of the instance's system disk with the operation commands as follows:
1mount -o bind /dev /mnt/sysroot/dev
2mount -o bind /dev/pts /mnt/sysroot/dev/pts
3mount -o bind /proc /mnt/sysroot/proc
4mount -o bind /run /mnt/sysroot/run
5mount -o bind /sys /mnt/sysroot/sys
6chroot /mnt/sysroot /bin/bash
Exit rescue mode
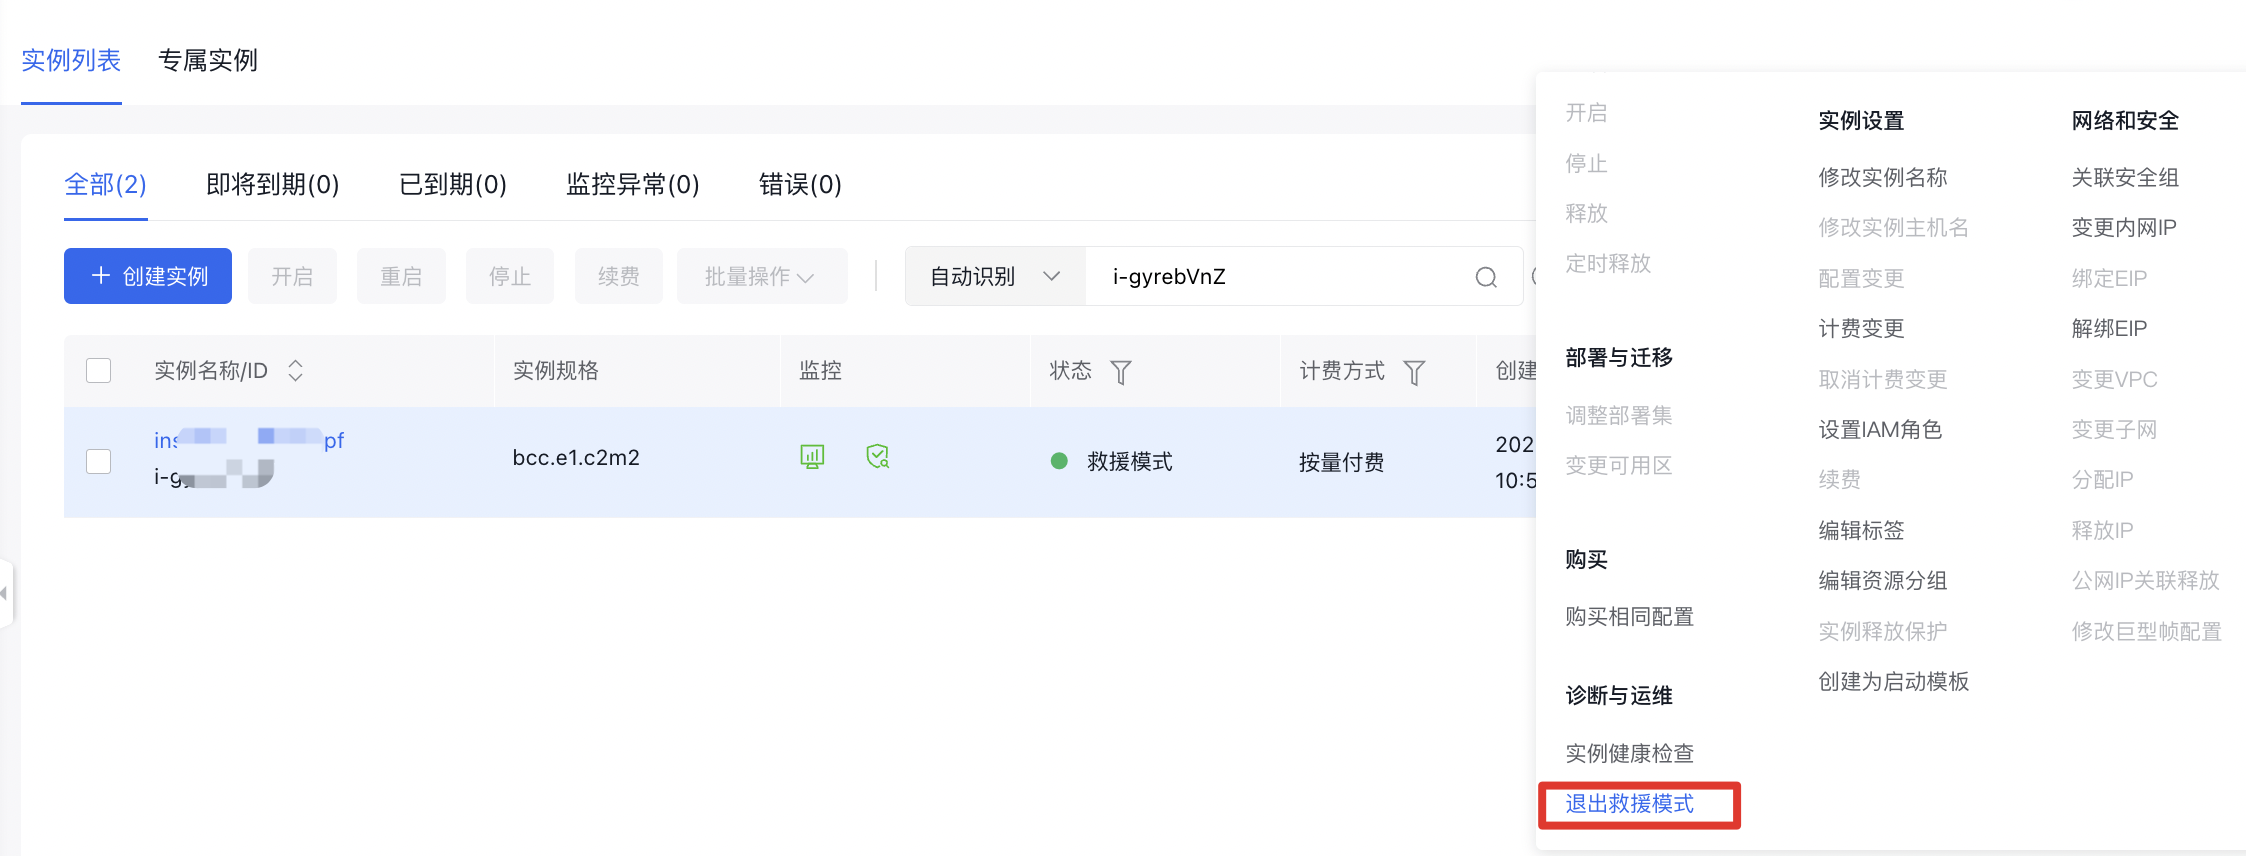
- After completing instance repairs, return to the instance list, select the instance, and click More >> Exit Rescue Mode in the right-hand operation menu, as illustrated below.
- Once the instance exits rescue mode, its status will switch to running.
Using rescue mode via API
You can enter rescue mode for a specified instance via the [Enter Rescue Mode API](BCC/API Reference/Instance Related Interfaces/Enter rescue mode.md);
You can exit rescue mode for a specified instance via the [Exit Rescue Mode API](BCC/API Reference/Instance Related Interfaces/Exit rescue mode.md).