04 Install Graphical Interface and Connect Using VNC Viewer
This tutorial explains how to install a graphical interface on a Baidu AI Cloud Public Image Ubuntu14.04 environment and connect to it locally using a VNC client.
Note: Installing a graphical desktop may significantly affect server performance. Improper installation could prevent the OS from booting normally. Before starting the installation, create a manual snapshot of the BCC instance to enable a rollback in case of errors.
Step I: Install the gnome desktop environment on BCC.
Step II: Install VNCserver service.
Step III: Connect to the instance using the viewer client software.
Prerequisites
- Ensure that security groups and firewalls permit Port 5901 (vncserver port).
- Download VNC Viewer client connection software.
Install the gnome desktop environment on BCC
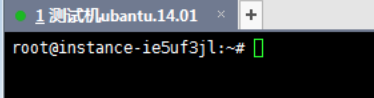
- Begin by remotely connecting to and signing in to the server.
- Run the command: apt-get -y update to update the package sources.

- Run the command apt-get -y install x-window-system-core gnome-core gdm to install the graphical environment.

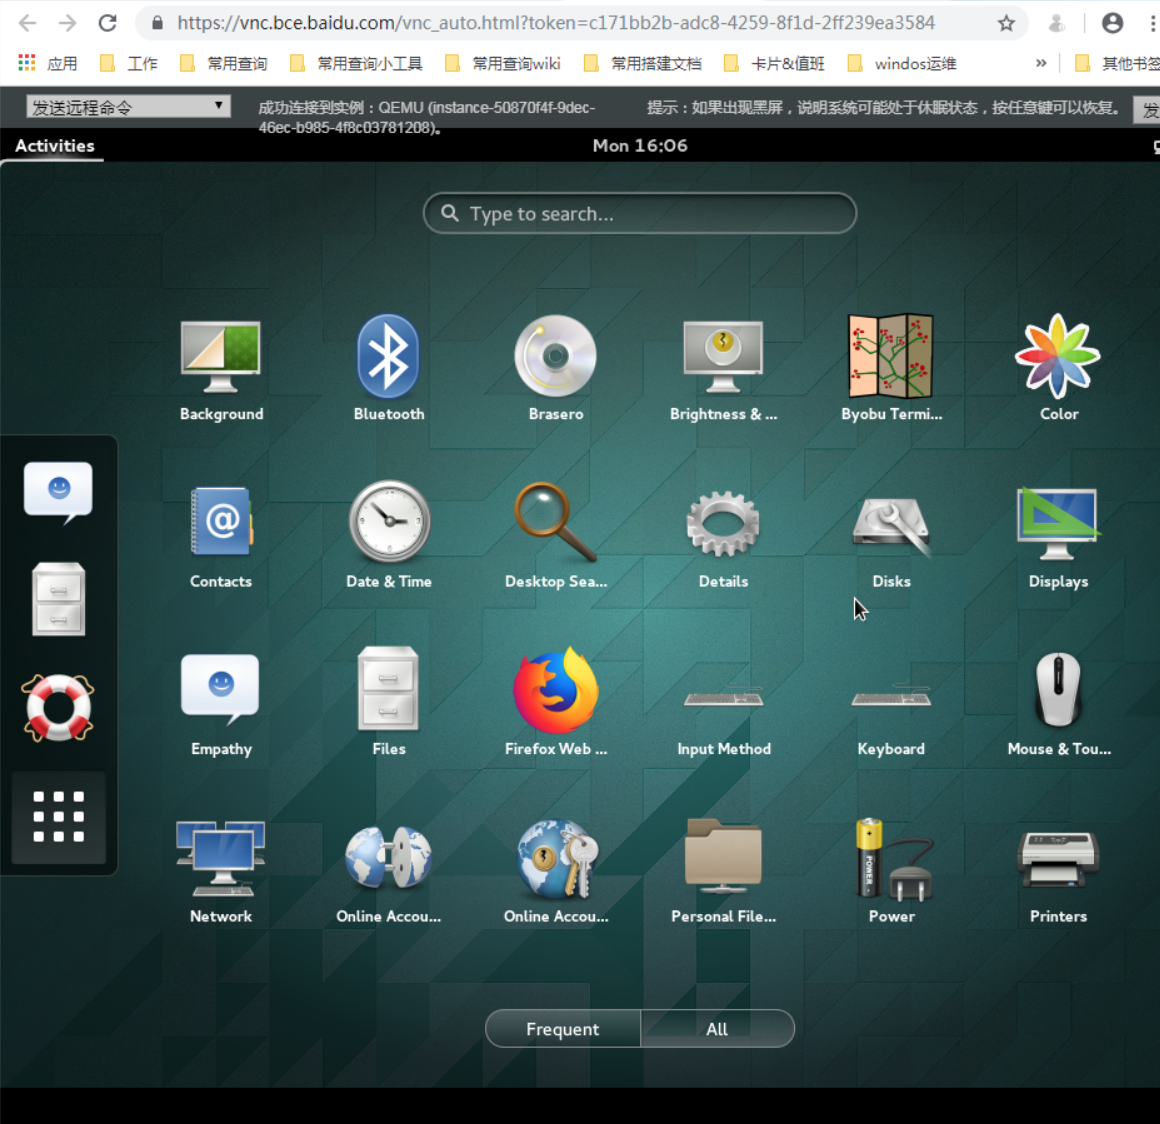
- Execute the command startx to launch the graphical desktop. The effect is as follows:
Install VNCserver service
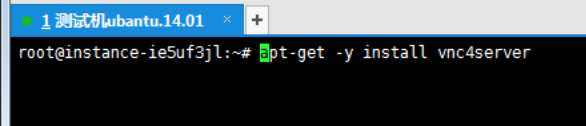
- Run the command apt-get -y install vnc4server to install the VNC server.
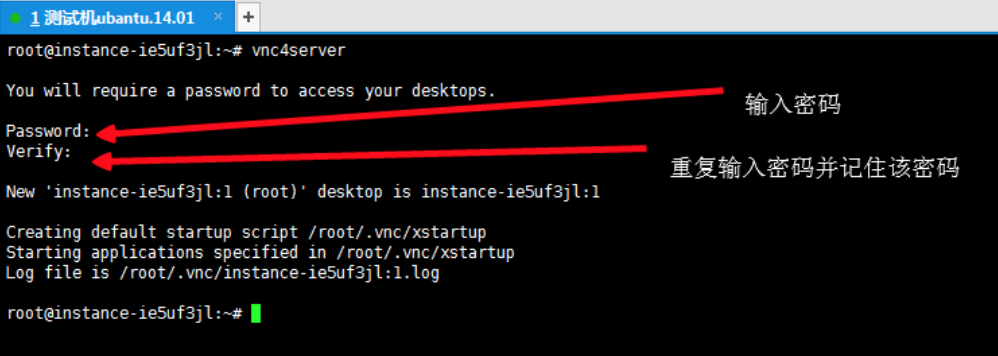
- Use the command vnc4server to start the VNC service and set the connection password as prompted.
- Execute the command ps -ef | grep vnc to check if the service is running. If you see similar output to the one below, the service is running successfully.

The returned results indicate that the service utilizes TCP Port 5901.
- Execute the command cp -p ~/.vnc/xstartup ~/.vnc/xstartup.bak to back up the original xstartup configuration file.
-
Modify the vnc4server startup file according to the following steps.
(1) Run the command vim ~/.vnc/xstartup to open the file.
(2) Press the i key to enter edit mode.
(3) Replace the file content with the following.#!/bin/sh
Uncomment the following two lines for normal desktop:
unset SESSION_MANAGER
exec /etc/X11/xinit/xinitrc
[ -x /etc/vnc/xstartup ] && exec /etc/vnc/xstartup [ -r $HOME/.Xresources ] && xrdb $HOME/.Xresources xsetroot -solid grey vncconfig -iconic & #x-terminal-emulator -geometry 80x24+10+10 -ls -title "$VNCDESKTOP Desktop" & #x-window-manager & gnome-panel & gnome-settings-daemon & metacity & nautilus & gnome-terminal &
(4) Press the Esc key to exit edit mode, then type :wq to save changes and exit.
- Run the following commands in the given order to create a new session.
vncserver -kill: 1 #Terminate the original desktop process (assuming desktop number is :1)
vncserver :1 # Generates a new session
Connect to the instance using the viewer client software
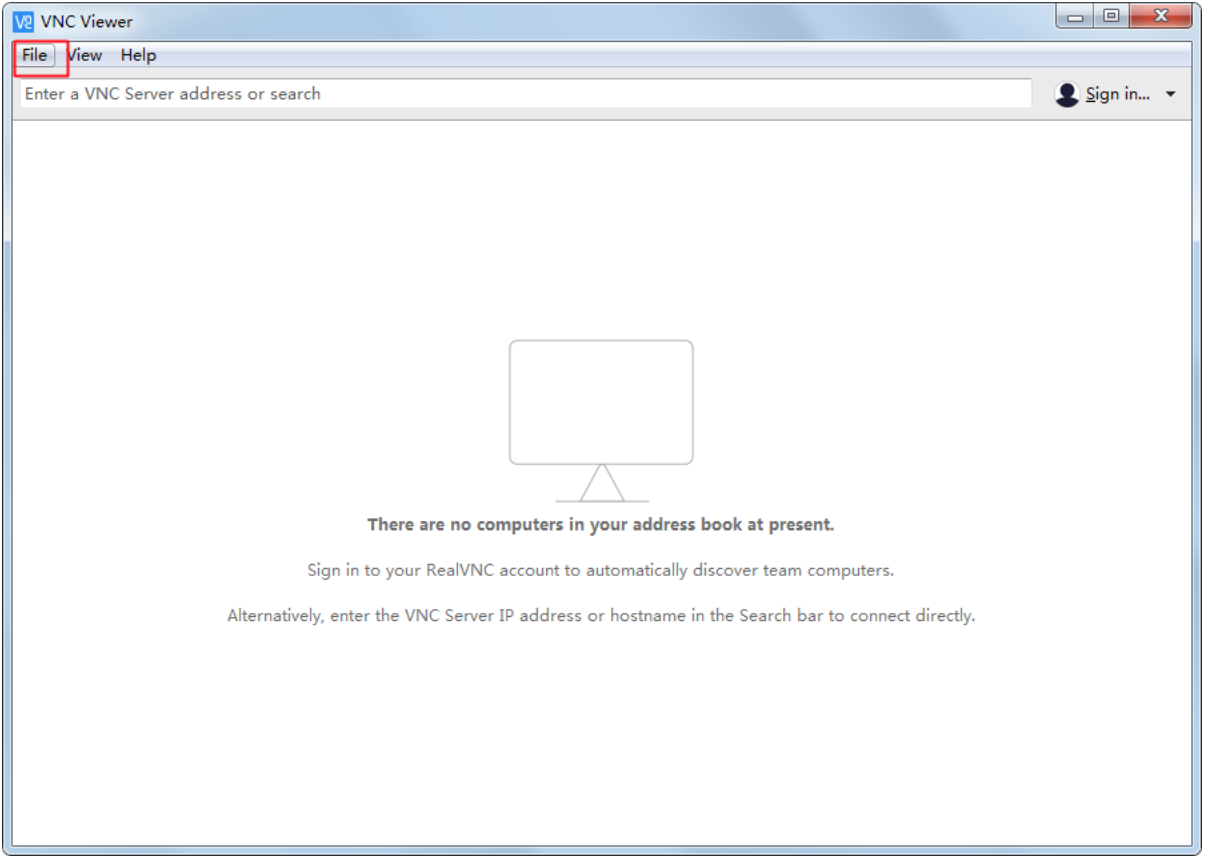
- Connect to the instance using the viewer client connection software provided in the prerequisites:
Click file-------New connection..to create a new connection
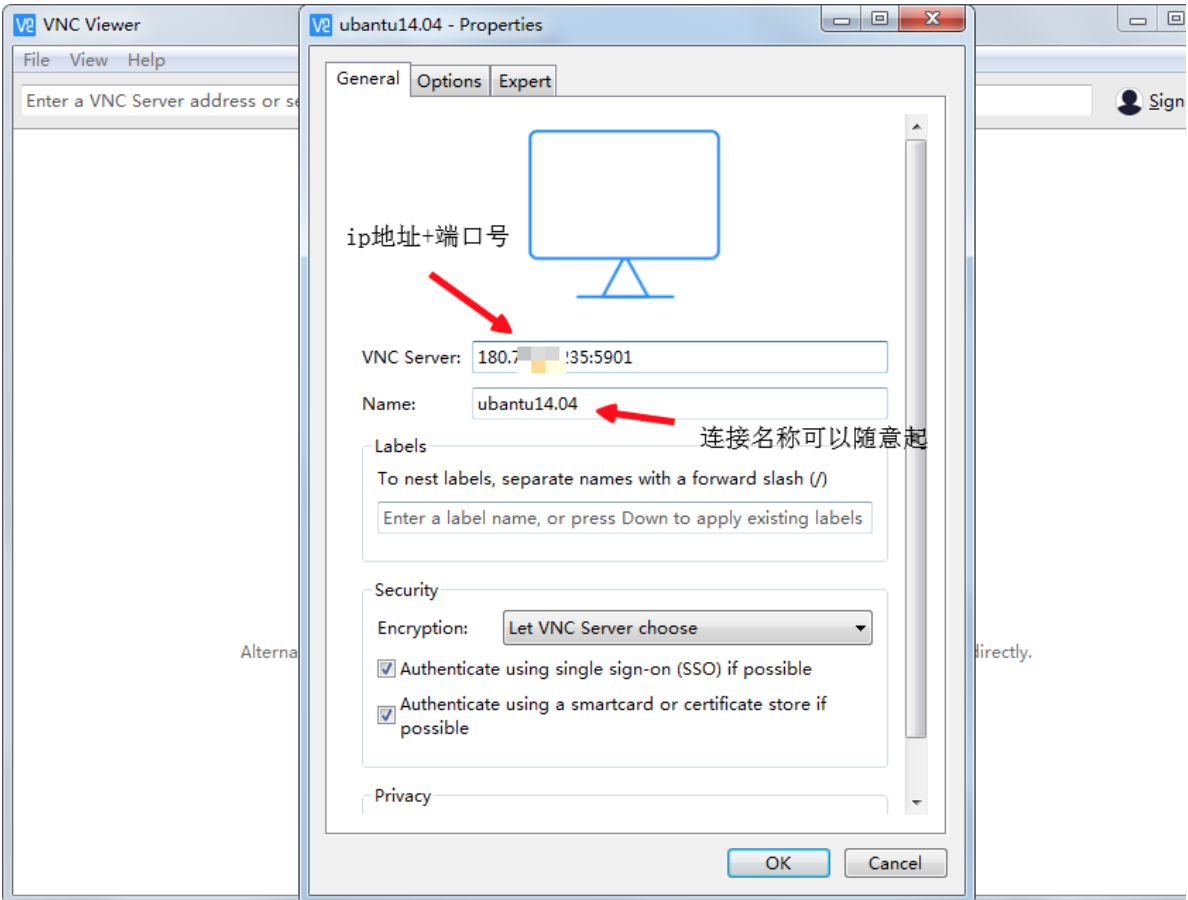
- Fill in the required information.
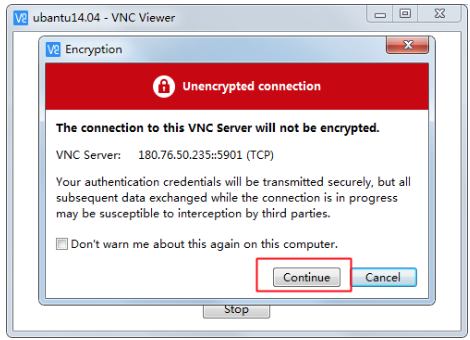
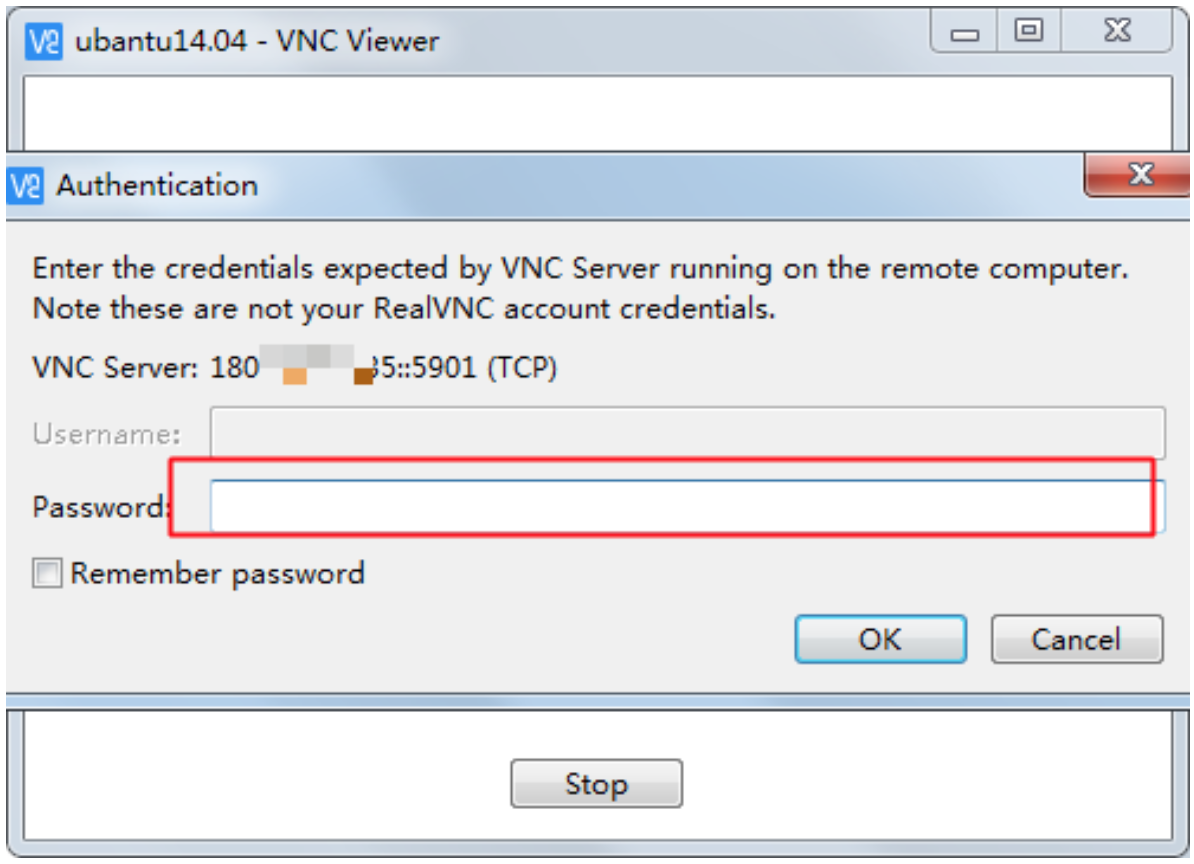
- Double-click the connection you previously created and then click to connect.
- Enter the password you set in step 2 above.
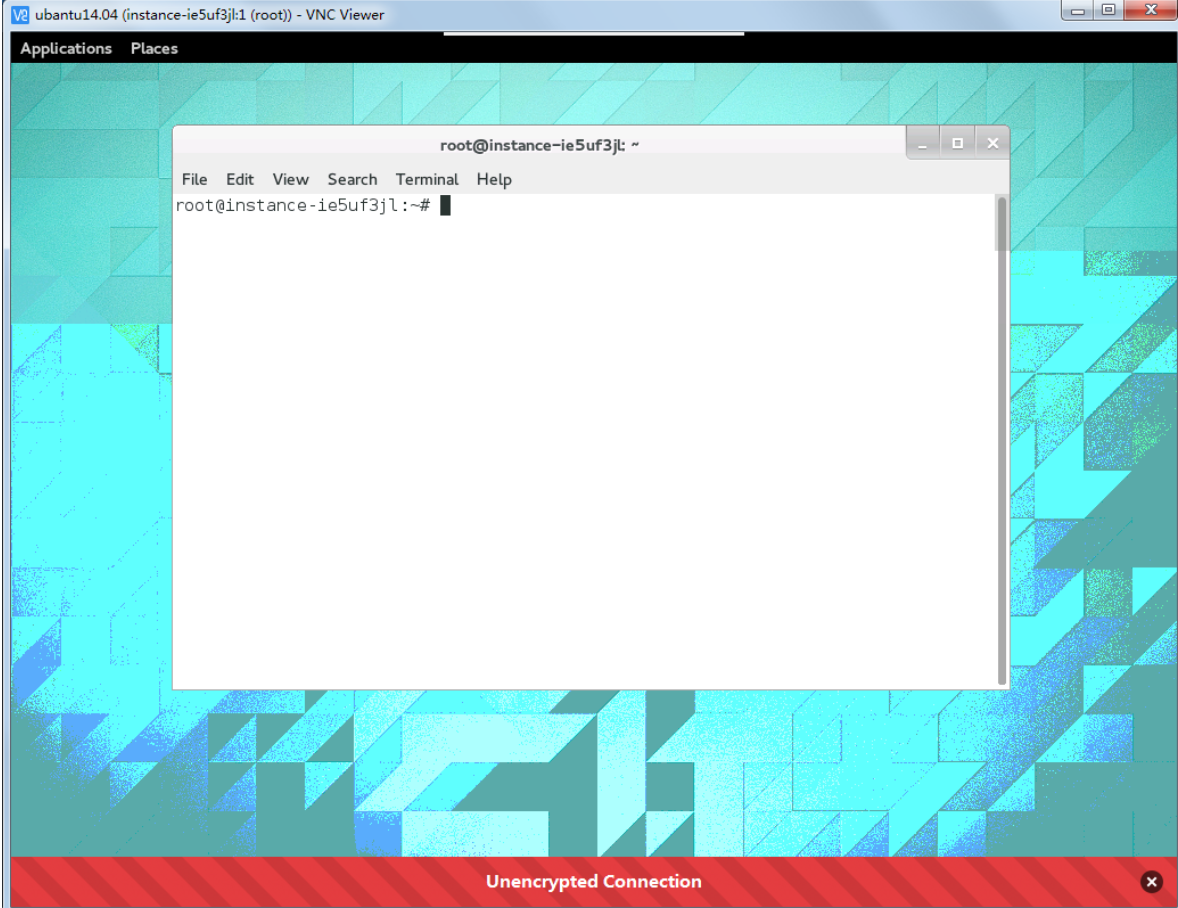
- The connection has been successfully established.