
Create a simple service via kubectl
Connect the Kubernetes cluster via kubectl
To connect to Baidu AI Cloud Kubernetes Cluster from a local personal computer, use the Kubernetes command-line client kubectl. The installation steps are as follows:
Operation steps
For kubectl installation, please refer to the official Kubernetes Install and Set up Kubectl Documentation.
Note:
The operational steps in this guide are based on a Linux environment.
-
Extract the downloaded file, grant execution permission to kubectl, and place it under PATH
chmod +x ./kubectl sudo mv ./kubectl /usr/local/bin/kubectl
-
Set up kubectl and download the cluster credentials. Retrieve the cluster configuration file from the cluster interface and save it in the default kubectl configuration path.
mv kubectl.conf ~/.kube/config
-
After configuration is complete, you can use kubectl to access the Kubernetes cluster from your local computer
kubectl get node
Create an Nginx application
After completing the operation to connect to the Kubernetes cluster via kubectl, enter the following command:
1kubectl run my-nginx --image=nginx --replicas=3 --port=80This command will create three nginx containers, each exposing port 80.
The command to frequently check the status of the created nginx container is as follows:
1$ kubectl get pods
2NAME                       READY     STATUS    RESTARTS   AGE
3my-nginx-858393261-pfjdn   1/1       Running   0          14s
4my-nginx-858393261-sn7g5   1/1       Running   0          14s
5my-nginx-858393261-spv8w   1/1       Running   0          14s
Note: The symbol "$" represents the input command, while other lines represent the container information displayed after entering the command.
Expose service to the internet
Create a service
In a public cloud environment, you can create a service of LoadBalancer by entering a command. This will also trigger the public cloud to create a load balancer and a public IP. The specific operation command is as follows:
1kubectl expose deployment my-nginx --port=80 --type=LoadBalancerView service
Run the command to view the service status and the public IP assigned to the service.
1$ kubectl get services
2NAME TYPE CLUSTER-IP EXTERNAL-IP PORT(S) AGE
3kubernetes ClusterIP 172.16.0.1 <none> 443/TCP 21d
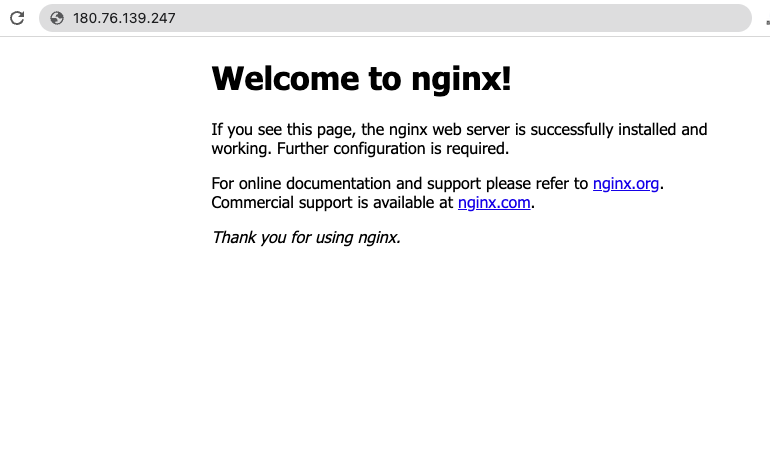
4my-nginx LoadBalancer 172.16.72.193 106.13.134.33,192.168.0.75 80:31787/TCP 61sBy accessing the link 180.76.139.247, the created service can be viewed as shown in the figure:
After completing the service creation, users can sign in to the Baidu AI Cloud Platform, select Product Services > Baidu Load Balance (BLB)", enter the BLB console to view detailed information about the Baidu Load Balance (BLB). For specific steps, refer to the [Load Balancer Operation Guide](BLB/Operation guide/General-purpose BLB instance/Creating BLB Ordinary Instance.md)
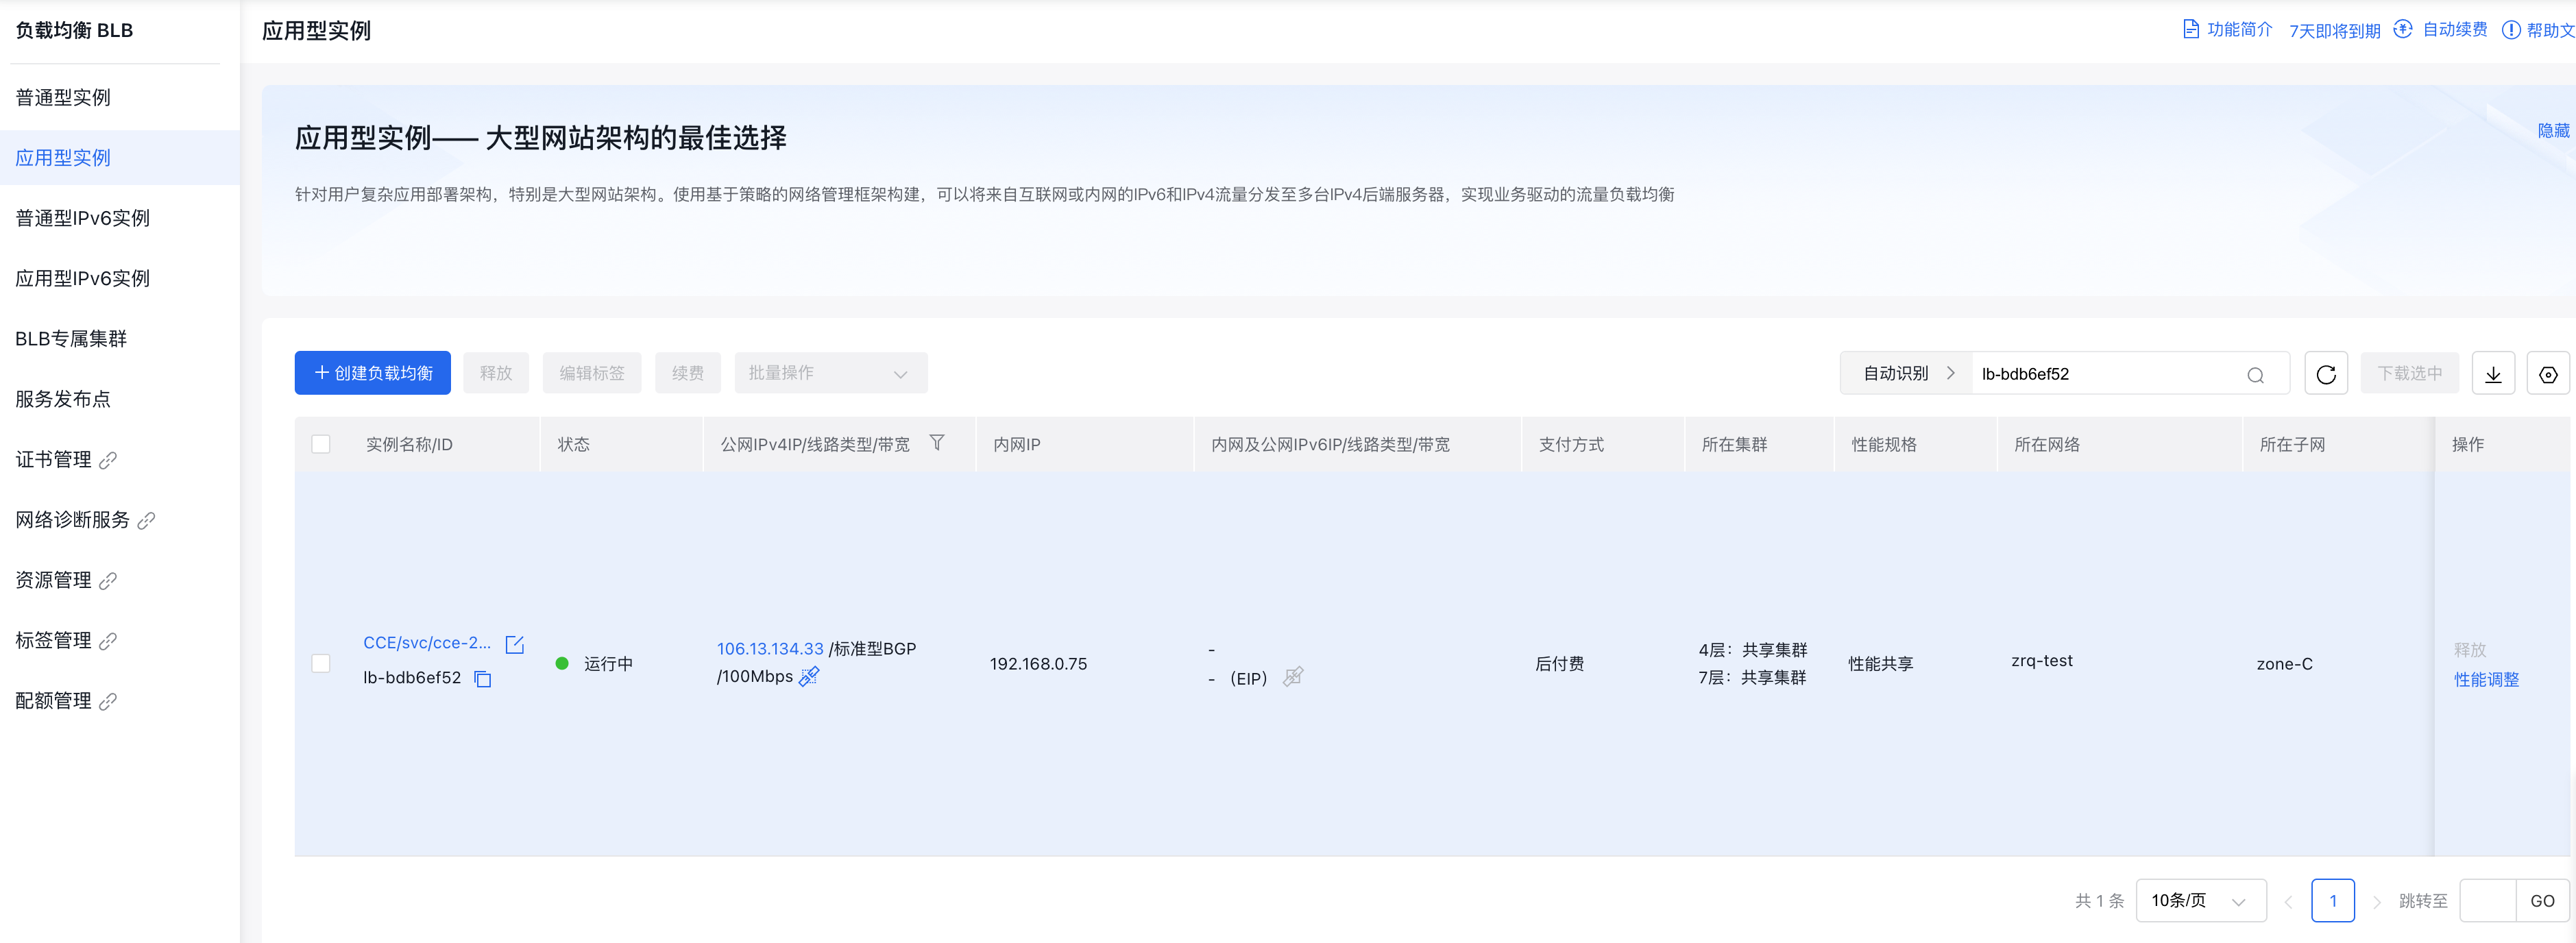
Note: The symbol "$" represents the input command, while other lines display the service information after entering the command. Here, 106.13.134.33 is the internet service URL. In addition to the above command invocation, the service can also use the load balancer through the dashboard.
Delete service
To remove the service and prevent it from being exposed publicly, simply delete the service.
1 kubectl delete svc my-nginxNote:
Kubernetes will delete the newly generated public IP and load balancer, followed by the removal of the service.