
Add a node
Updated at:2025-10-27
Overview
You can manually add worker nodes to an existing Kubernetes cluster to expand cluster resources. Adding master nodes is not supported. This document explains how to add worker nodes through the CCE console.
Prerequisites
A CCE cluster has been created. For specific operations, refer to [Create Cluster](CCE/Operation guide/Cluster management/Create cluster.md).
Operation steps
Create a node
- Sign in to the Baidu AI Cloud official website and enter the management console.
- Select Product Services - Cloud Native - Cloud Container Engine (CCE) to enter Cluster Management - Cluster List.
- Click on the target cluster name in the Cluster List page to navigate to the cluster management page.
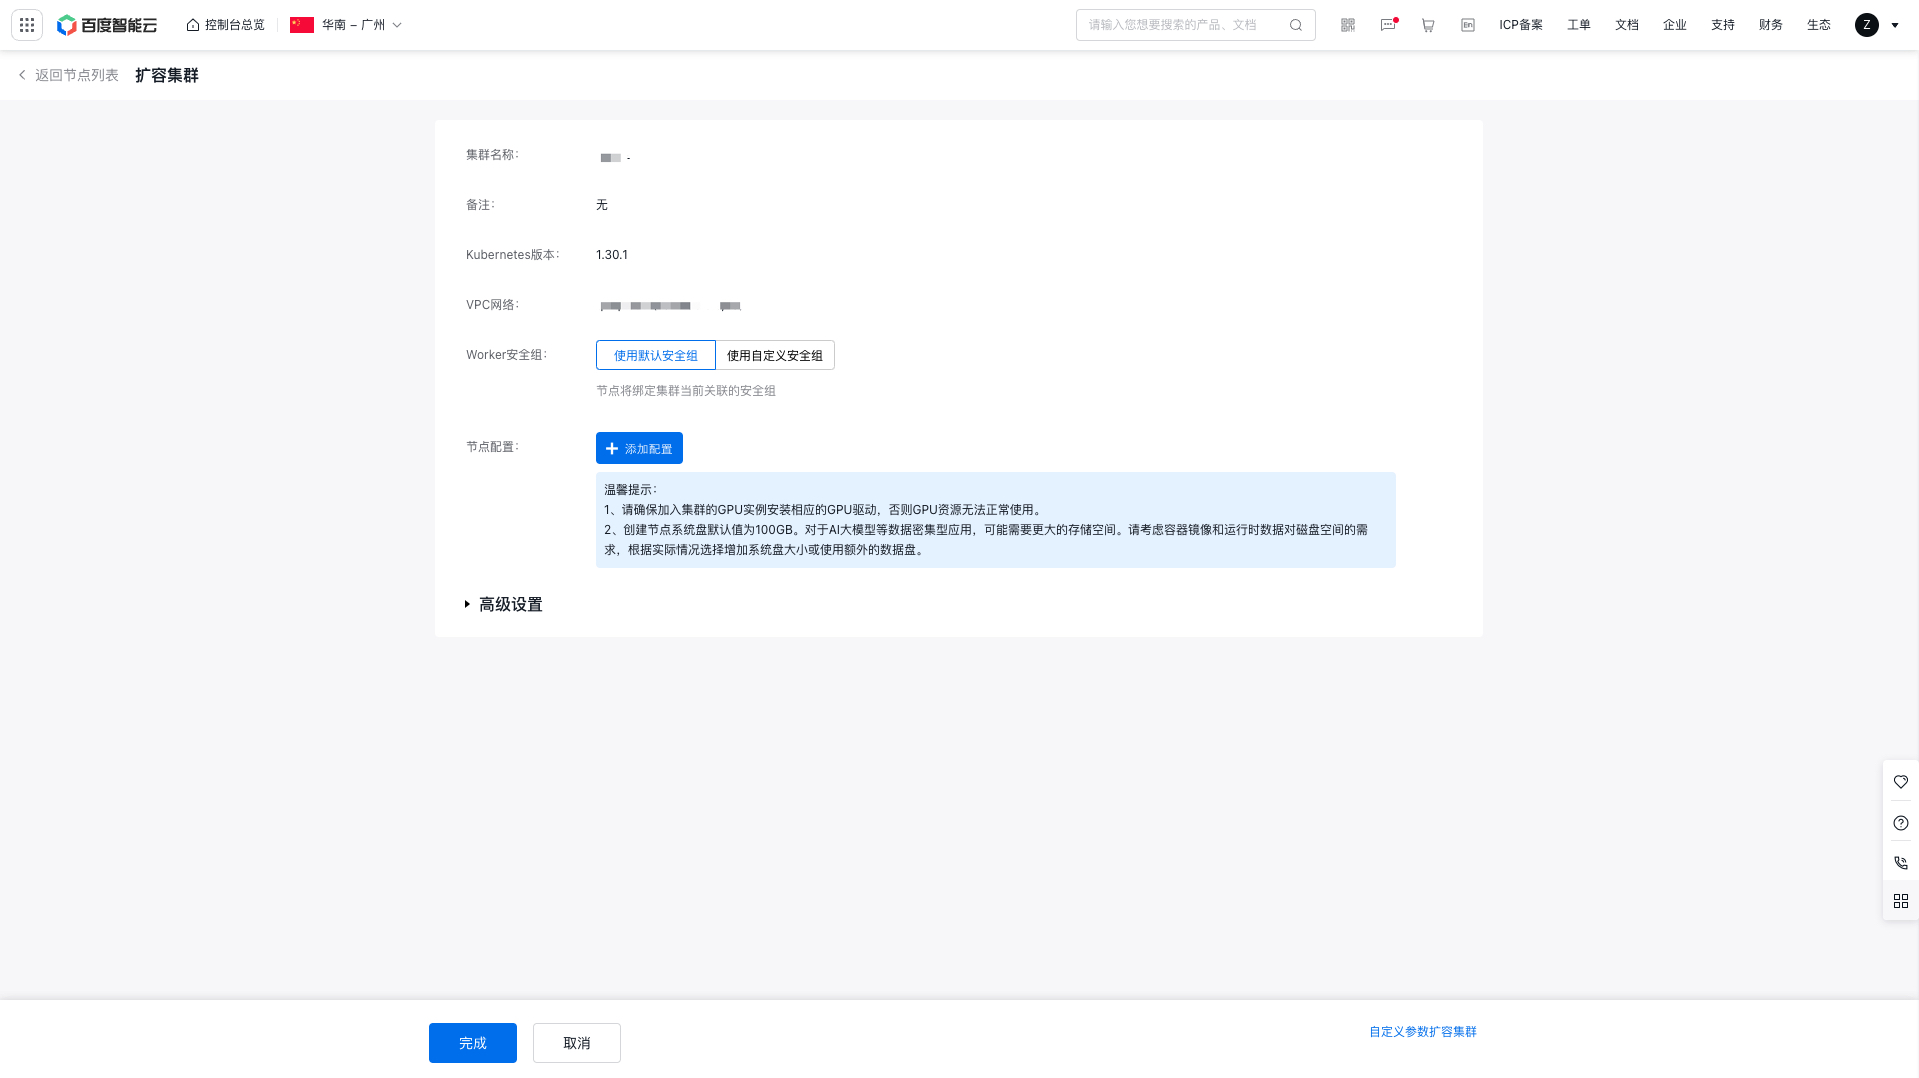
- In the left navigation bar, select Node Management - Nodes to access the Node List page, then click Add Node.
- Set up the relevant parameters as needed on the Cluster Scale-up page.
- Complete the configuration of the security group.
| ConfigMap | Required/Optional | Configuration |
|---|---|---|
| Security group | Required | Nodes can be bound to both default and custom security groups.
|
- Click Add Configuration to complete the node option configuration. Relevant configuration items and descriptions are as follows:
| ConfigMap | Configuration |
|---|---|
| Node creation methods | Select Create Node, and the system will introduce how to add a new Baidu cloud compute to the cluster. |
| Node type | Choose as needed. Currently supported options include Baidu Cloud Compute (BCC), Elastic Bare Metal Compute (EBC), and Baidu Bare Metal Compute (BBC). |
| Bill type | Choose as needed: Currently supported payment methods are postpay, prepay, and spot instances. |
| Availability zone | This function helps filter available subnets within an availability zone. |
| Node subnet | Select the subnet to assign IP addresses to the nodes. |
| Instance configuration | Based on different CPU-to-memory ratios, Baidu Cloud Compute offers various types of instance family. For specifications and applicable scenarios, refer to Specification. |
| Image types and OS | Choose the appropriate image type and operating system as per your actual requirements. |
| System disk | Used for OS installation. Non-heterogeneous computing instances with Linux as the operating system default to 20 GB; if using Windows, the default is 40 GB. Heterogeneous computing instances default to 40 GB regardless of the operating system. Available cloud disk types depend on the region and specifications and are displayed on the interface. |
| Data disk | It refers to the mounted data disk, used to increase the storage capacity of Baidu Cloud Compute and unselected by default. There is an upper limit to the count of cloud disk servers that can be mounted. If you wish to mount cloud disk servers beyond this limit, submit a ticket to contact us. Currently, both the system disk and data disk of Baidu Cloud Compute are Cloud Disk Servers (CDS). For details on the disk type and usage limitations of CDS, please refer to Disk Type and Usage Limitations. |
| Bind snapshot policy | Snapshot strategy binding is disabled by default. Through snapshot, you can realize disk data backup, disk data recovery and disk image creation. For more snapshot usage and limitations, please see Snapshot Usage Instructions. Snapshot is currently a paid service. Please refer to Snapshot Charge. |
| Public IP address | To enable public network access, purchase an EIP or bind an existing EIP after the instance purchase is successful. Public network bandwidth can be purchased in the following ways: |
| Instance name | You can either customize the instance name or allow the system to generate it randomly. |
| Domain switch | If enabled by the user, the hostname will include a domain suffix to support DNS resolution. |
| Administrator user name | For Windows systems, the administrator account is "Administrator," while for Linux systems, it is "root.\ |
| Administrator password | The available methods for setting passwords vary depending on the instance's operating system. |
| Count | The count of purchased nodes has been specified. |
| Deployment group | When creating Baidu Cloud Compute instances in a designated deployment group, they are distributed across physical servers with other Baidu Cloud Compute instances in the same deployment group, to ensure high availability of service during hardware failures. For specific settings, refer to Deployment Group. A maximum of 2 deployment groups can be added into an instance. |
- Click Advanced Settings to complete the advanced option configuration. Relevant configuration items and descriptions are as follows:
| ConfigMap | Required/Optional | Configuration |
|---|---|---|
| Node memory sharing | Optional | By default, it is unchecked. When this option is checked, GPU sharing function is enabled for newly added nodes by default. Memory sharing applies only to nodes with GPU devices; nodes without GPUs will be ignored. For details, please refer to GPU Exclusive and Shared Type. |
| Kubelet data directory | Optional | Default directories for storing data like volume files or plugin files. If a data disk is attached, it’s recommended to store data on the data disk. Default path: /var/lib/kubelet. |
| Container data directory | Optional | Default directories for storing Docker images and container logs. If a data disk is attached, it’s recommended to store these on the data disk. Default path: /home/cce/containerd. |
| Pre-deployment execution script | Optional | This script will automatically run before node deployment. Ensure the script supports reentrancy and includes retry logic. The script content and logs generated will be saved in the node’s /usr/local/cce/scripts/ directory. |
| Post-deployment execution script | Optional | This script will automatically run after node deployment. You must manually verify the script's execution status. The script content and logs generated will be saved in the node’s /usr/local/cce/scripts/ directory. |
| Block a node | Required | Node blocking is disabled by default. When enabled, the node enters a non-schedulable state, and new Pods will not be assigned to it. To uncordon a node, execute the kubectl uncordon command. Blocking nodes reduces the cluster's remaining available resource quota and may affect the scheduling of future services and the performance of current ones if the reserved resources are insufficient. |
| Custom kubelet parameters | Optional | When deploying nodes, you can customize kubelet parameters. For details, refer to Custom Kubelet Parameters. |
| Resource labels | Optional | Resource labels allow you to categorize cloud resources by various criteria (such as purpose, owner, or item). Each label consists of two part: key and value. For specific settings, please refer to Label Function. |
| Labels | Optional | K8S labels are identifiers for managing and selecting K8S objects and will be automatically bound to added nodes. For details, see K8S Label Instructions. |
| Taints | Optional | Node taints and pod tolerations work together to prevent pod from being scheduled to the node unless the pod tolerates the taint. For details, see Taints and Tolerance Description. |
| Annotations | Optional | Annotations are a mechanism for attaching non-identifying metadata to objects. Each annotation consists of two parts: key and value. For specific information, refer to Annotation Description. |
- Click Finish to complete adding the node. You can view the added Node information in the node list.
Add existing servers
- Sign in to the Baidu AI Cloud official website and enter the management console.
- Select Product Services - Cloud Native - Cloud Container Engine (CCE) to enter Cluster Management - Cluster List.
- Click on the target cluster name in the Cluster List page to navigate to the cluster management page.
- On the left sidebar, select Node Management - Nodes to access the Node List page, then click Add Node.
- Set up the relevant parameters as needed on the Cluster Scale-up page.
- Complete the configuration of the security group (omitted for simplicity).
- Click Add Configuration to complete the node option configuration.
| ConfigMap | Required/Optional | Configuration |
|---|---|---|
| Node creation methods | Required | Select Use Existing Server and the system will introduce how to add existing cloud servers to the cluster, support only instances available under the current cluster’s virtual private cloud. |
| Node type | Required | Currently, you can filter available instances through Baidu Cloud Compute (BCC), Elastic Baremetal Compute (EBC), Baidu Baremetal Compute (BBC), and High-performance Application Service (HPAS). |
| Reinstall OS | Required | The reinstall OS option reinstalls the operating system on the selected instance, clearing all data on the system disk, which cannot be recovered (data on cloud disks remains unaffected). This option is enabled by default. |
| Disk mount | Optional | Store container and image data on data disks or local disks.
|
| Image type | Required | After enabling the reinstall OS option, you can choose the image type, which varies depending on the type of node selected. |
| OS | Required | Select the instance where the OS reinstallation will be performed. |
| Administrator user name | Required | Specify the username for logging into the instance, with "root" set as the default. |
| Login method | Required | Supports two login methods: key pair and custom password. |
| Key pair / password | Required |
- Click Advanced Settings to complete advanced option configuration (omitted).
- Click Finish to complete adding the node. You can view the added Node information in the node list.