
CCE Node CDS Dilatation
Expand CDS disk of CCE nodes when node capacity is insufficient
If the nodes in a cluster face inadequate data disk (CDS) storage or are affected by small node specifications, refer to this document to enlarge the node data disk (CDS) for improved data storage capacity.
Node service migration
Taking node 192.168.16.27 as an example, execute drain to evict node services:
1# kubectl drain 192.168.16.27 --ignore-daemonsetsCheck that the node status is SchedulingDisabled:
1# kubectl get nodes
2NAME            STATUS                     ROLES    AGE   VERSION
3192.168.16.27   Ready,SchedulingDisabled   <none>   47m   v1.13.10
Check that the eviction of business Pods on the node is completed:
1# kubectl get pods --all-namespaces=true -o wide |grep 192.168.16.27Stop node services
Stop kube-proxy
1# systemctl stop kube-proxy
2# Check that the component is stopped successfully
3# systemctl status kube-proxy
Stop kubelet
1# systemctl stop kubelet
2# Check that the component is stopped successfully
3# systemctl status kubelet
Stop docker
1# systemctl stop docker
2# Check that the component is stopped successfully
3# systemctl status docker
Stop containerd
1# systemctl stop conatinerd
2# Check that the component is stopped successfully
3# systemctl status conatinerd
CDS expansion
Step I: Determine the current disk size and disk partition
Prior to expanding the data disk, log into the node to inspect the size and partition details of its data disk.
- Log in to the Baidu AI Cloud official website and access the management console.
- Go to Product Services > Cloud Native > Cloud Container Engine (CCE) to access Cluster Management > Cluster List.
- Click on the target cluster name in the Cluster List page to navigate to the cluster management page.
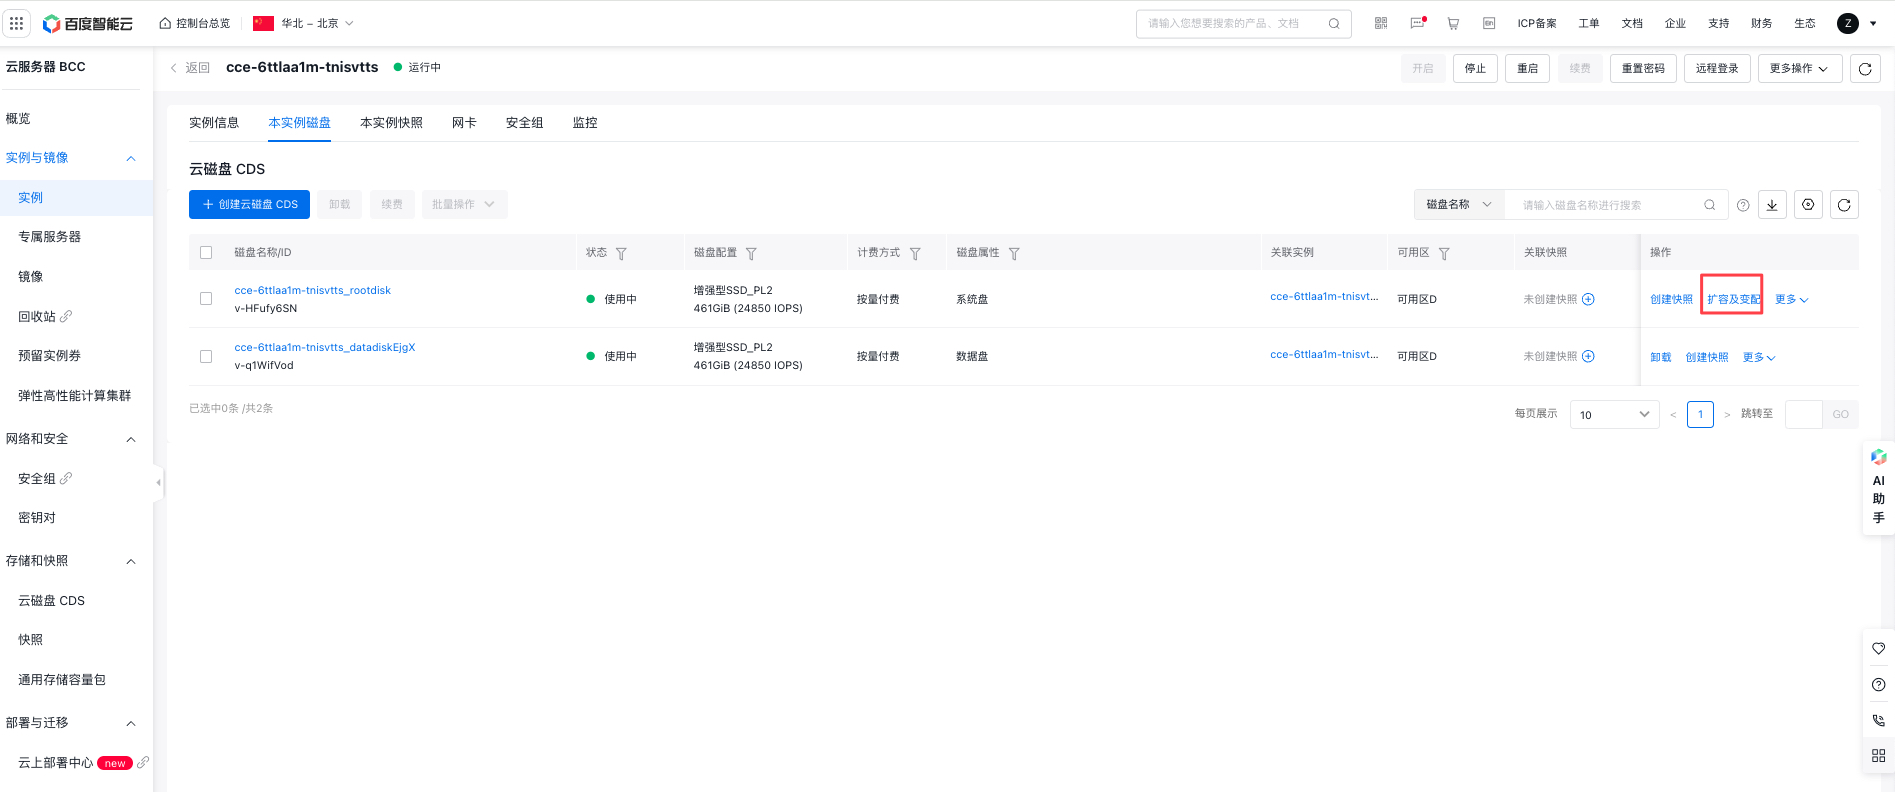
- In the left navigation bar, choose Node Management > Nodes to open the Node List page. Click the instance name of the target node in the list.
- On the Instance Details page, select the Disk List of the Instance tab, select the CDS disk to be scaled up, and click Expansion and Resize.
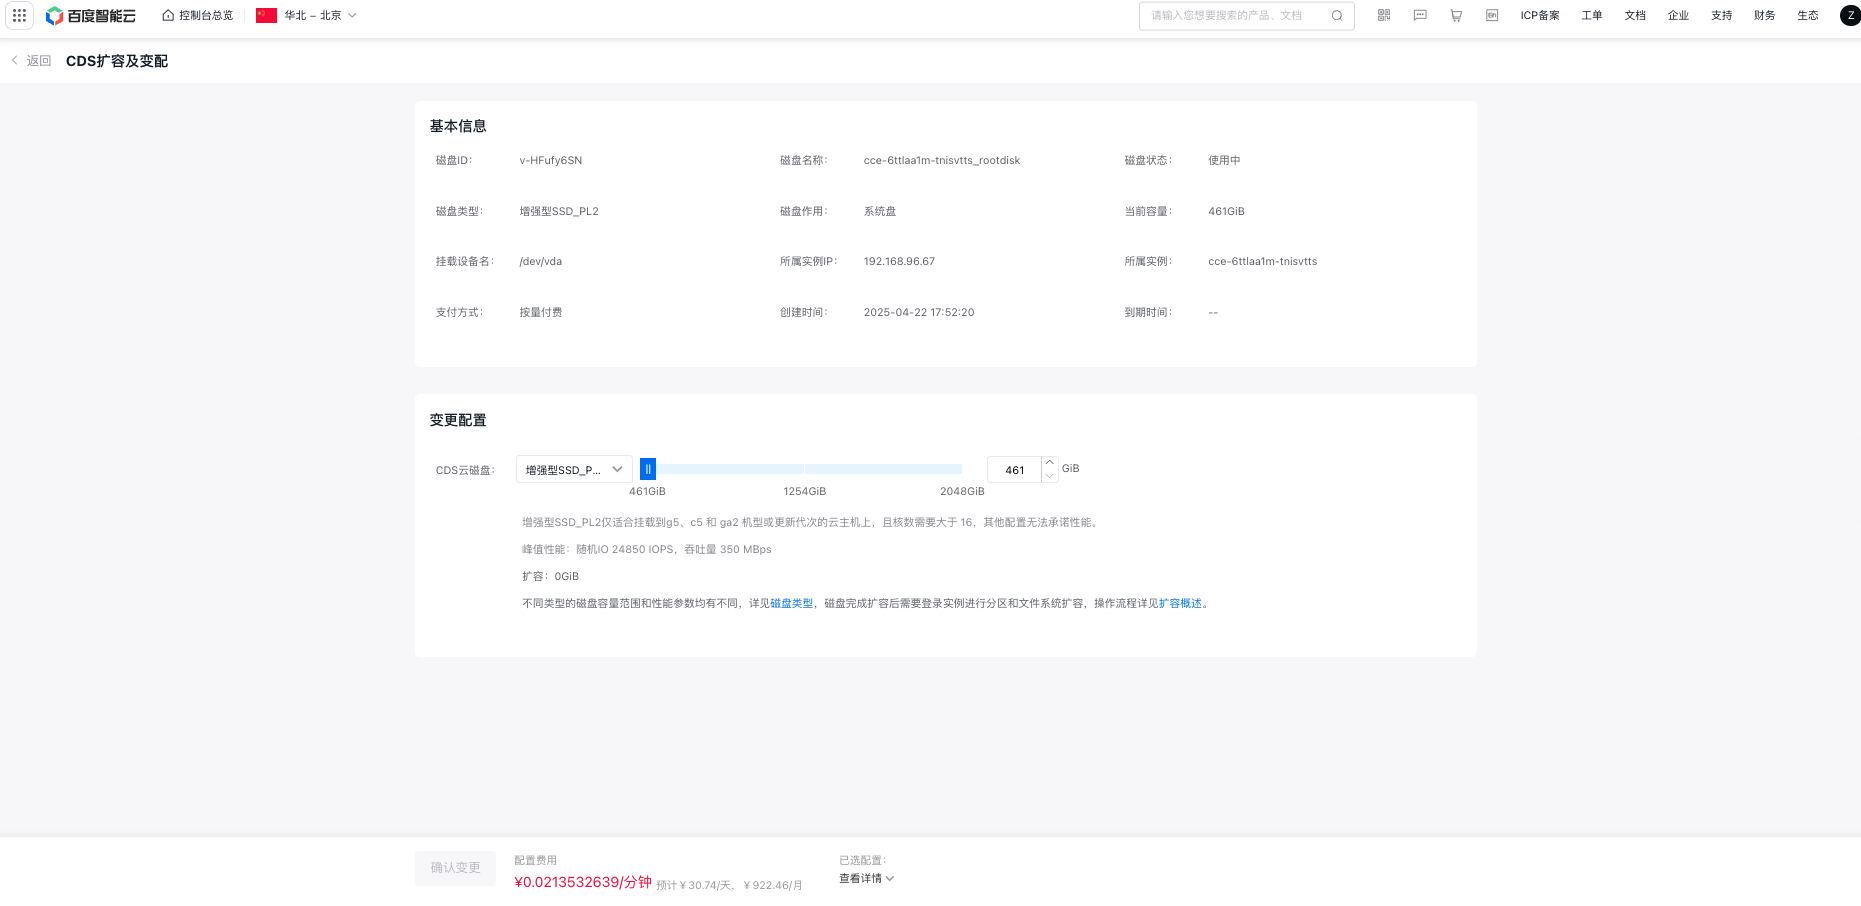
- On the CDS Expansion and Resize page, select the desired disk size for expansion, click Confirm Change, and complete the CDS expansion. For detailed information, please refer to CDS Expansion Documentation.
Unmount/data directory
CCE uses the /data directory as the data disk for docker and kubelet. Before scaling up the partition, uninstall the disk mount first:
1# Unmount docker and kubelet mount directories
2# for dir in $(df -h |grep -e docker -e kubelet); do umount $dir; done
3# Unmount/data mount directory
4# umount /data
After unmounting is completed, the /data directory is no longer displayed in df -h, indicating success.
Resize the existing disk partition
Refer to the CDS resizing steps:
After the resizing and file system mount are completed, mount /dev/vdb1 to /data:
1# mount /dev/vdb1 /dataVerify that the partition size meets expectations (the sizes should be consistent):
1# df -h | grep data
2/dev/vdb1        99G  1.3G   93G   2% /data
Restart node services
Start kube-proxy
1# systemctl start kube-proxy
2# Check that the component is started successfully
3# systemctl status kube-proxy
Start kubelet
1# systemctl start kubelet
2# Check that the component is started successfully
3# systemctl status kubelet
Start docker
1# systemctl start docker
2# Check that the component is started successfully
3# systemctl status docker
Start containerd
1# systemctl start containerd
2# Check that the component is started successfully
3# systemctl status containerd
Restore node scheduling
Taking node 192.168.16.27 as an example, execute kubectl uncordon to restore node scheduling:
1# kubectl uncordon 192.168.16.27At this point, the CDS expansion for the node is successfully completed.