
Using Object Storage BOS
Overview
The Cloud Container Engine (CCE) supports the use of Baidu AI Cloud’s Baidu AI Cloud Object Storage (BOS) by creating PV/PVC and mounting data volumes for workloads. This document will introduce how to statically mount object storage in a cluster.
Usage restrictions
- Ensure the Kubernetes version of the cluster is 1.16 or above.
- Pay attention to the region where the BOS bucket is created. If the BOS bucket and container cluster belong to different regions, the BCC/BBC hosting the mount target must allow public network access. For the same region, read/write operations can be completed through the intranet.
Prerequisites
- The cluster has installed object storage service components. For more information, please refer to CCE CSI BOS Plugin Description.
Operation steps
This document explains how to create PV/PVC using Kubectl or the CCE console for static BOS mounting.
Method I: Operation via kubectl command line
1. Create a secret for AK/SK in the cluster to access BOS storage
1kubectl create secret generic csi-bos-secret \
2  --from-literal=ak=<Your-AK> \
3 --from-literal=sk=<Your-SK>Note:For more information about AK/SK, refer to How to Obtain AK and SK
2. Create a persistent volume (PV)
1apiVersion: v1
2kind: PersistentVolume
3metadata:
4  name: pv-bos
5  namespace: default
6spec:
7  accessModes:
8  - ReadWriteOnce
9  - ReadOnlyMany
10  capacity:
11    storage: 5Gi
12  storageClassName: csi-bos
13  csi:
14    driver: csi-bosplugin
15 volumeHandle: The bucket name of the BOS corresponding to v-XXXXXX  #  supports mounting BOS bucket subdirectories, such as: bucketName/dirName
16    nodePublishSecretRef:
17      name: csi-bos-secret
18      namespace: default
19  mountOptions:
20  - "-o meta_expires=0"
21  persistentVolumeReclaimPolicy: Retain
Description:
mountOptions: Since BOS bucket mounting depends on Bosfs, you can specify Bosfs startup parameters via mountOptions. For details on supported parameters, refer to BOS Parameter Description. Common parameters and descriptions are as follows:
meta_expires: meta cache expiration time, in seconds. Not setting this parameter means never expiring. In the above PV yaml example, this parameter is set to 0, indicating that it is not cached.Too short a cache expiration time may affect write performance, while too long may cause data written to the same bucket by other clients to be invisible in the mount target. For scenarios with one write and multiple reads for the same bucket, it is recommended to set it to 0; for pure write scenarios, 3600 is recommended; for single-point read/write scenarios, it can be left unset.allow_other: Whether to allow non-root users to read data in the mount target. By default, only the root user has read/write permissions. If non-root processes in the container need to read data in the mount target, this parameter must be set. For more fine-grained permission management, it can be used with themount_umaskparameter.- BOS supports one write and multiple reads, and the corresponding accessMode only supports ReadWriteOnce + ReadOnlyMany
After creating the PV, enter kubectl get pv to see a PV in the "available" status, as shown below:
1 $ kubectl get pv
2 NAME      CAPACITY   ACCESS MODES   RECLAIM POLICY   STATUS      CLAIM     STORAGECLASS   REASON    AGE
3 bos-pv    5Gi        RWO,ROX        Retain           Available             csi-bos                  3s
3. Create a persistent volume claim (PVC)
1apiVersion: v1
2kind: PersistentVolumeClaim
3metadata:
4  name: bos-pvc
5spec:
6  accessModes:
7  - ReadWriteOnce
8  - ReadOnlyMany
9  resources:
10    requests:
11      storage: 5Gi
12 storageClassName: csi-bosNote: The storageClassName field in the YAML is used to associate with the PV. It is recommended to fill it in. If multiple storage classes are defined in the cluster, users can request specific types of storage resource PVs by specifying storageClassName.
Before binding, the PVC is in the pending status
1  $ kubectl get pvc
2  NAME      STATUS    VOLUME    CAPACITY   ACCESS MODES   STORAGECLASS   AGE
3  bos-pvc   Pending                                       csi-bos        2s
After binding, both the PV and PVC statuses change to bound
1  $ kubectl get pv
2  NAME      CAPACITY   ACCESS MODES   RECLAIM POLICY   STATUS    CLAIM             STORAGECLASS   REASON    AGE
3  bos-pv    5Gi        RWX            Retain           Bound     default/bos-pvc                            36s
4  $ kubectl get pvc
5  NAME      STATUS    VOLUME    CAPACITY   ACCESS MODES   STORAGECLASS   AGE
6  bos-pvc   Bound     bos-pv    5Gi        RWO,ROX        csi-bos        1m
For more settings and field descriptions of PV and PVC, refer to Kubernetes Official Documentation.
4. Mount the PVC in the Pod
1apiVersion: v1
2kind: Pod
3metadata:
4  name: nginx01
5  namespace: default
6spec:
7  containers:
8  - image: nginx
9    imagePullPolicy: Always
10    name: nginx01
11    volumeMounts:
12    - mountPath: /var/lib/www/html
13      name: bos-pvc
14    - mountPath: /var/lib/www/html000
15      name: bos-pvc
16      readOnly: true
17    livenessProbe:
18      exec:
19        command:
20        - stat
21        - /var/lib/www/html
22  volumes:
23  - name: bos-pvc
24    persistentVolumeClaim:
25      claimName: bos-pvc
26      readOnly: false
After the Pod is created, you can read and write to the /var/lib/www/html path in the container to access content on the corresponding BOS storage. This path supports read/write operations, while /var/lib/www/html000 supports read-only operations.
Note:
Since the CSI bosplugin depends on bosfs, configuring
livenessProbein the Pod to check the mount target status can prevent the problem where the container cannot detect mount target failure after an abnormal restart of bosfs. It is strongly recommended to add this configuration.
Additionally, read-only disks can be mounted on other machines, such as creating a Pod containing a read-only BOS bucket
1 apiVersion: v1
2 kind: Pod
3 metadata:
4   name: nginx01-bbaa
5 spec:
6   containers:
7   - image: nginx
8     imagePullPolicy: Always
9     name: nginx01
10     terminationMessagePath: /dev/termination-log
11     terminationMessagePolicy: File
12     volumeMounts:
13     - mountPath: /var/lib/www/html000
14       name: bos-pvc
15       readOnly: true
16     livenessProbe:
17       exec:
18         command:
19         - stat
20         - /var/lib/www/html000
21   volumes:
22   - name: bos-pvc
23     persistentVolumeClaim:
24       claimName: bos-pvc
25       readOnly: true
5. Release PV and PVC resources
Once the storage resources are no longer needed, you can release the PVC and PV resources.
Use the following command to release the PVC:
1 $ kubectl delete -f bos-pvc.yamlAfter releasing the PVC, the status of the previously bound PV will change to release, as shown below:
1 NAME      CAPACITY   ACCESS MODES   RECLAIM POLICY   STATUS     CLAIM             STORAGECLASS   REASON    AGE
2 bos-pv    5Gi        RWO,ROX        Retain           Released   default/bos-pvc   csi-bos        16m
Enter the following command to release the PV resource:
1 $ kubectl delete -f bos-pv.yamlMethod II: Operation via console
- Log in to the CCE console, then click on the cluster name to access the cluster details page.
- Create a secret for AK/SK in the cluster to access BOS storage For obtaining AK/SK, refer to How to Obtain AK/SK.
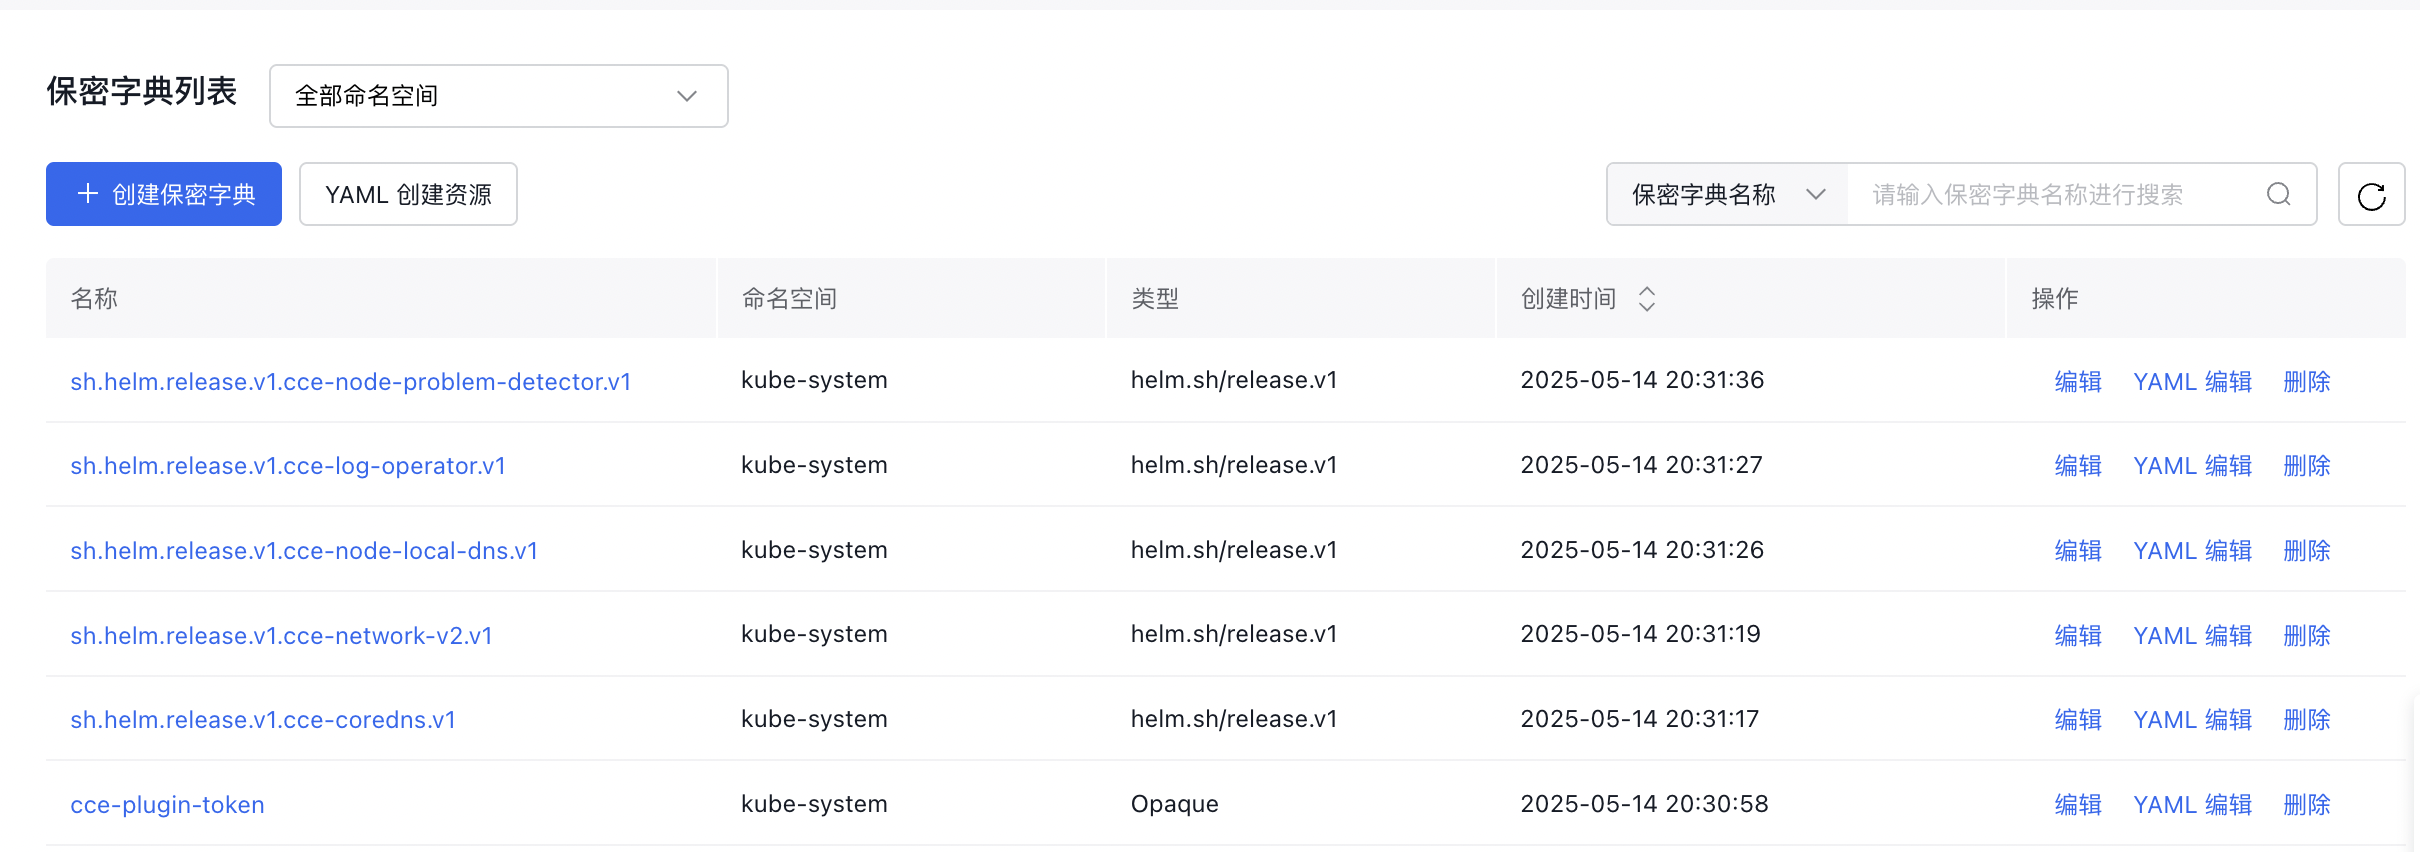
a. In the left navigation bar, select Configuration Management - Secret, and click Create Secret above the secret list.
b. On the Create Secret page, configure relevant information, supplement the data, and click OK after verification.
- Create a Persistent Volume (PV).
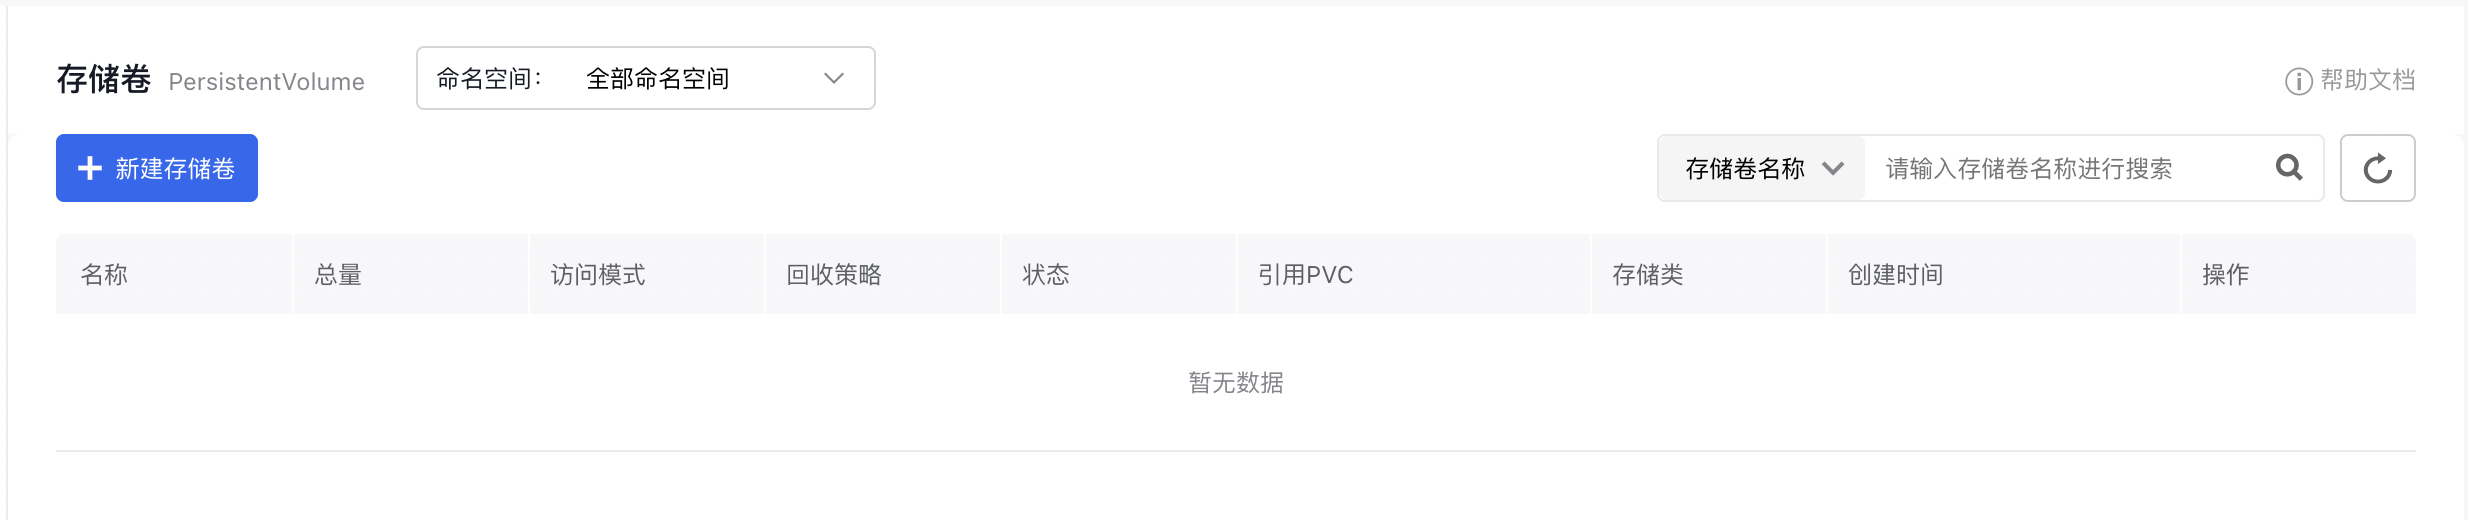
a. In the left navigation bar, select Storage - persistent volume, and click Create Persistent Volume above the persistent volume list.
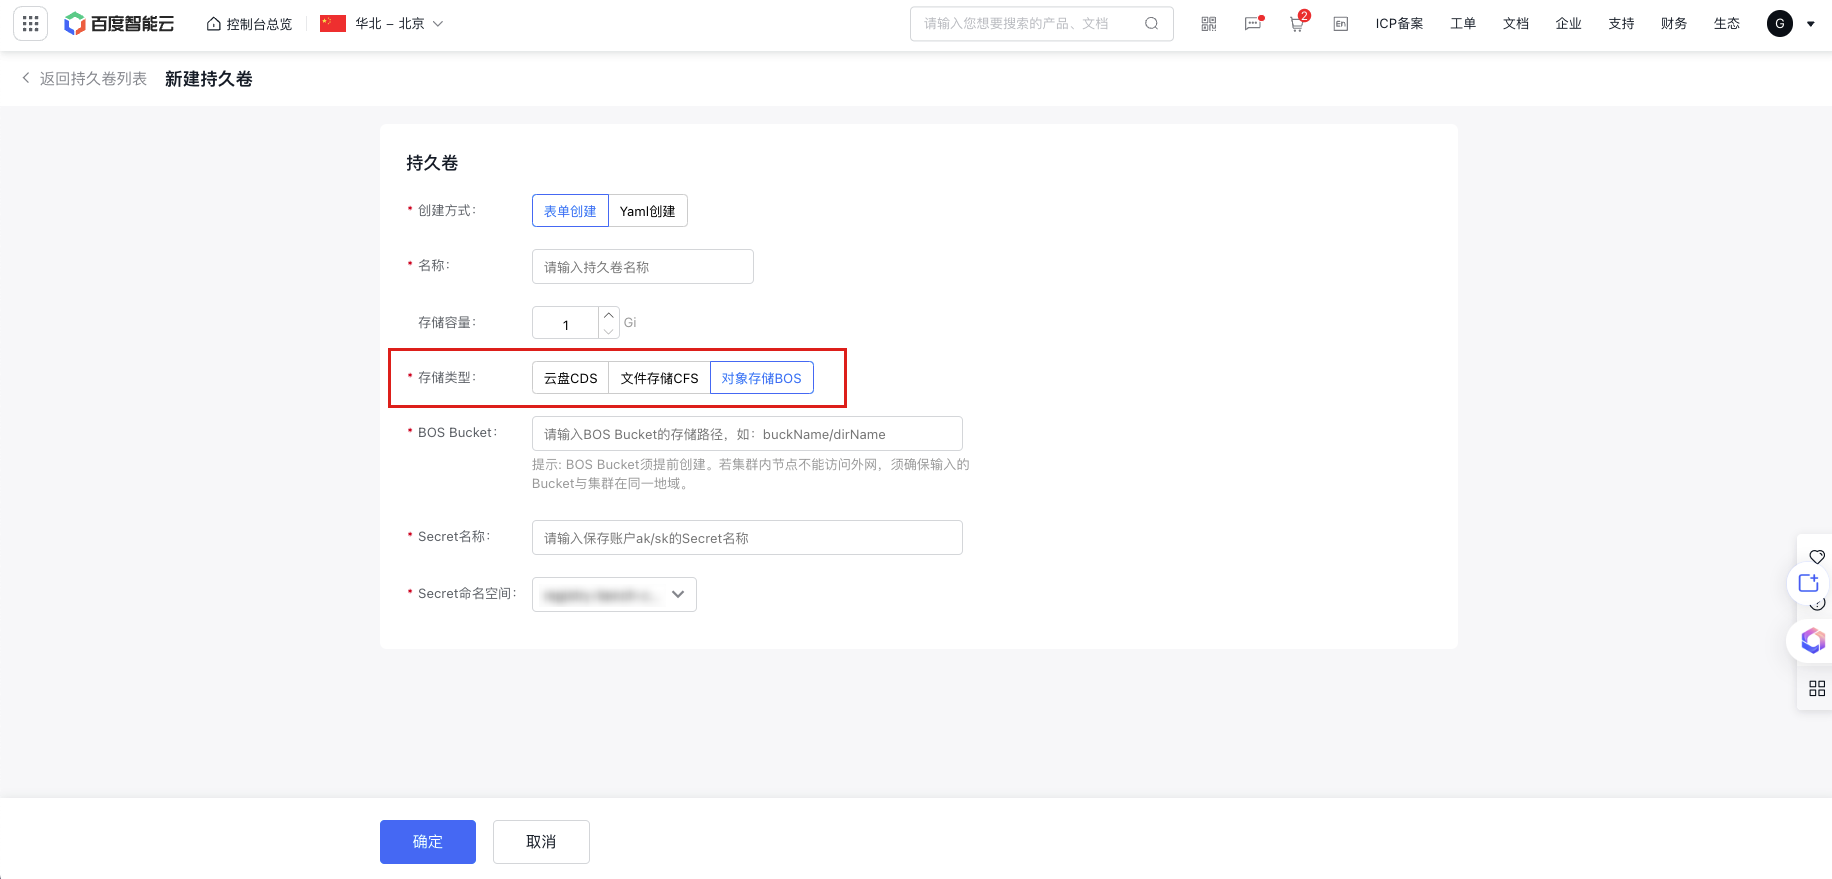
b. Choose to create the PV using either a form or YAML. If using a form, configure the necessary parameters.
c. Configure the storage usage as needed, select Baidu AI Cloud Object Storage (BOS) as the storage class, and enter the storage path of the BOS bucket (the storage path can be viewed in the BOS Console.
d. Input the name of the secret containing the AK/SK, and select the namespace where the secret resides.
e. In the confirmation pop-up window, verify the configuration and click OK to create the PV.
- Create a Persistent Volume Claim (PVC).
a. In the left navigation bar, select Storage - Persistent Volume Claim, and click Create Persistent Volume above the persistent volume list.
b. Configure the storage usage and access mode as needed, then click OK. In the secondary pop-up window, verify the relevant configuration. The storageClassName field is used to associate with the PV, and it is recommended to fill it in. Click OK after verification to create the PVC.
c. In the persistent volume claim list, you can check the binding status of the PVC. If bound successfully, the status will be bound, and the name of the corresponding bound PV can be seen in the persistent volume column.

- Deploy a workload and attach the PVC to the Pod.
a. In the left navigation bar, select Workloads - Stateless, choose to create via form/YAML, and configure mount parameters.
b. Since the CSI bosplugin depends on bosfs, Strongly recommend adding livenessProbe . Through livenessProbe, the container can detect whether the mount target is invalid after an abnormal restart of bosfs, thus avoiding service interruptions.
- After using the storage resources, you can release the PVC and PV resources. PV and PVC resources can be released via Operation Column - Delete in the corresponding list.