
Using AIAK-Training PyTorch Edition
Prerequisites
- The CCE cloud-native AI service has been successfully activated.
Supported version list
The PyTorch version of AIAK-Training currently supports specific versions. If other versions are needed, users can submit a support ticket.
| CUDA version | PyTorch version | Python version |
|---|---|---|
| 11.7 | 1.12.0 | 3.8 |
Acceleration features
- For low-bandwidth network environments, communication optimization has been enhanced by adding a hierarchical Allreduce algorithm and enabling communication compression methods like PowerSGD and FP16.
- The NVIDIA Apex AMP O2 mixed precision mode has been added, offering compatibility with the native Torch AMP workflow to facilitate transitioning more computations to FP16 for faster training.
- A fused optimizer is supported, integrating computation kernels to minimize overheads like memory access and kernel launches, improving performance during parameter updates.
- The LAMB optimizer algorithm is supported, addressing convergence challenges in ultra-large-batch training scenarios.
Practical workflow
1. Obtain the training image
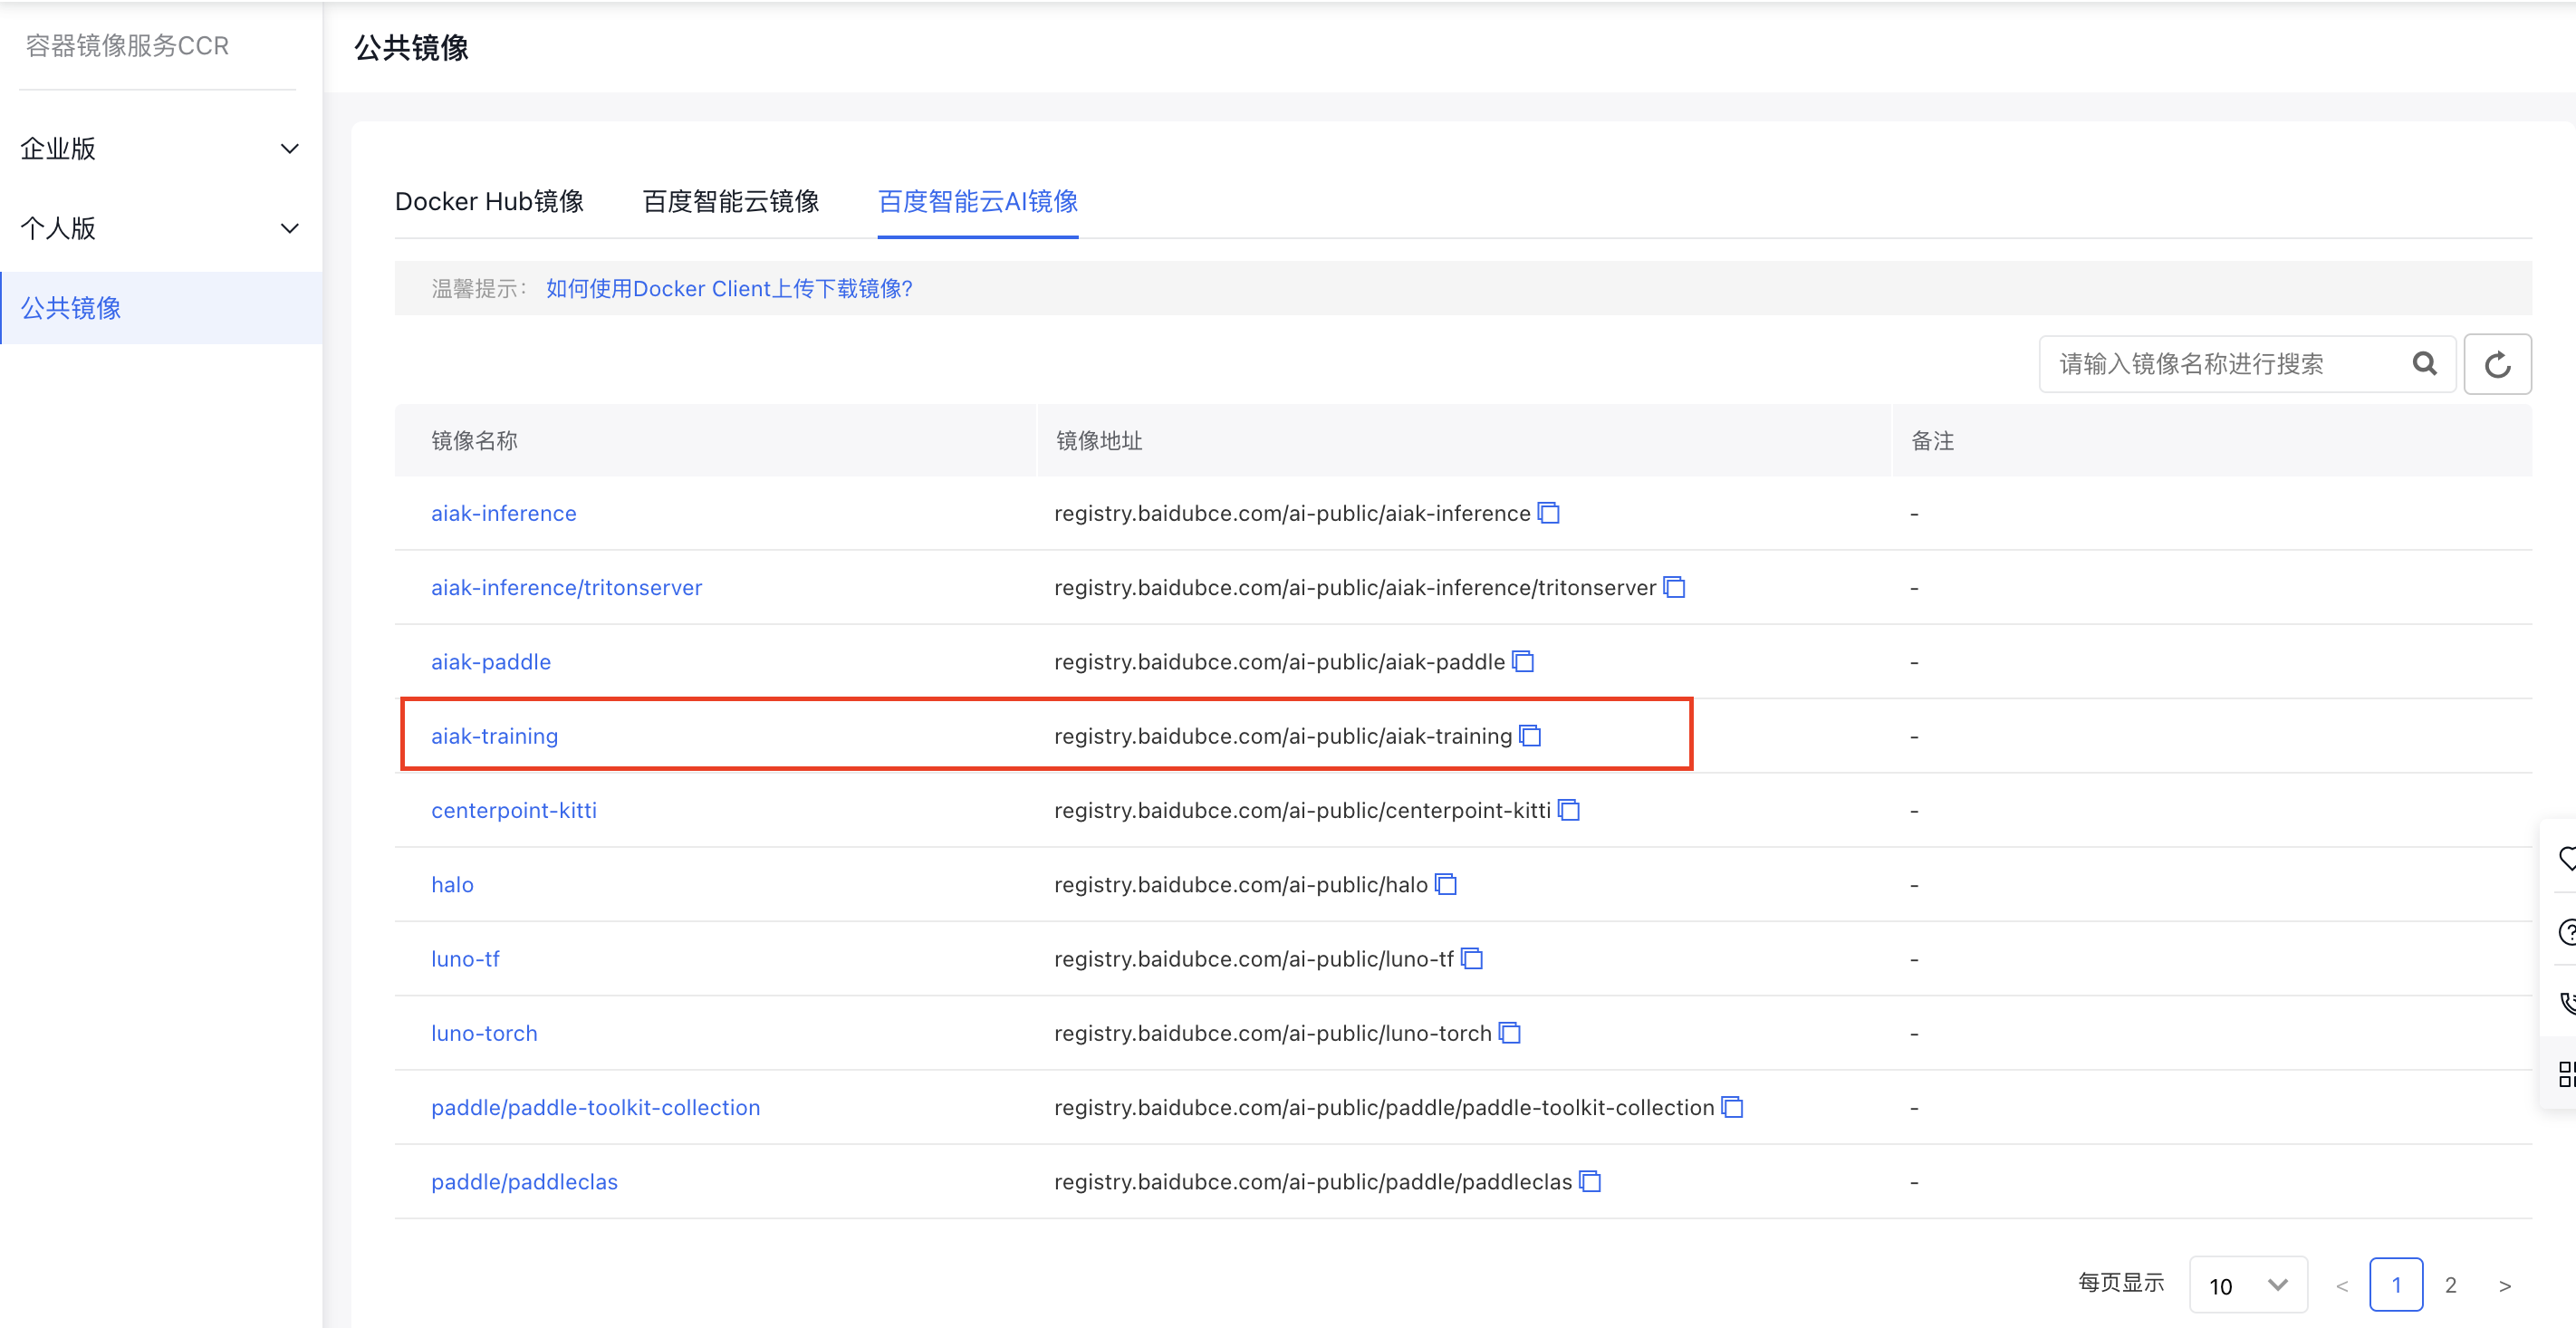
In the “Baidu AI Cloud AI Images” section of CCR public images, select the “aiak-training” accelerated image as the base training image. This image comes pre-installed with CUDA, Python, PyTorch, AIAK-Training acceleration software, and other necessary components.
2. Task submission
Submit the task. For detailed steps, refer to the Create a New PyTorch Task document. During the process, set the image address to the address of the aforementioned aiak-training image.
3. Apply acceleration capabilities
3.1 Accelerate distributed training under low-configuration network conditions
In environments with limited network bandwidth, cross-machine gradient synchronization becomes a significant bottleneck for distributed training speed. To address this issue, AIAK-Training has implemented a hierarchical AllReduce algorithm to minimize the impact of cross-machine communication. Additionally, we have streamlined the use of communication compression hooks (such as PowerSGD and FP16) provided by the official PyTorch. Users can now activate these hooks directly via environment variables without modifying their code. Note: In scenarios where communication is not a bottleneck (e.g., single-machine multi-GPU setups or RDMA environments), these features may not provide acceleration benefits.
| Function | Environment variables | Default | Value description | Recommendation |
|---|---|---|---|---|
| Hierarchical AllReduce | AIAK_HIERARCHICAL_ALLREDUCE | 0 | ||
| Communication compression algorithm | AIAK_FP16_COMPRESSION | 0 | ||
| AIAK_POWERSGD_COMPRESSION | 0 | |||
| AIAK_MATRIX_APPROXIMATION_RANK | 1 | |||
| AIAK_START_COMPRESS_ITER | 1000 |
3.2 AMP O2 mixed precision mode for further computation acceleration
The official PyTorch offers the AMP (automatic mixed precision) feature, which users can leverage to improve model computation efficiency. Building on this, AIAK-Training has incorporated the O2 mode from NVIDIA APEX AMP and made it API-level compatible with Torch AMP. Users only need to add a single line of code to enable a more aggressive pure FP16 training mode quickly. Follow these steps:
- After preparing the model and optimizer, users should add a single line of code to call the aiak_amp_decorate function. Moreover, when using DDP, ensure that aiak_amp_decorate is called before initializing DDP. (See Line 6 in the example below)
- When applying gradient clipping, replace model.parameters() in clip_grad_norm(model.parameters(), max_norm) with torch.cuda.amp.aiak_amp_parameters(optimizer). (See Line 25 in the example below)
1# Define the model and optimizer
2model = Model().cuda()
3optimizer = optim.SGD(model.parameters(), ...)
4# Add the aiak_amp_decorate wrapper call to enable Apex AMP O2 mode
5model, optimizer = torch.cuda.amp.aiak_amp_decorate(model, optimizer)
6# Construct the DDP model after initializing O2 optimization
7model = DDP(model)
8# Relevant code for the native torch AMP workflow (no modifications required)
9scaler = GradScaler()
10
11for input, target in data:
12    optimizer.zero_grad()
13# Run forward in the autocast-enabled region
14    with autocast():
15        output = model(input)
16        loss = loss_fn(output, target)
17# Use the scaler to scale the loss (FP16) and perform backward propagation to get scaled gradients (FP16)
18    scaler.scale(loss).backward()
19# When using gradient clipping, follow the native torch AMP calling rules and call unscale to restore gradients
20    scaler.unscale_(optimizer)
21# For gradient clipping, replace model.parameters() with amp.amp_parameters(optimizer)
22    torch.nn.utils.clip_grad_norm_(torch.cuda.amp.aiak_amp_parameters(optimizer), max_norm)
23# The scaler updates parameters: it will automatically unscale gradients first; if NaN or Inf values exist, the update will be skipped automatically
24    scaler.step(optimizer)
25# Update the scaler factor
26    scaler.update()
Detailed parameters of the aiak_amp_decorate API:
| Parameter item | Required or not | Default value | Description |
|---|---|---|---|
| model | Yes | None | Model |
| optimizer | Yes | None | Optimizer |
| keep_batchnorm_fp32 | No | TRUE | Generally, no changes are required. This setting determines whether to retain BatchNorm computation precision in FP32; it is usually set to True by default. |
| loss_scale | No | None | |
| num_losses | No | 1 | |
| min_loss_scale | No | None | |
| max_loss_scale | No | 2.**24 |
Additional information: When using O2 mode, parameters of PyTorch’s native GradScaler class (such as backoff_factor, growth_factor, and growth_interval) will automatically update according to O2 mode. Users do not need to adjust these manually, as manual changes will not take effect.
3.3 FusedOptimizer to accelerate parameter update efficiency
To enable the optimizer fusion feature, users only need to set the following environment variable:
| Function | Environment variables | Default | Value description | Recommendation |
|---|---|---|---|---|
| Optimizer operator fusion | AIAK_FUSED_OPTIMIZER | 0 | Accelerate the efficiency of the optimizer step phase; recommended to enable |
3.4 Ultra-large BatchSize training: Enable the LAMB optimizer
The LAMB optimizer is used similarly to other optimizers. A specific example is as follows:
1import torch.optim as optim
2...
3optimizer = optim.LAMB(model.parameters(), lr=args.lr, weight_decay=args.weight_decay, eps=args.eps, betas=args.betas)
Detailed parameters of the LAMB optimizer:
| Parameter item | Required or not | Default value | Description |
|---|---|---|---|
| params | Yes | None | Model parameters |
| lr | No | 1e-3 | Initial learning rate; default is 1e-3; users can configure it as needed.= |
| weight_decay | No | 0 | Weight decay coefficient; users can configure it as needed |
| betas | No | (0.9, 0.999) | |
| eps | No | 1e-8 | |
| adam_w_mode | No | TRUE | |
| grad_averaging | No | TRUE | |
| set_grad_none | No | TRUE | |
| max_grad_norm | No | 1 |