Using kubectl on Windows
Updated at:2025-10-27
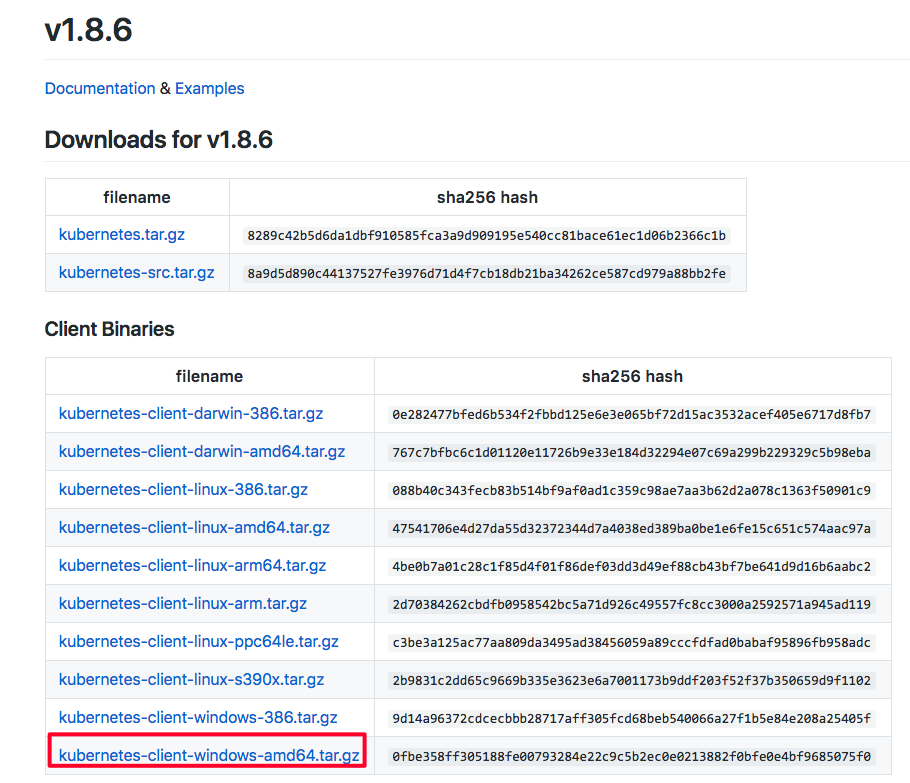
- After creating a cluster, download the Windows version of the kubectl tool, such as the 64-bit tool as follows:
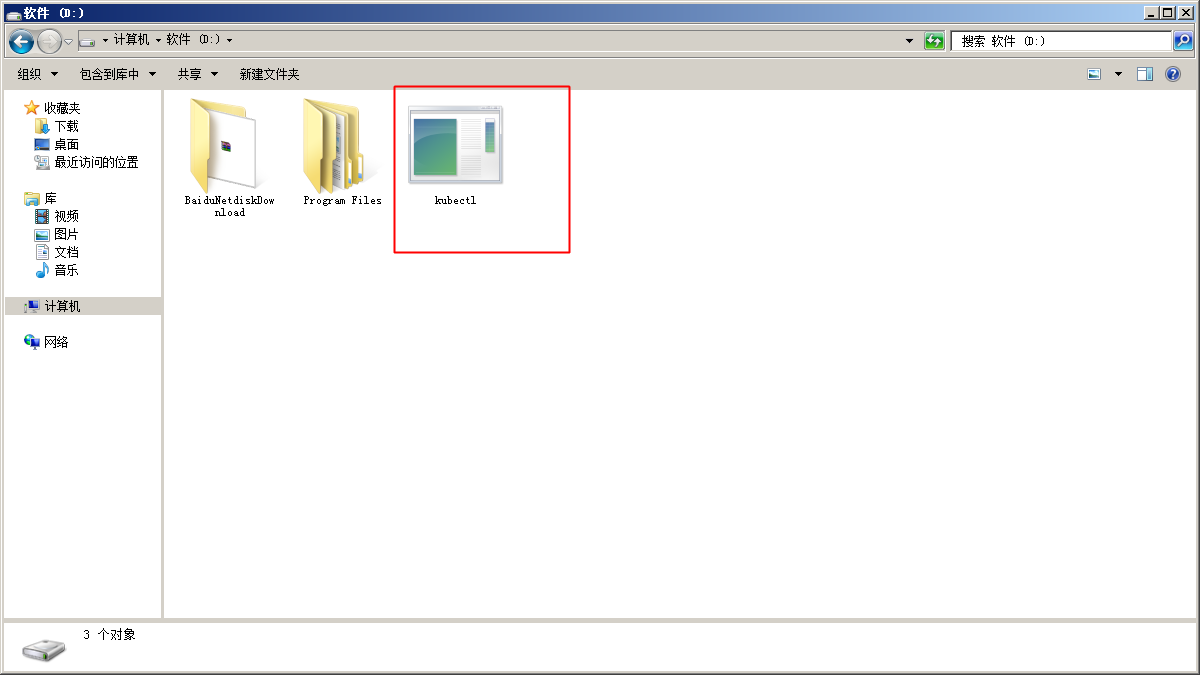
- After downloading, extract it to any directory, such as placing it under the D drive
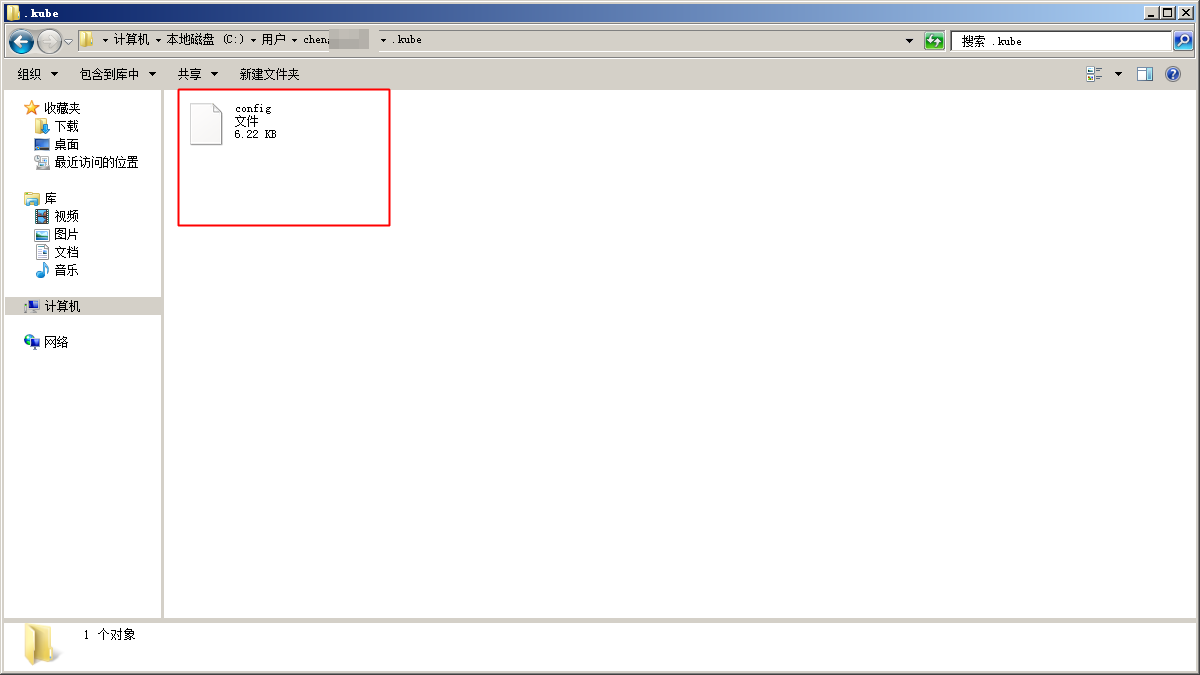
- Navigate to the user folder under the directory
C:\users\. For example, if the user name is foo, the folder should beC:\users\foo. And then, enter this directory and create the folder.kube

- On the cluster list page, download the cluster configuration file, place it in the
.kubefolder created in the previous step, and rename it toconfig
- Open the Windows command prompt
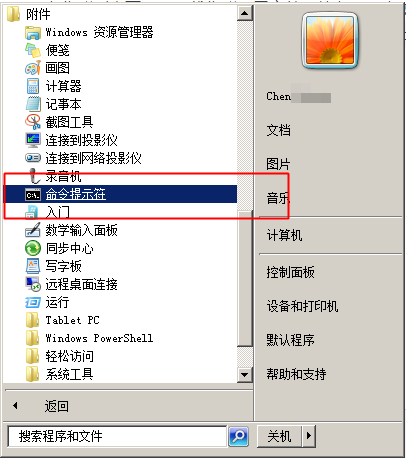
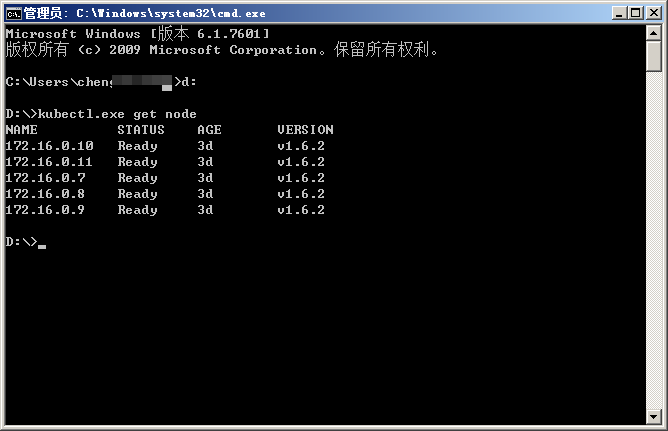
- Navigate to the directory containing kubectl files and run
kubectl.exe get nodeto view cluster nodes.
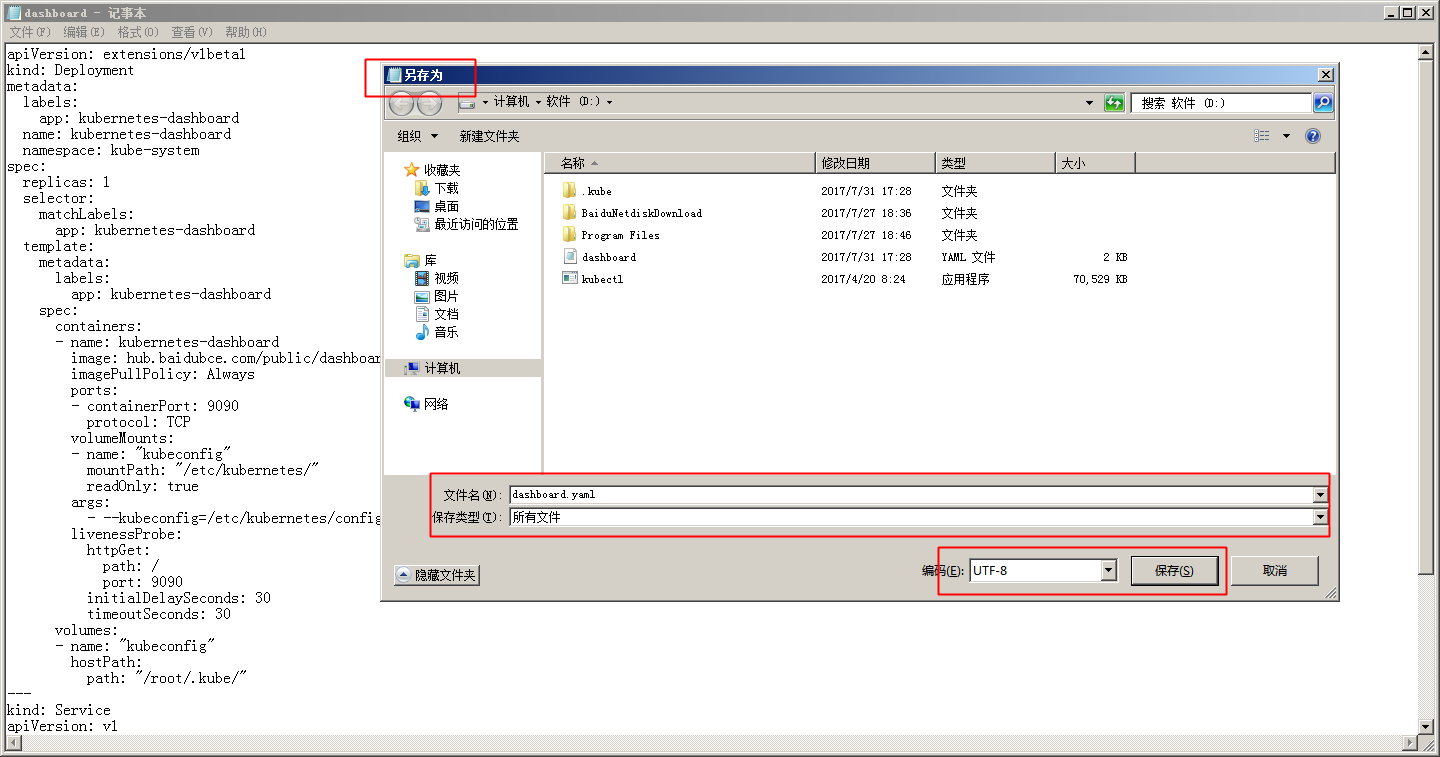
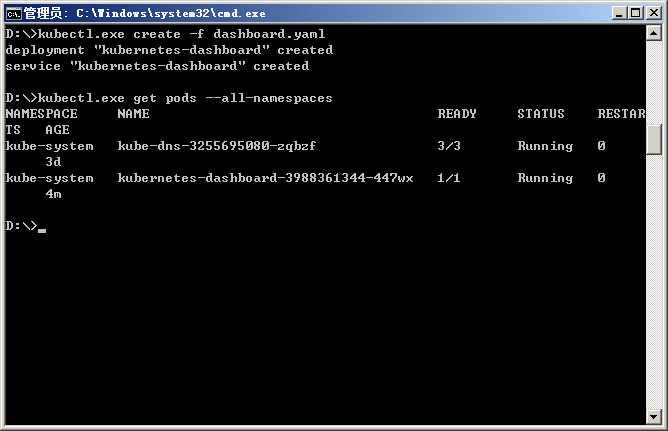
- In the same directory, create a dashboard.yaml file with the content from the aforementioned dashboard.yaml, for example, it can be created using text editor:
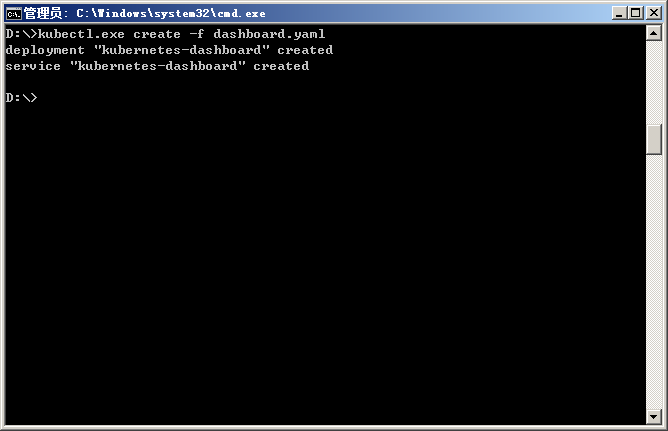
- And then enter
kubectl.exe create -f dashboard.yamlto create dashboard
- Use the
kubectl.exe get pod --all-namespacescommand to check if the creation is successful
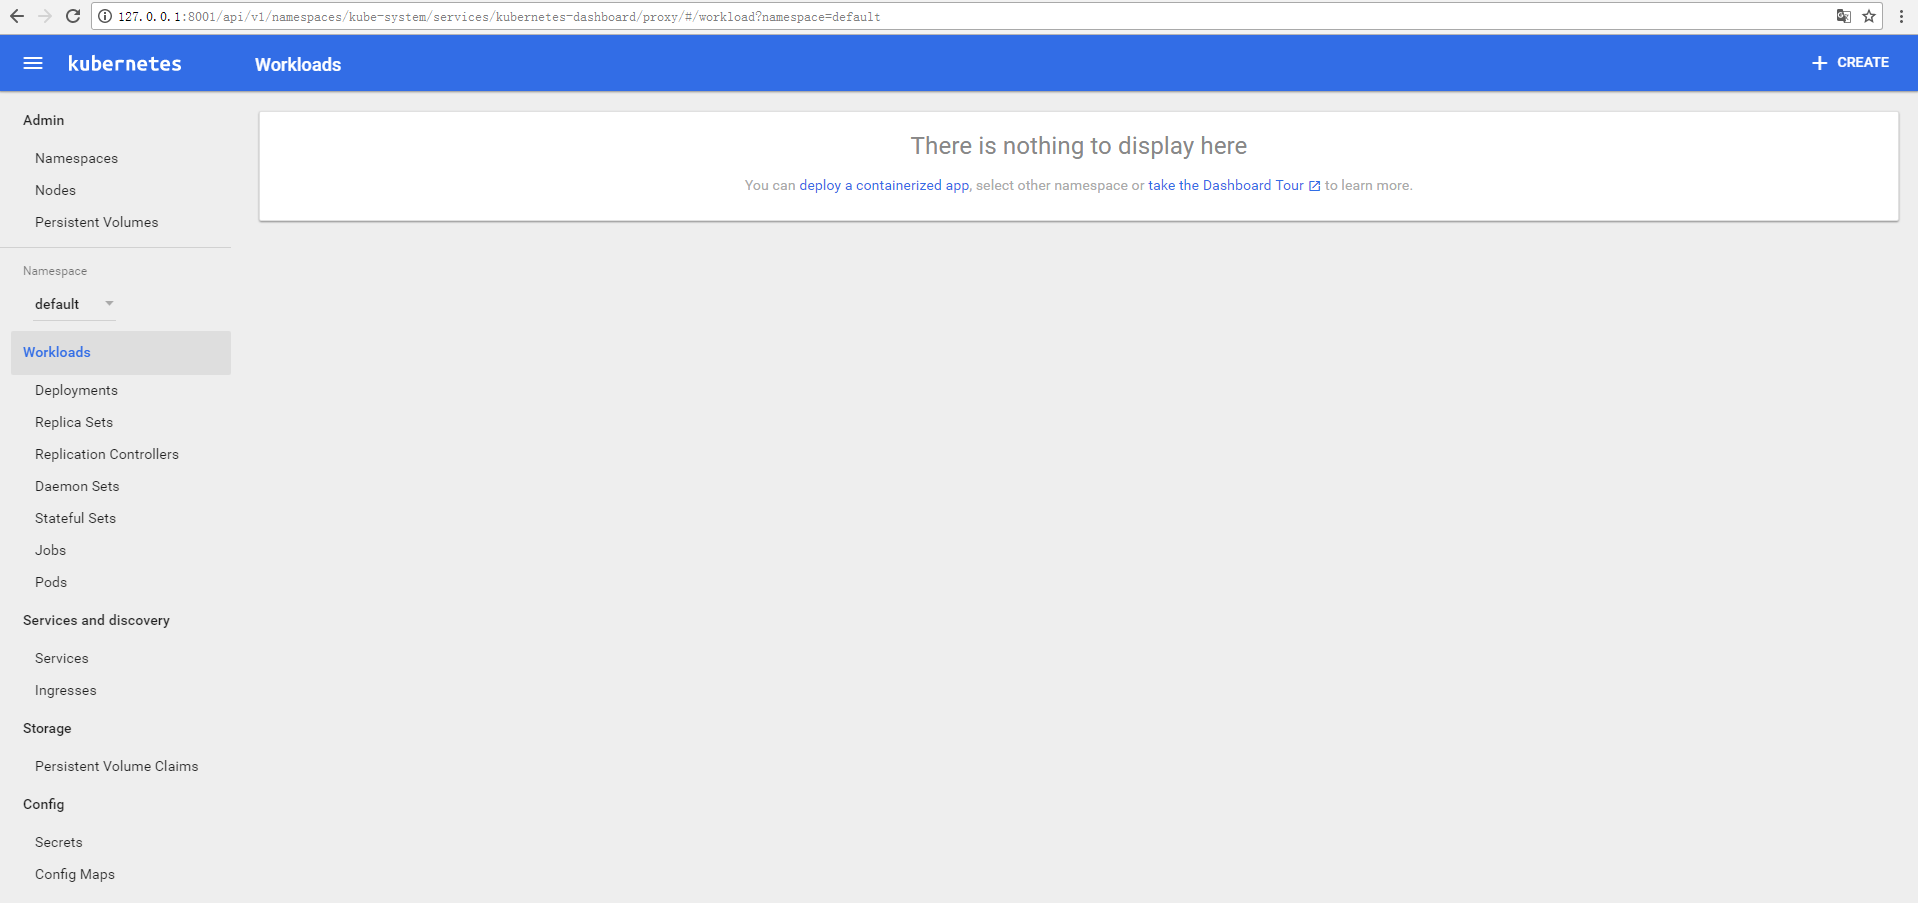
- Enter
kubectl.exe proxyto open proxy, and then access dashboard via127.0.0.1:8001/uiin browsers