
Release an Instance
Last Updated:2020-09-23
Application Scenarios
- The on-demand billing instance purchased by users can be manually released at any time.
- The on-demand billing instance can be regularly released at a specified time.
- You can select whether the associated CDS disk and snapshot are released at the same time.
- You need to send the short message and enter the verification code to confirm during release.
- If your prepaid instance is expired, you can release the instance manually.
Immediate Release
For the on-demand billing BCC, you can immediately release the selected BCC in the following two methods.
- Method I
- Select "Product Service" > "Computing" > "BCC", and then you can see a BCC list created.
- Select a BCC to operate, and then click "More" > "Instance Status" > "Release" to pop up the "Confirm Before Release" dialog.
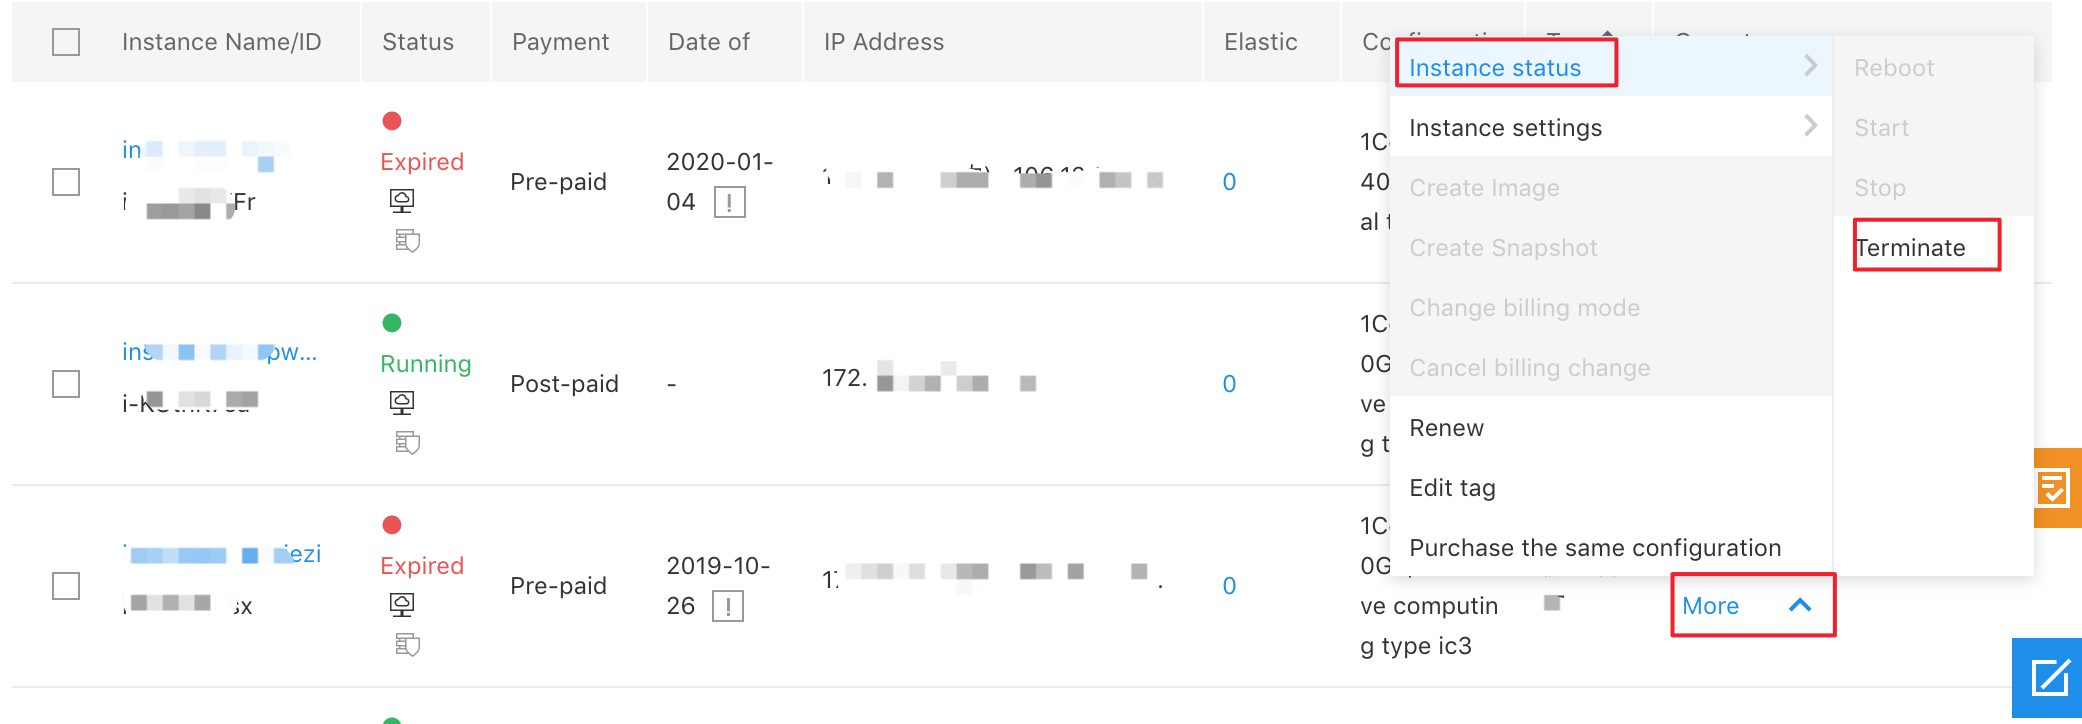
- Click "Send Verification Code" to obtain the verification code information from the mobile phone, and then enter the verification code.
- Click "OK" to release the instance successfully.
- Method II
- Select "Product Service" > "Computing" > "BCC", and then you can see a BCC list created.
- Select "Instance", and click "Batch Operation", and then select "Release".
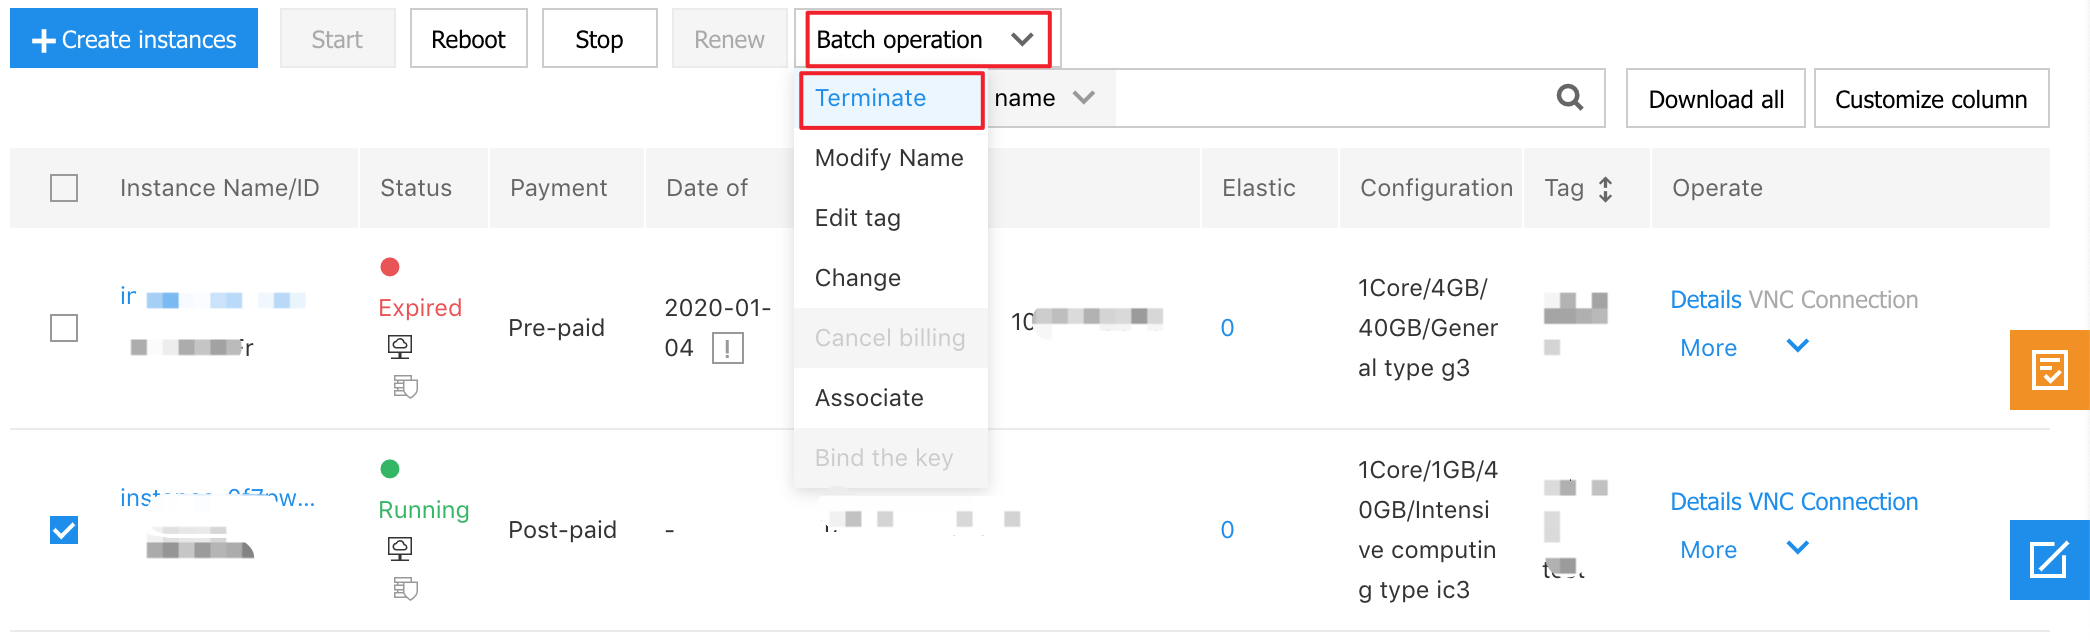
- Click "Send Verification Code" to obtain the verification code information from the mobile phone, and then enter the verification code.
- Click "OK" to release the instance successfully.
Timed Release
The on-demand billing BCC can be also released at a specified time. You can enable the timed release by following the steps below.
- Select "Product Service" > "Computing" > "BCC", and then you can see a BCC list created.
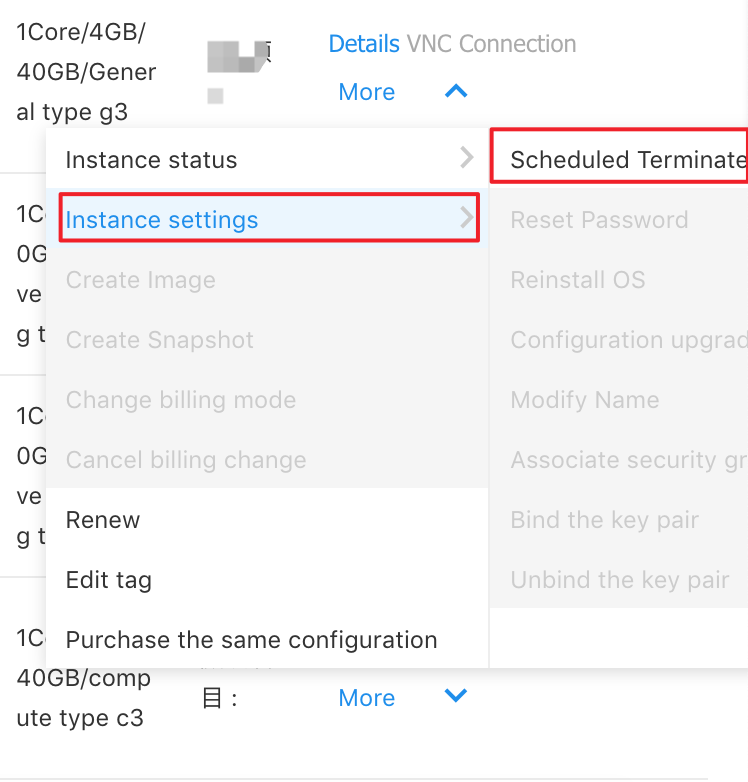
- For the on-demand billing BCC instance, select "More" > "Instance Settings" > "Timed Release" in the action bar.
- Pop up the "Create Release Plan" dialog, and select "Automatic Release Settings" as On, and then you can select the release time in the "Automatic Release Time" option as required.
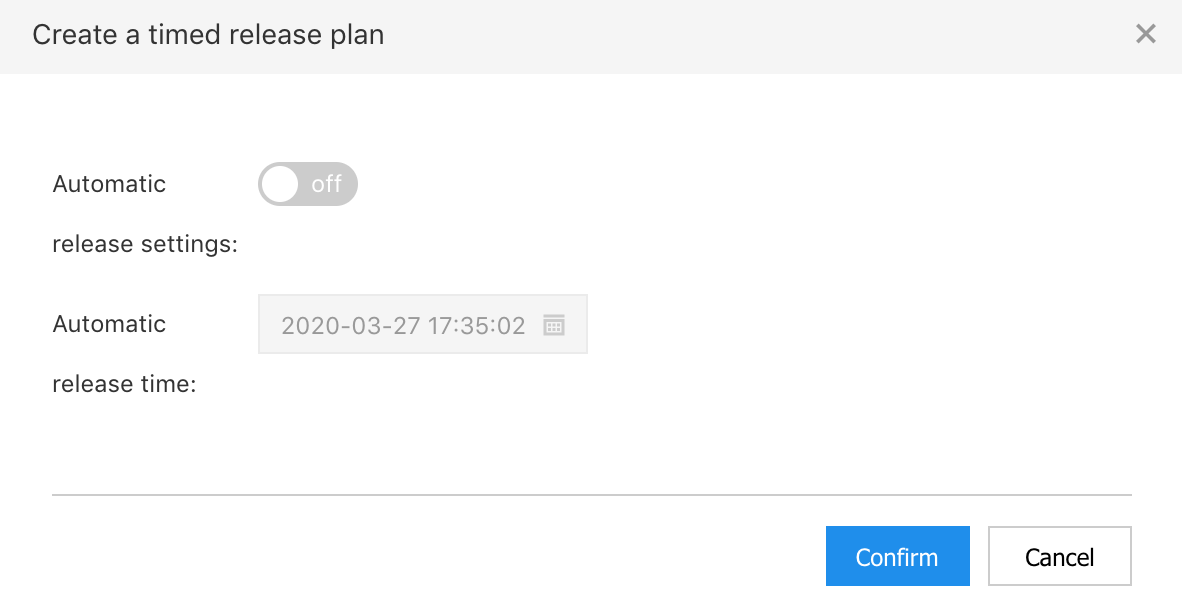
- Click "Next" to enter the "Confirm Before Release" dialog.
- Enter "Short Message Verification Code", and then click "OK" to set the release time successfully.