
Identity and Access Management
Introduction
The RDS Identity and Access Management (IAM) refers to the operation privileges assigned by the original user as the master account of the sub-account for assigning relevant products or instances to the sub-account, making possible the granular privilege management. For example, you can assign the front-line operators (like DBA) product- or instance-level RDS OPS privileges, and others (except operators) product- or instance-level RDS viewing privileges.
The IAM applies to the following scenarios:
- Medium- and large-sized enterprises: Grant multiple employees the authorization for management in the enterprise;
- Technology-based vendors or SAAS platform providers: Perform resource management and access control for proxy customers;
- Small and medium developers or small-sized enterprises: Add project members or collaborators to perform resource management.
Create an IAM user
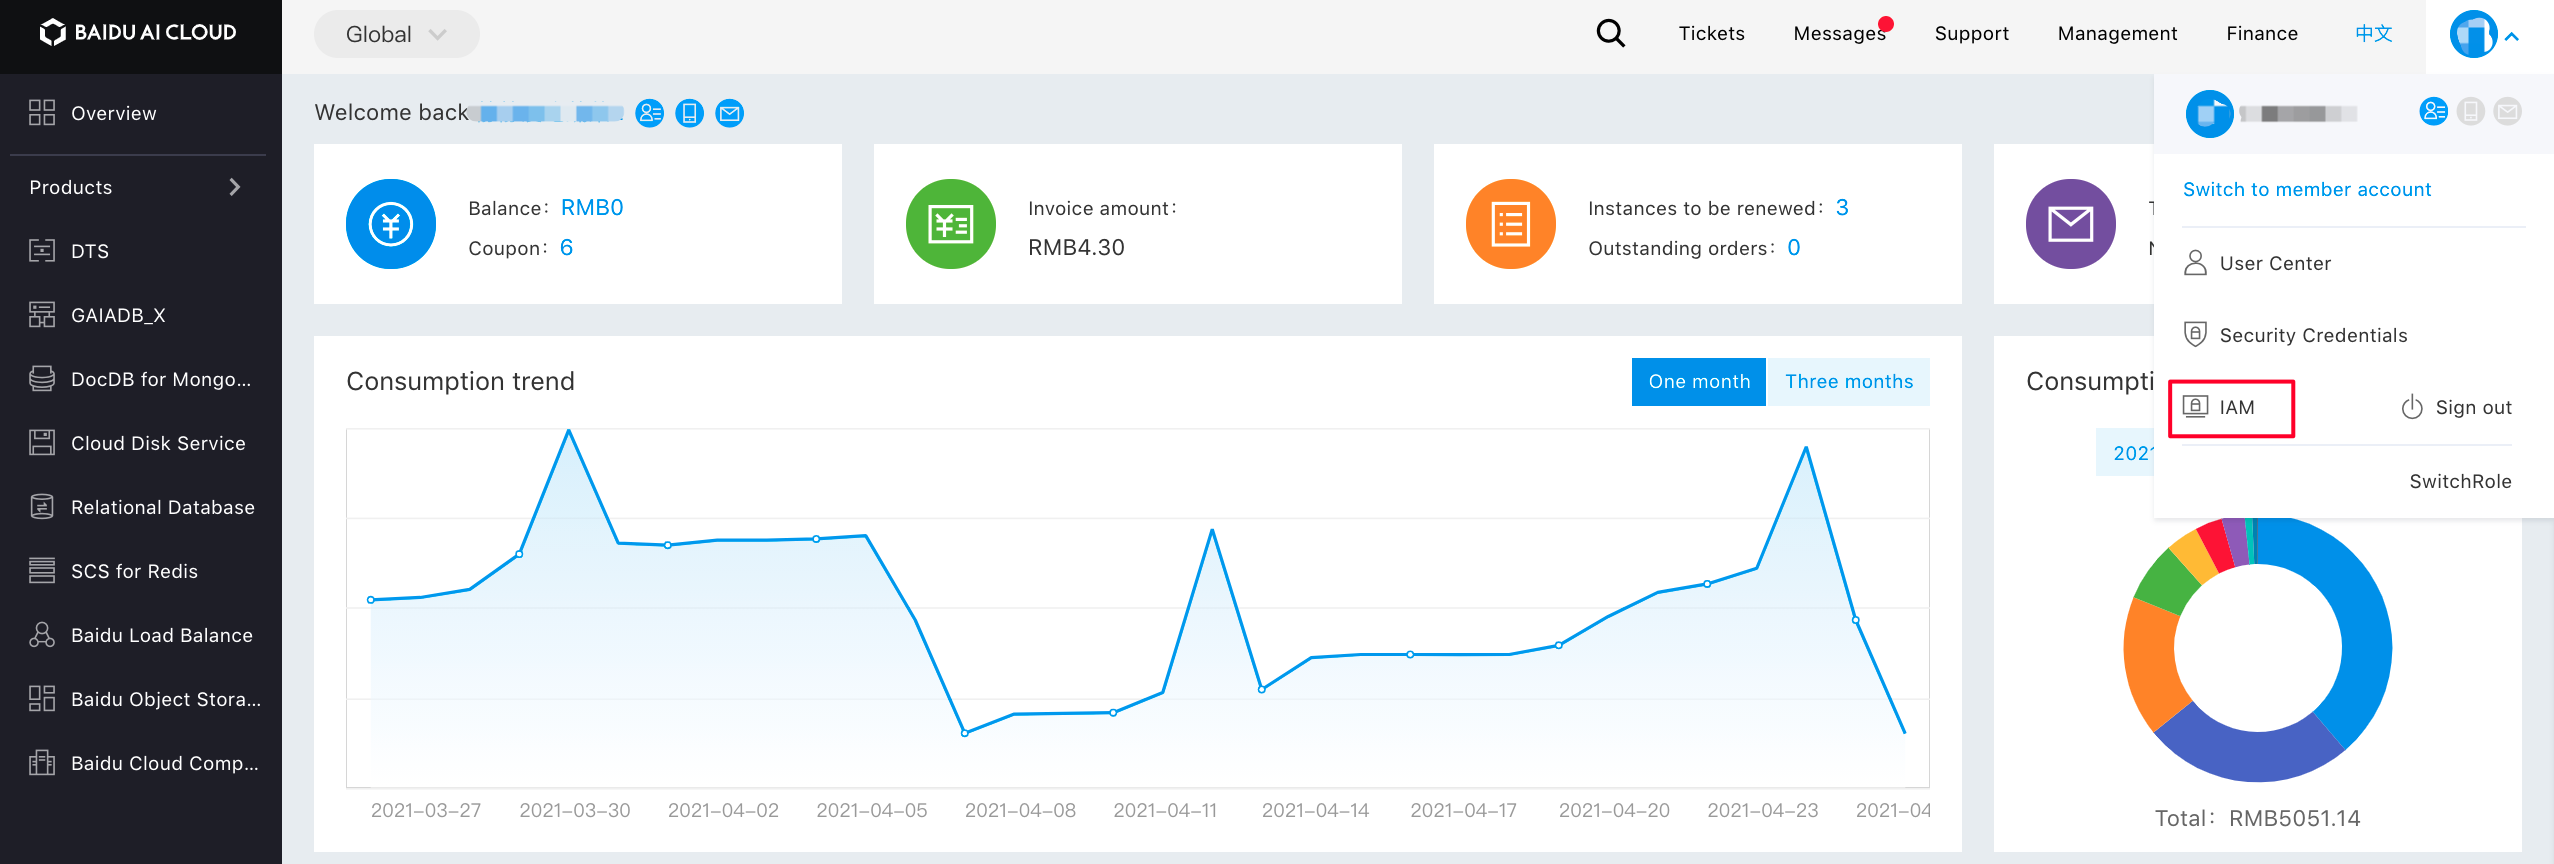
- After the primary account user logs in to the account, the user selects the "Identity and Access Management" in the console to enter the user administration page.
- Click "User Management" in the left Navbar, and click "Create IAM user" on the "IAM user" page.
- In the pop-up "New User" dialog box, enter and confirm the "User Name", and then return to the "IAM user Administration List" area to view the created IAM user.
Configuration policies
The RDS supports both system policies and user-defined policies to realize product-level and instance-level privilege control of the RDS, respectively.
System Policies
The system policy is the RDS product-level privilege. And, the RDS has three system policies, i.e., product-level management privilege, product-level OPS privilege, and product-level read-only privilege. The scope of the privilege is as follows:
| Privilege | Privilege Scope |
|---|---|
| RDS product-level management privilege. | Includes all operation privileges of the RDS Instances. |
| RDS product-level OPS privilege. | Includes the privileges for access to and operation of the RDS instances under all master accounts, but excludes the privileges for creating master instances/read-only instances/proxy instances, cloning an instance, changing the configuration, topping-up, tagging, changing the billing mode, and releasing an instance. |
| RDS product-level read-only privilege. | Includes privileges for viewing the RDS instance lists, and for viewing, monitoring, and logging the instance details, and excludes operation privileges. |
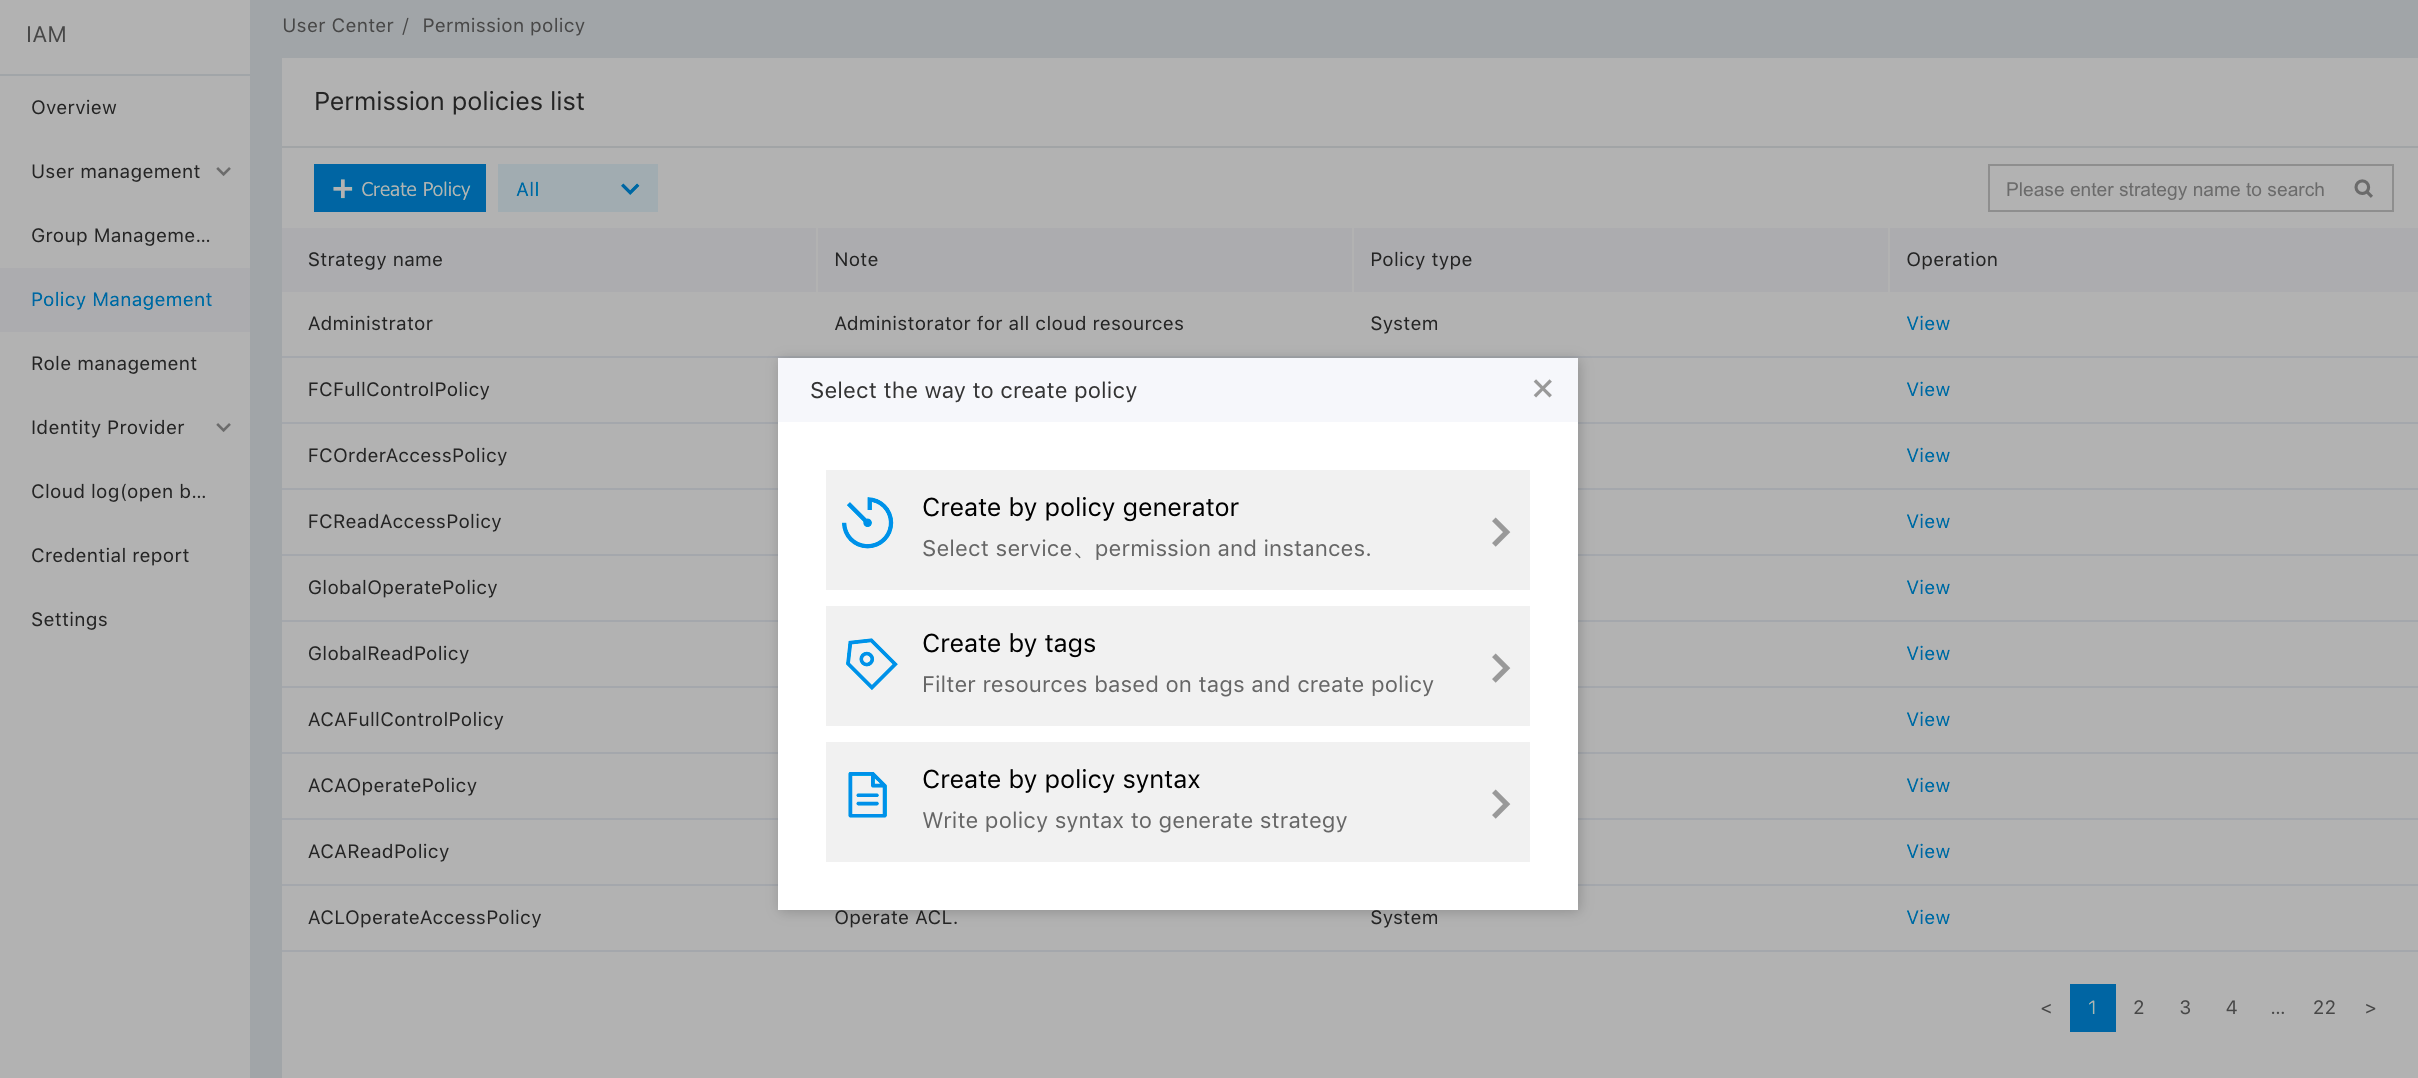
Custom policies
The IAM user can add a custom policy to perform instance-level privilege control by clicking "Role Management >Create Policy". Here, the user can add custom policies in two ways, i.e., "Create by Policy Generator" and "Create by Tag". The user can set and modify the policy content according to specific privileges.
User Authorization
Select "Add Privilege" in the "Action" bar of the corresponding IAM user of "User Management -> IAM user", and select system privilege or custom policies for the user authorization.

Note: If you modify the privilege of an IAM user without modifying existing policy rules, you can only delete the existing policy or add a policy, you cannot unselect the added privilege policy.
IAM user login
After the primary account has authorized the IAM user, the link can be sent to the IAM user. Also, the IAM user can log in to the management console of the primary account through the IAM user login link. Then, the IAM user can operate and view the primary account resources based on the authorized policy.

For more information on detailed operations, please see Identity and Access Management.