Manage the Database
Last Updated:2021-04-27
Create a database
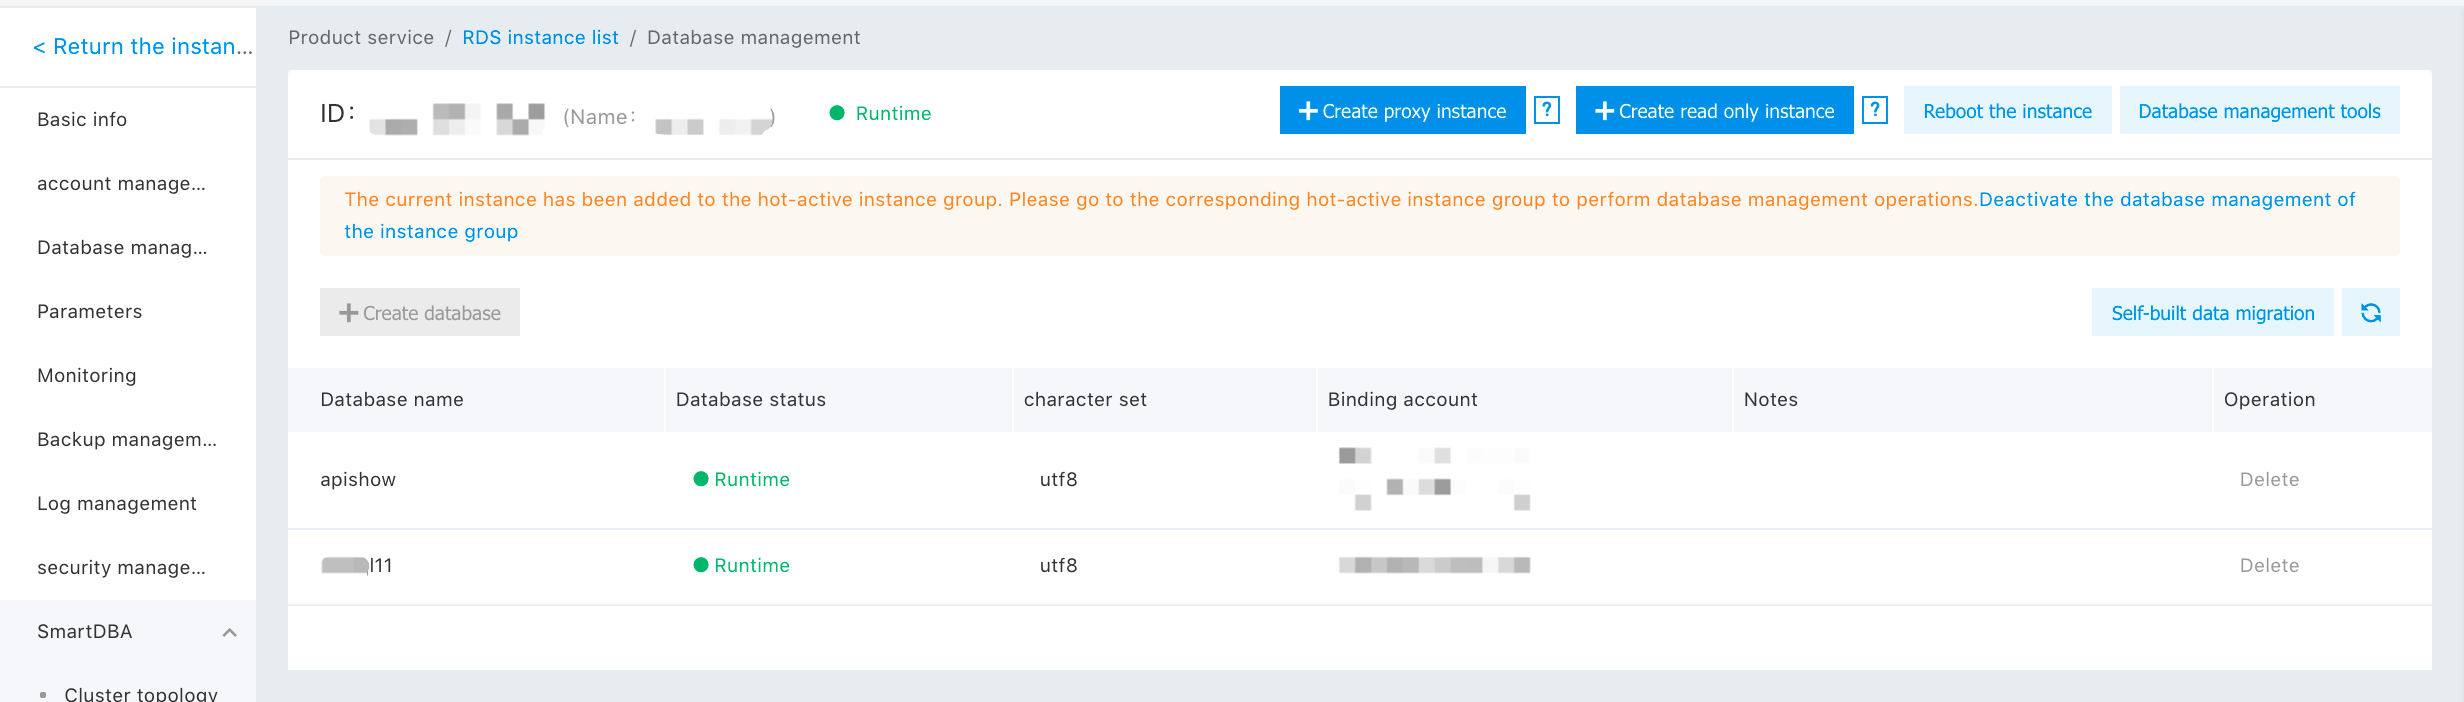
- After clicking the instance name, select the "Database Management" on the left-hand side. Then, you can see the created database list and database information.
- Click the "Create Database" button to enter the "Create Database" subpage.
-
Set the database name and character set, select authorized account and privilege, click the "OK" button to create the database. Database remarks information may be added for created database. Account type has only two privileges, namely, read-only and "read/write", Privilege allocation is as follows:
Type of Account Privilege Read-only account db_datareader Read/write account db_owner
Modify database remarks
- The database supports remarks modification, which is shown on the "Database Management" subpage.
- Move the mouse to the database line, and a Pencil marker is shown in the "Description" bar. After clicking, the system shows Edit box, where you may type in new remarks information. Click "OK" for saving.
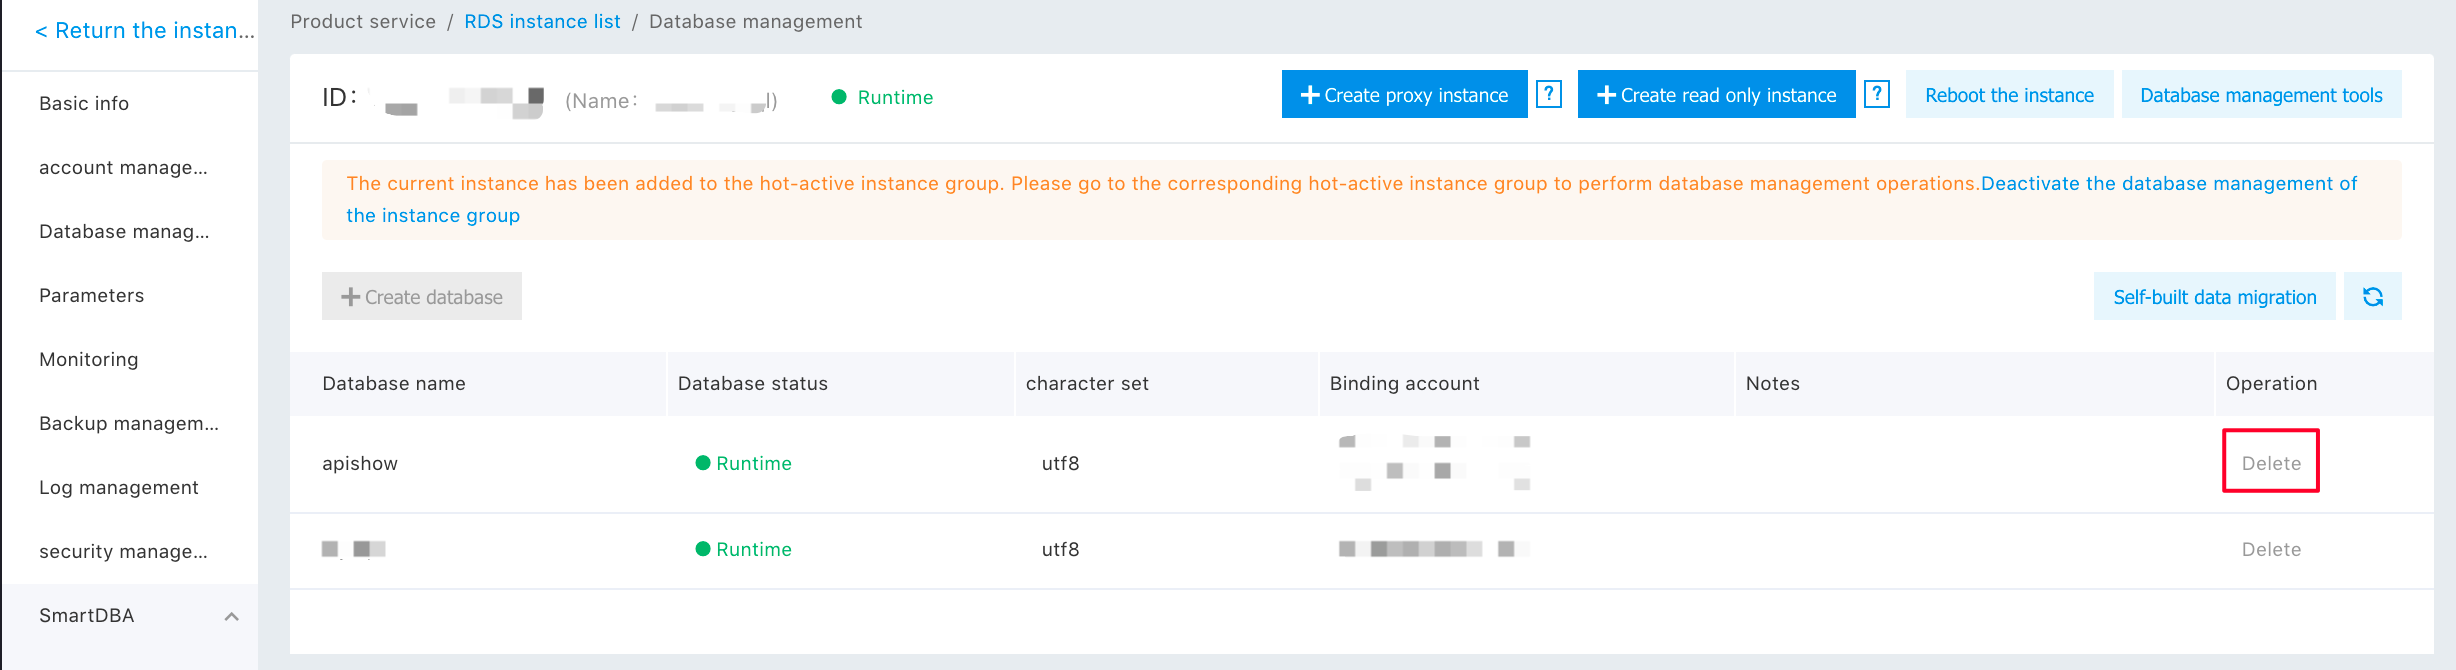
Delete database
On the "Database Management" subpage, click the "Delete" link next to the database to be deleted, and click the "OK" button to delete the database.