
Alarm callback
Function overview
Alarm callbacks enable BCM alarm notifications to be sent to a specified URL. You can process various alarm messages freely and flexibly. BCM supports pushing messages to a publicly accessible URL via POST requests using the HTTP/HTTPS protocol, allowing further processing of alarm information pushed through the callback API. To receive alarm notifications through office tools like WeCom, DingTalk, Infoflow, Zhiyinlou, Feishu, or Knock, please refer to the webhook usage instructions.
Instructions for use of alarm callback
- Alarm callback API: You need to provide a publicly accessible URL address capable of receiving POST requests through the HTTP/HTTPS protocol as the callback address.
- Alarm callback triggering: If an alarm callback address is provided, the triggering logic is the same as for alarms sent via SMS, email, and phone calls. When an alarm strategy is triggered or resolved, alarm messages will be sent via the callback API.
- Binding the alarm callback API: You can add a callback API when creating an alarm strategy. Each alarm strategy can only be bound to one alarm callback URL.
- Response content: After sending alarm information to the bound URL, we need to receive a response content (httpCode = 200) indicating successful receipt; otherwise, we will resend the alarm information three times at most, with a timeout duration of 5 s (retry mechanism)
Operation steps
Below is example of cloud product monitor, there are three entries for alarm callback function:
- Entry I: Entry for uniformly creating alarm strategy
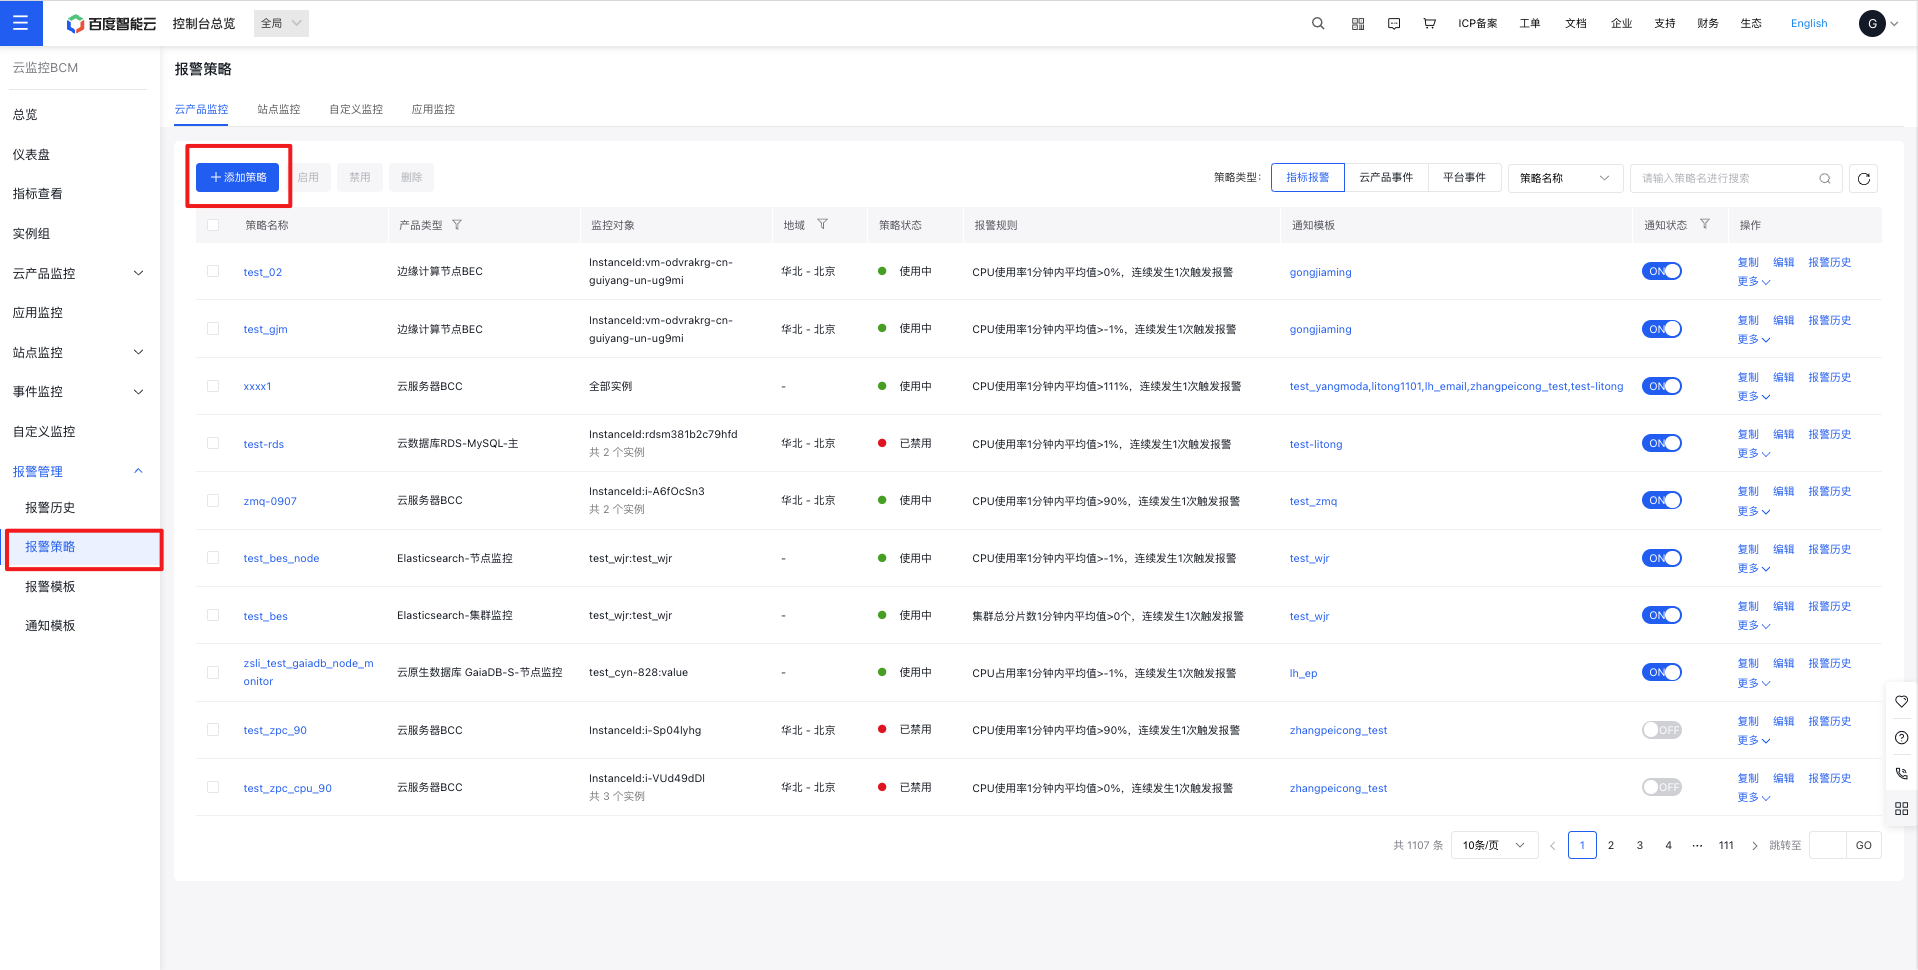
- In the left navigation bar, click Alarm Management, then Alarm Strategy, and under the cloud product monitor strategy list, click Add Strategy.
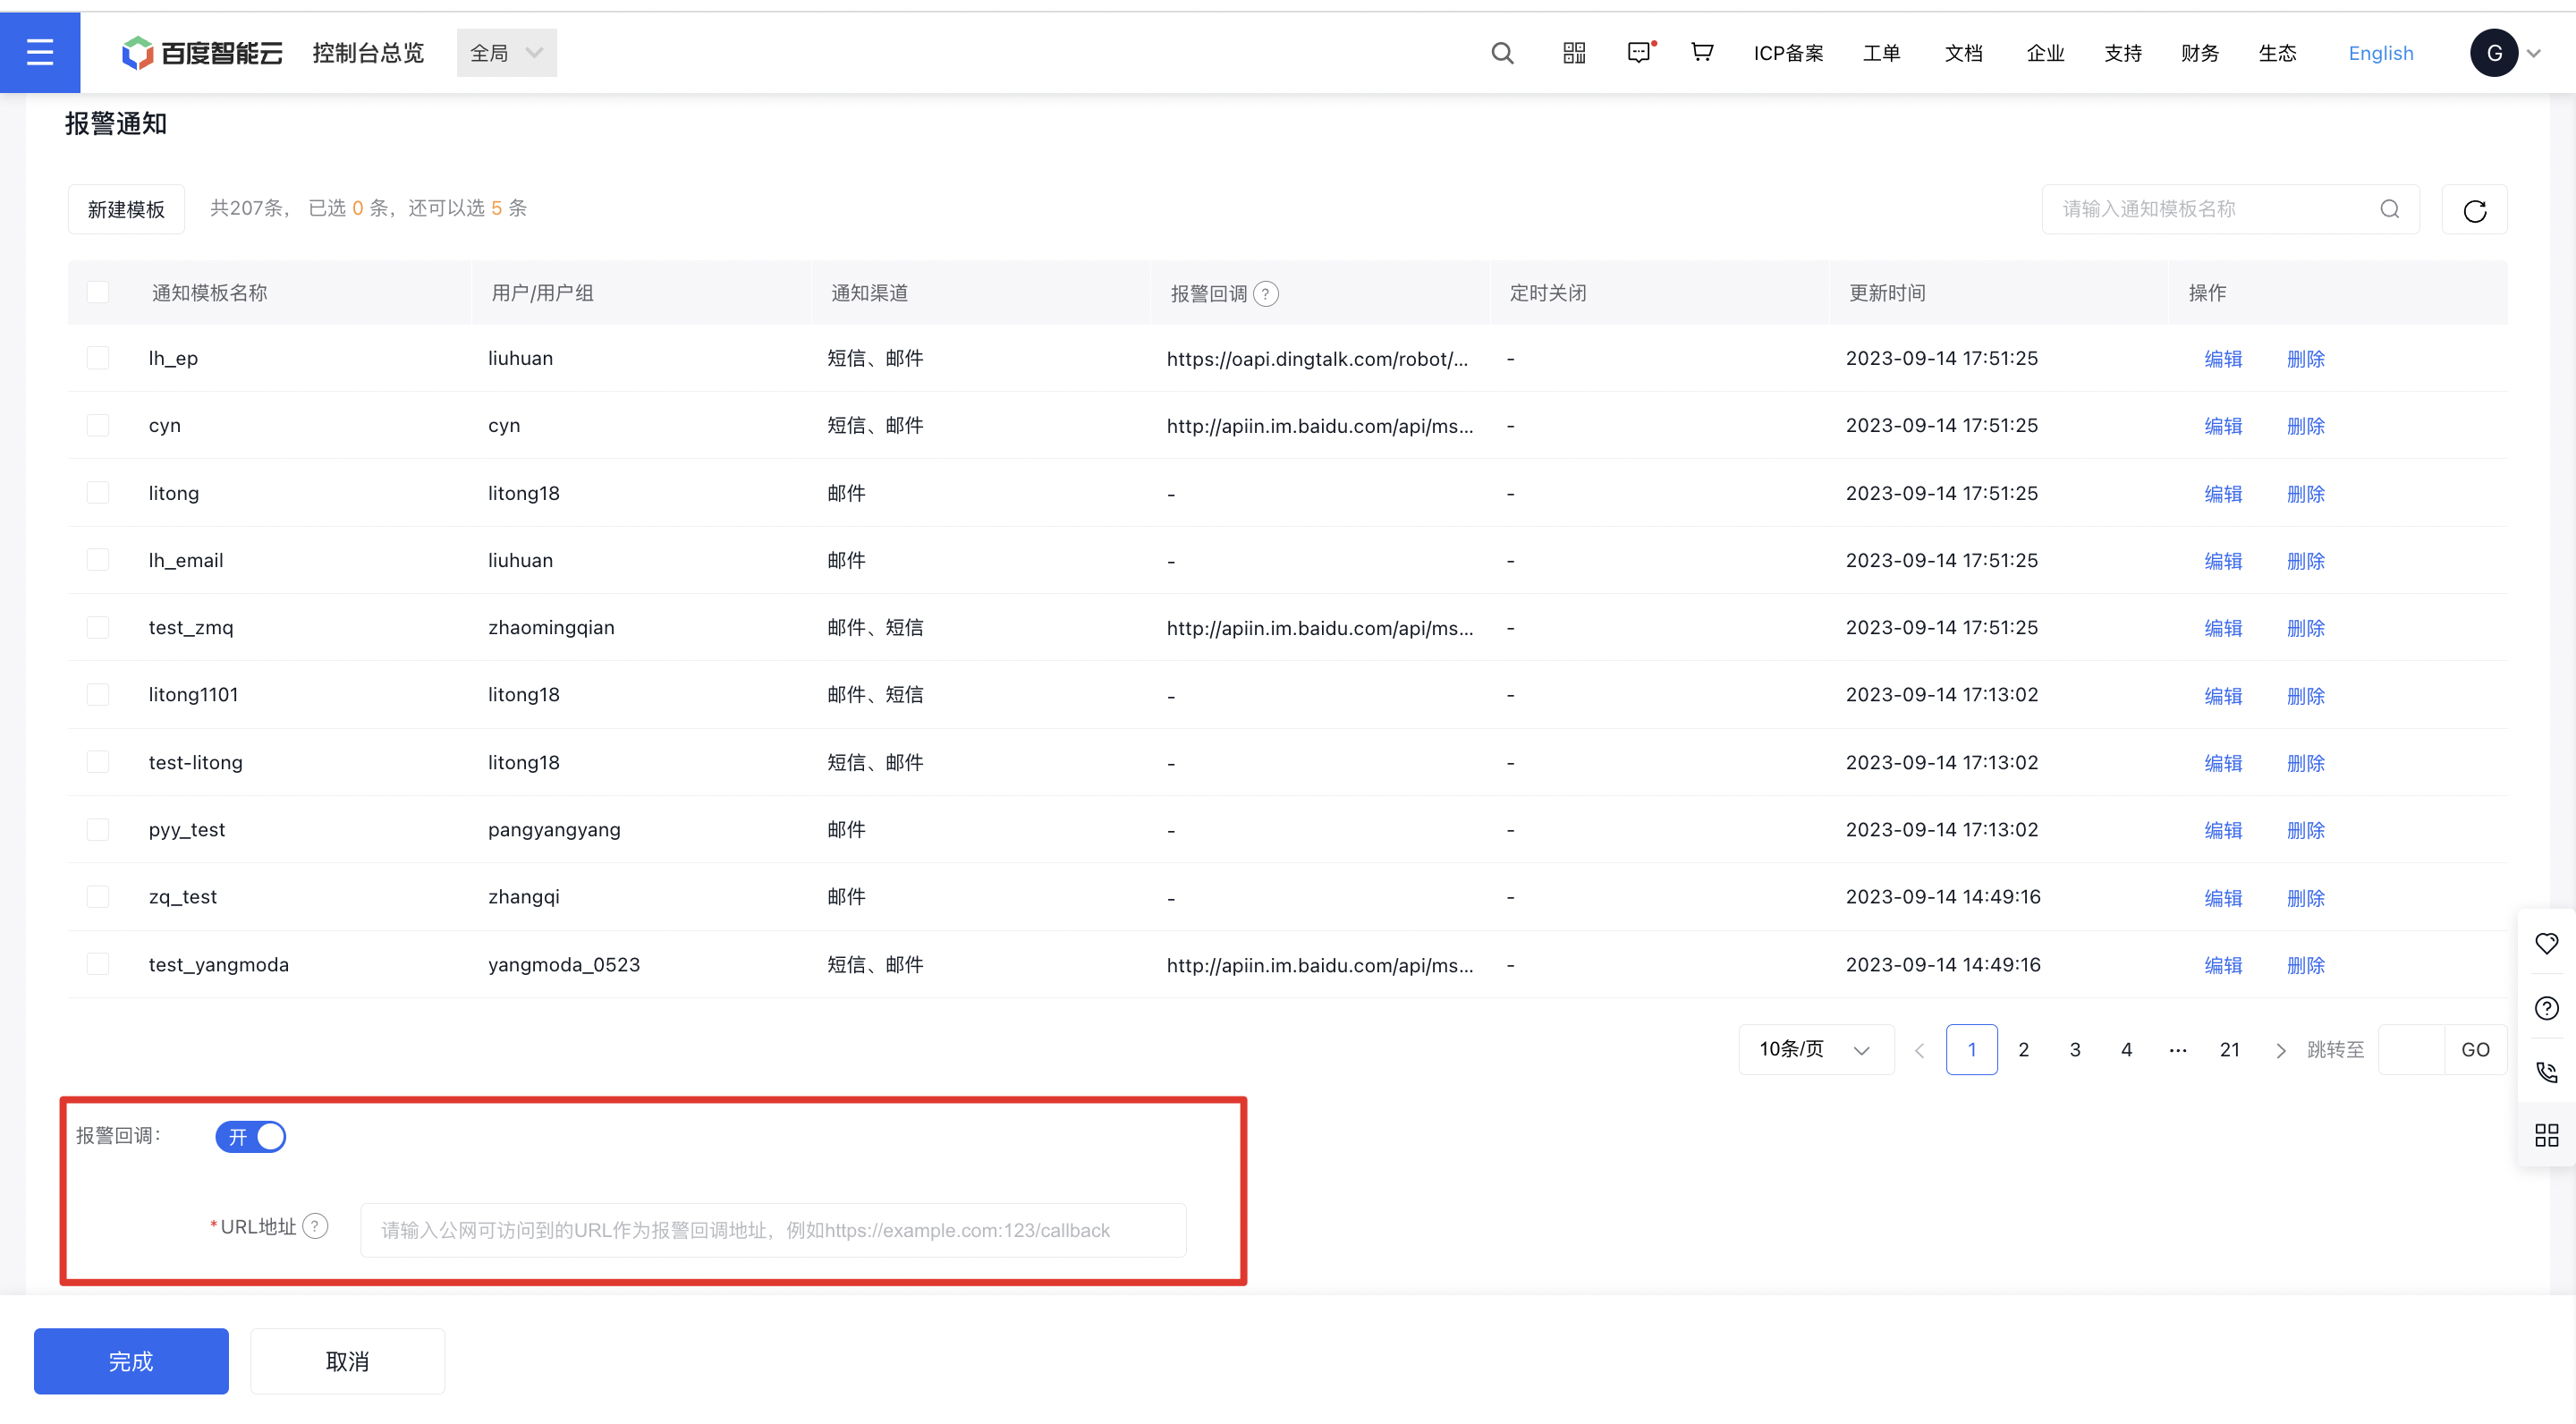
- On the Create Strategy page, activate the alarm callback and input a publicly accessible URL.
- Entry II: Entry for creating an alarm strategy for a single instance under a cloud service
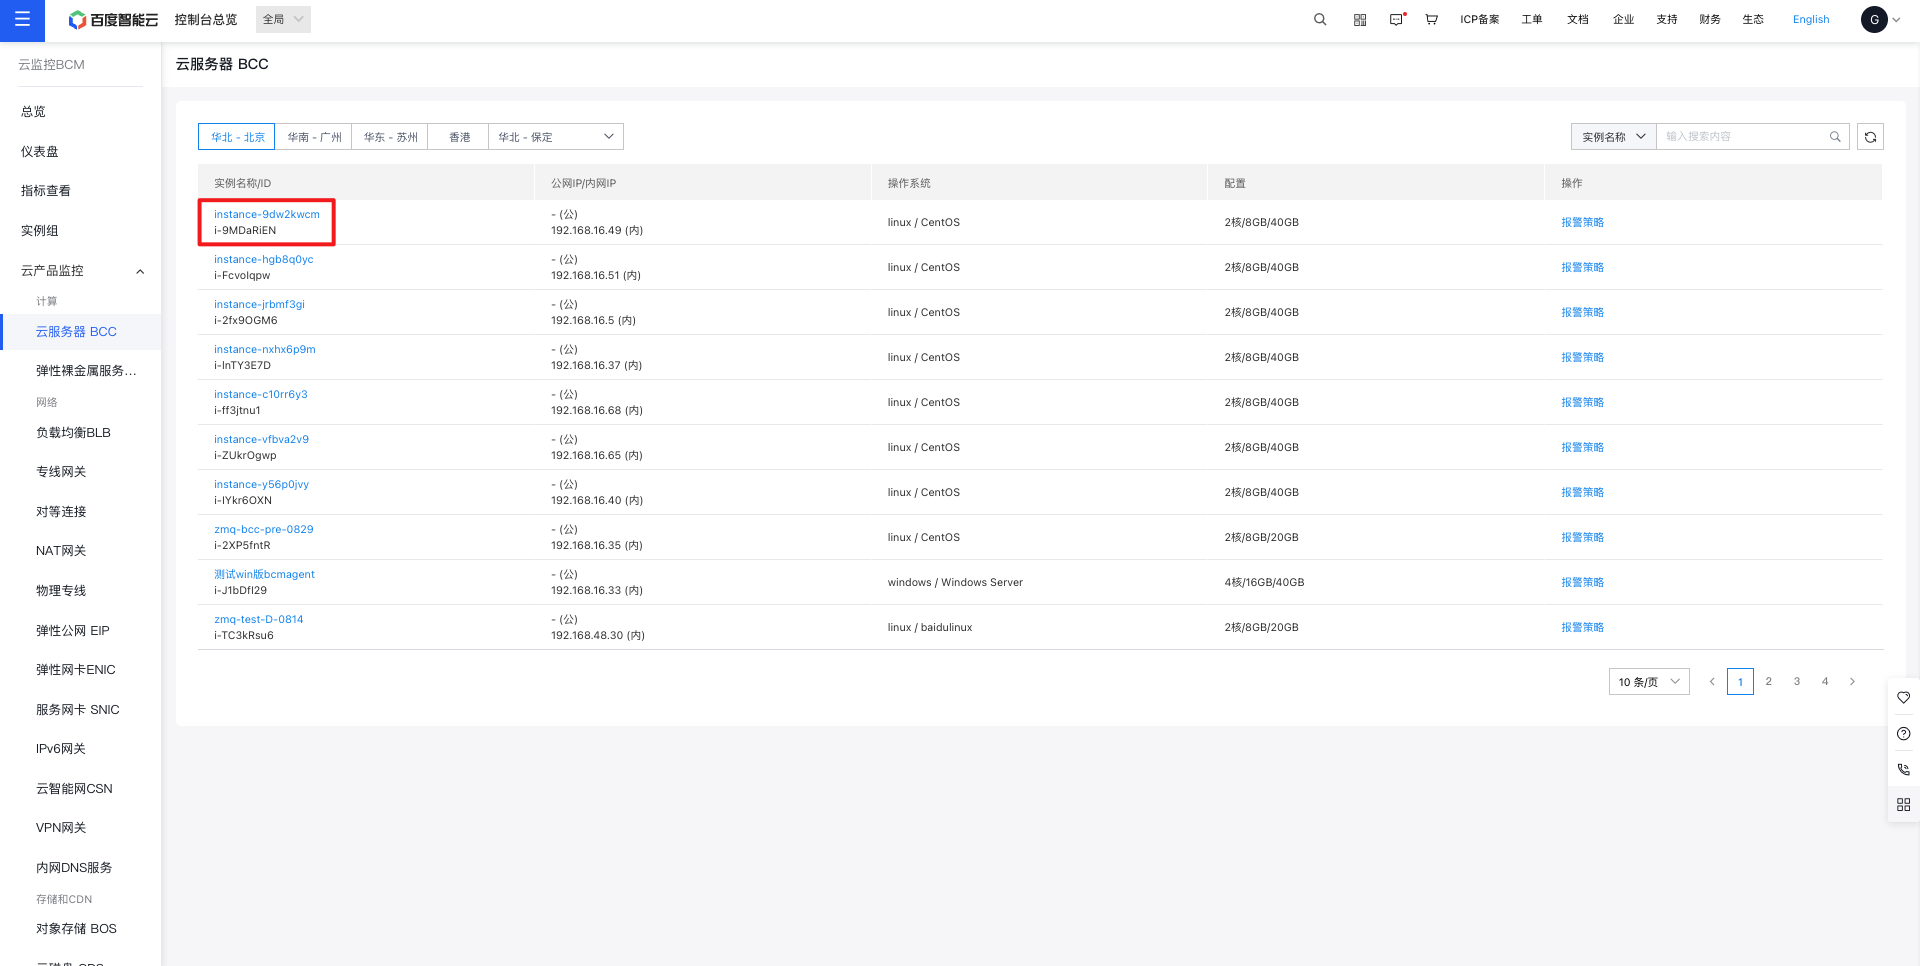
- Go to Cloud Product Monitor, then click on Instance Monitor in the left-hand menu to open the Instance List page. To access Baidu Cloud Compute (BCC) monitoring data, click on Baidu Cloud Compute Monitor to navigate to the Baidu Cloud Compute List page. From there, choose and click the relevant instance to proceed to the Alarm Strategy page.
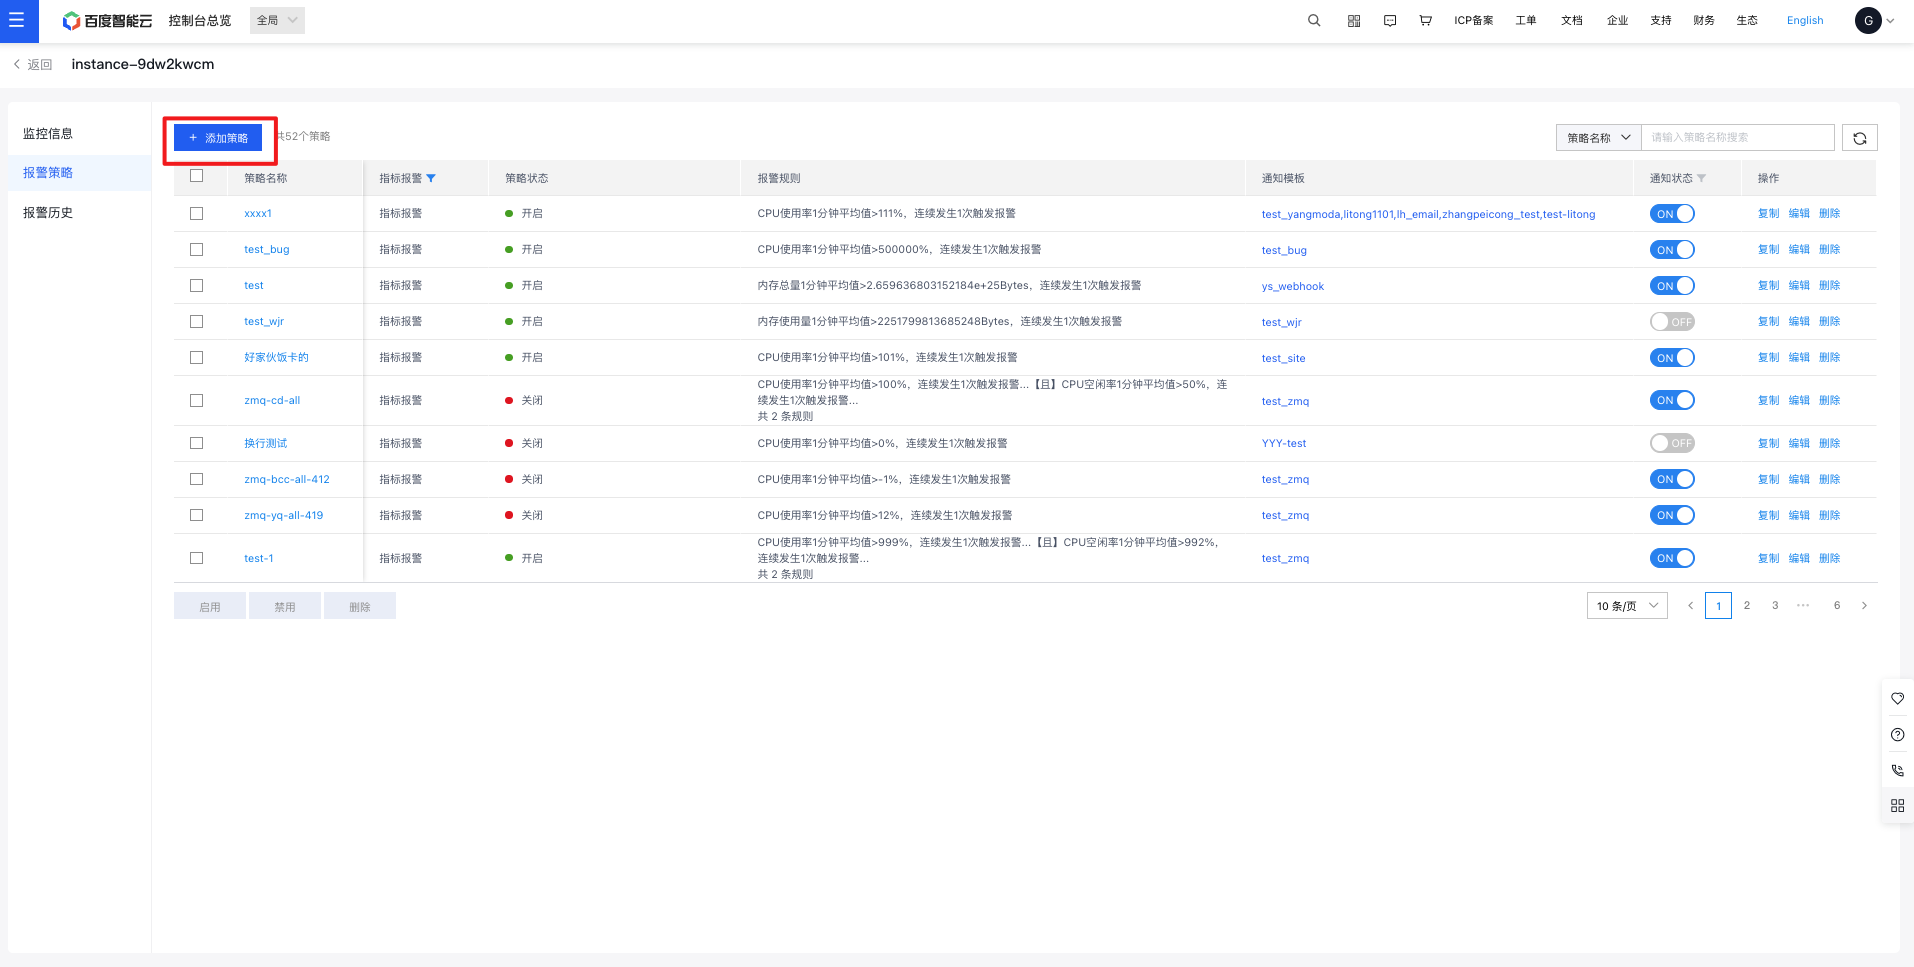
- In the instance Alarm Strategy page, click Add Strategy
- On the Create Strategy page, activate the alarm callback and input a publicly accessible URL.
- Entry III: Entry for creating an alarm notification template
- In the left-hand menu, select Alarm Management and then Alarm Template. Click on Add Template under the Alarm Action List page.
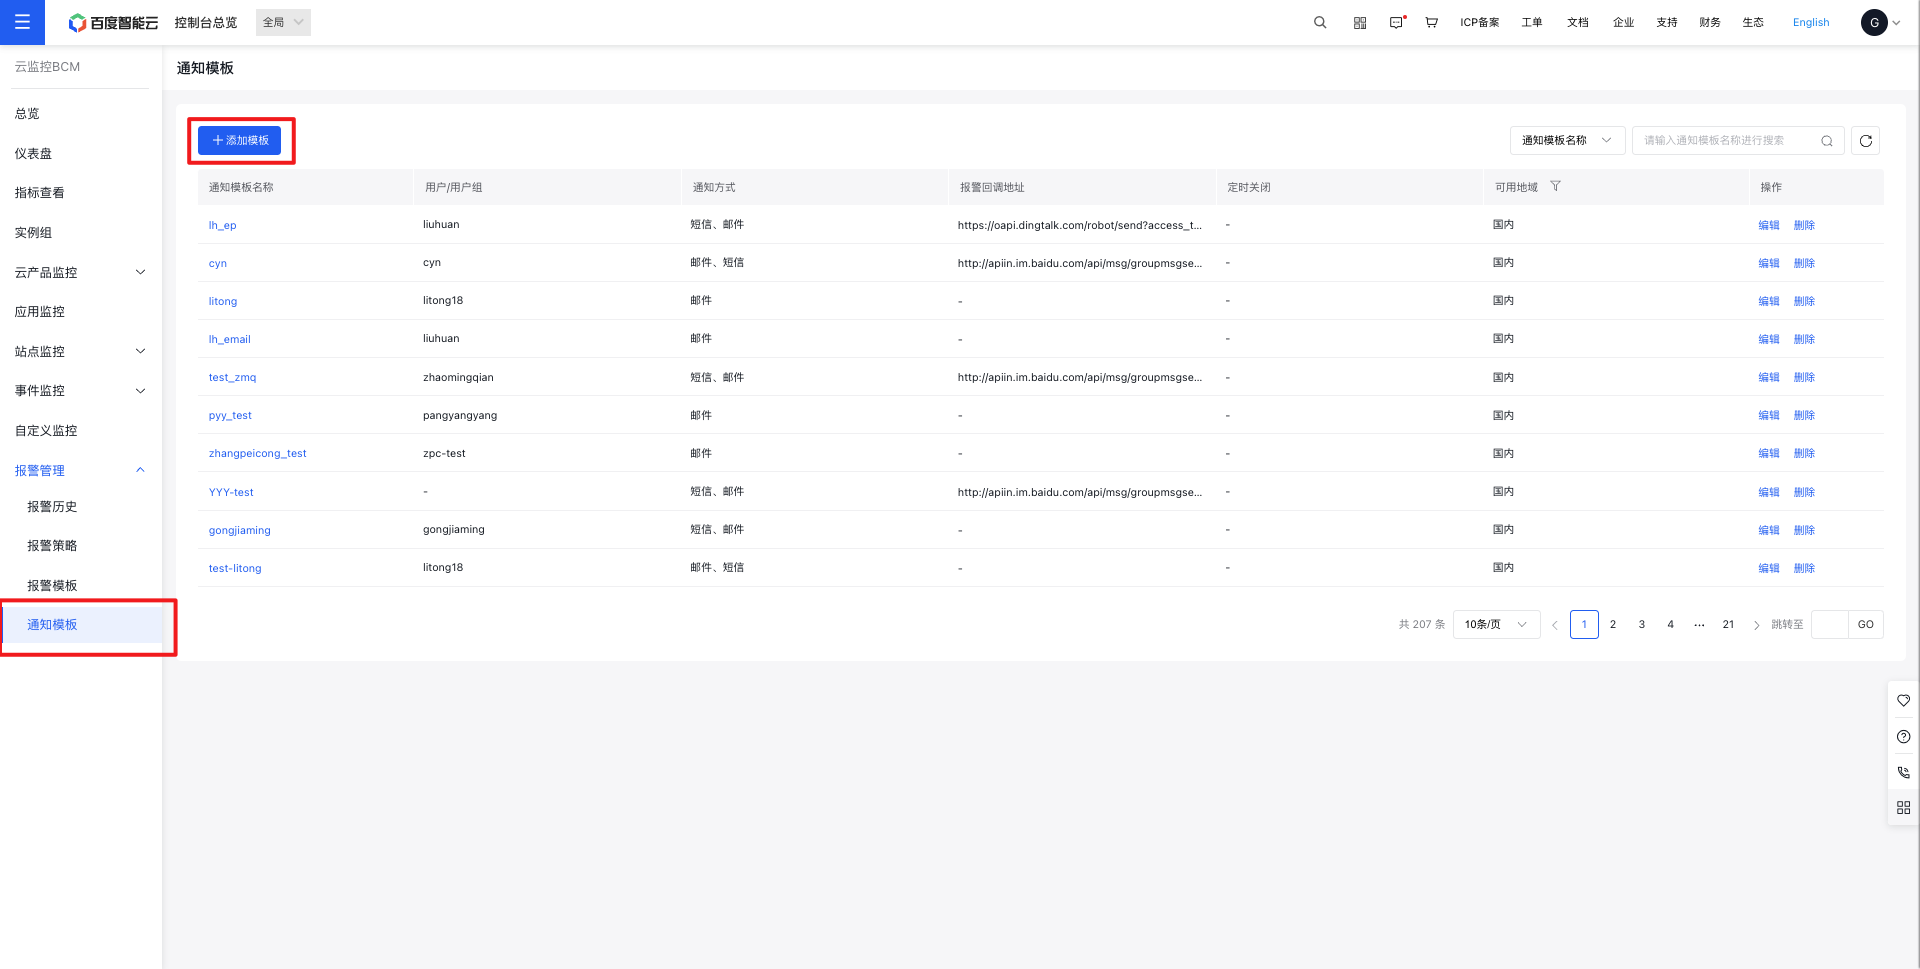
- In the Add Notification Template page, input a publicly accessible URL into the API callback field.
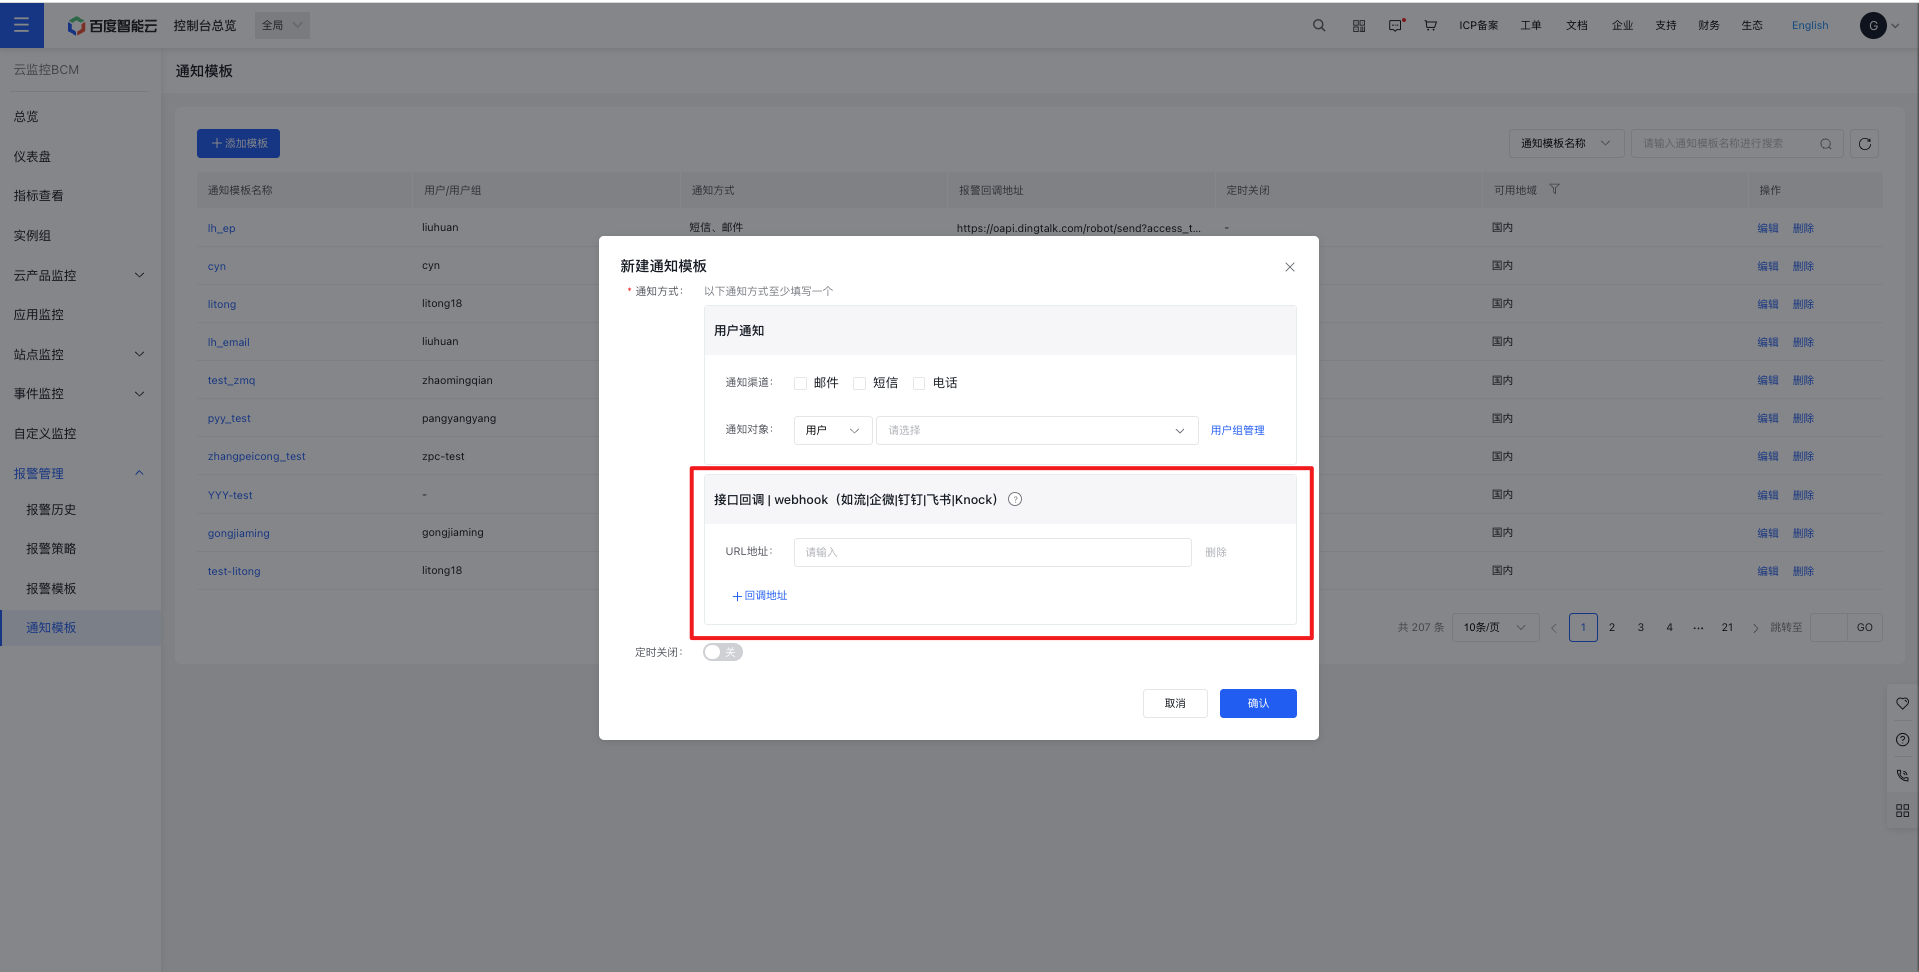
Notes Alarm notification templates support adding multiple callback addresses (5 at most).
Instructions for use of webhook
- WeCom
- Log in to WeCom, open the designated WeCom group that will receive alarm notifications.
- After adding a group bot, copy the webhook address and paste it into Alarm Callback as instructed in the steps above.
- Once successfully configured, any triggered alarm notification will be sent to the WeCom group.
- DingTalk
- Log in to DingTalk, open the DingTalk group designated to receive alarm notifications, and add a group bot.
- Complete the form, select the Custom Keywords option in the Security Settings section, and it is recommended to set Alarm as the keyword.
Note: Check the custom keywords box, enter up to 10 keywords, and ensure each message contains at least one keyword for successful delivery. For instance, if Alarm is set as a custom keyword, messages sent by the bot must include the word Alarm to guarantee successful delivery.
- After adding a DingTalk bot, copy the webhook address and input it into Alarm Callback by following the stated steps.
- Once configured successfully, any triggered alarm notification will be delivered to the DingTalk group.
- Infoflow
- Log in to Infoflow, open the Infoflow group designated to receive alarm notifications.
- After adding an Infoflow bot, copy the webhook address and paste it into Alarm Callback following the provided steps.
- Once successfully configured, any triggered alarm notification will be sent to the Infoflow group.
- Zhiyinlou
- Log in to Zhiyinlou, open the Zhiyinlou group that will receive alarm notifications.
- Complete the form, select the Custom Keywords option in the Security Settings section, and it is recommended to set Alarm as the keyword.
Note: Check the custom keywords box, enter up to 10 keywords, and ensure each message contains at least one keyword for successful delivery. For instance, if Alarm is set as a custom keyword, messages sent by the bot must include the word Alarm to guarantee successful delivery.
- After adding an Infoflow bot, copy the webhook address and paste it into Alarm Callback following the provided steps.
- Once successfully configured, any triggered alarm notification will be sent to the Infoflow group.
- Feishu
- Log in to Feishu, open the Feishu group that will receive alarm notifications.
- After adding an Infoflow bot, copy the webhook address and paste it into Alarm Callback following the provided steps.
- Once successfully configured, any triggered alarm notification will be sent to the Infoflow group.
- Knock
- Log in to Knock, open the Knock group that will receive alarm notifications.
- After adding an Infoflow bot, copy the webhook address and paste it into Alarm Callback following the provided steps.
- Once successfully configured, any triggered alarm notification will be sent to the Infoflow group.
POST method parameter description
Metric alarm POST method parameter description
| Parameters | Description |
|---|---|
| alertId | Alarm ID |
| userId | Account ID |
| alarmName | Alarm strategy name |
| scope | Cloud product name |
| policyType | Strategy type (Either metric alarm or event alarm, where Metric represents metric alarms and Event represents event alarms) |
| alertStartTimestamp | Alarm timestamp |
| region | Region where the alarm object is located |
| monitoringObject | Alarm object |
| alarmLevel | Alarm level status. Based on actual conditions, return one of the four statuses: critical, notification, important, or warning. |
| formula | Alarm conditions |
| currentValue | Current value of the metric when an alarm occurs or is restored |
| taskTimestamp | Alarm callback sending time |
| signature | Signature |
| alarmStatus | Alarm status: One of four statuses - alarm - abnormal, alarm - repeated notification, alarm - insufficient data, or alarm - closed (return to normal) |
Event alarm POST method parameter description
| Parameters | Description |
|---|---|
| alarmName | Alarm strategy name |
| scope | Cloud product name |
| alertStartTimestamp | Alarm timestamp |
| alertContent | Event Details |
| taskTimestamp | Alarm callback sending time |
| signature | Signature |
The signature value is verified by ensuring it matches the MD5 hash of the concatenated string comprising the alertId and taskTimestamp parameters.
URL callback example
Below is an example of URL callback usage, where BCM initiates a POST-style URL callback request:
1POST http://127.0.0.1:8201/callback
2 Request Body (“Content-Type”: “application/json”):
3{
4 “alarmStatus”: “alarm - abnormal”,
5    "alertId":"19925050-3f77-4839-bae7-6a5f721aae0c",
6    "userId":"your_user_id",
7    "alarmName":"test_bcc_alarm",
8    "scope":"BCE_BCC",
9    "policyType":"Metric",
10    "alertStartTimestamp":1698982559,
11 “region”: “Beijing”,
12 “monitoringObject”: “i-6nfua8xc/bcc-test-bj/-(Public)/192.168.16.12(Private)”,
13 “alarmLevel”: “Important”,
14 “Formula”: “CPU average usage >1% within 1 minute”,
15 “currentValue”: “CPU usage=0.50%”,
16    "taskTimestamp":1698982642,
17    "signature":"88e647b853e480046632a5eb9fef70f5"
18}
In callback.java, receive POST parameters and validate messages:
1// Parse 3 parameters - alertId, taskTimestamp, and signature from the received POST requests. The message can be verified using the MD5 hash value generated by concatenating the three parameter strings alertId and taskTimestamp.
2 If the verification is successful, it indicates that the message is sent by Baidu AI Cloud; otherwise, it is regarded as an illegal request and will not be processed. The taskTimestamp can be used for expiration validation. If the time interval between the Timestamp and the user’s current time exceeds a certain period (e.g., 10 minutes), the user may discard the request.
3if (md5(alertId + taskTimestamp) == signature) {
4    ..........
5}