
Manage SCS Instances
Renew
- In the "SCS - Instance List" page, select the instance to be renewed, and click the "Renew" option in the instance action bar to enter the "Finance Center / Renew" page.
- In "Batch Selection Renewal Duration" option, first select monthly or annual renewal, and then determine the specific renewal duration.
Note: On the yearly renewal basis, the renewal duration is up to three years; on the monthly renewal basis, the renewal duration is up to 9 months.
- After confirming the renewal duration and amount, click "Next" at the lower right corner to pay the order. After the order is paid, complete the renewal formally.
Adjust Capacity
-
On the "SCS - Instance List" page, select the instance for capacity adjustment, and click "Adjust the capacity" option in the instance action bar to enter the "Change Configuration" page.
Note:
In the prepaid mode, the maximum capacity of the Redis cluster is 2TB. If your instance is currently in the postpaid mode and you want to get the maximum capacity, change the billing mode from the postpaid mode to the prepaid mode.
If the number of Ips exceeds the number of remaining IPs for the subnet during configuration change, submit a Ticket.
- In the "Configuration change", select the capacity you need to increase; for example, if you want to increase the capacity from 1GB to 16GB, you need to pay for 15GB cache capacity only.
- Then, click "Next" in the right order bar to pay the order. After the order is paid, complete the capacity adjustment formally.
Switch Availability Zone
Switch Notices
- The availability zone switch-over is supported only in running status of the instance.
- When there are multiple availability zones in the region where the instance is located, the single AZ can be switched to a multi-AZ.
-
When switching the single AZ to a multi-AZ
- The VPC in the current AZ can not be modified;
- If there is no subnet under the VPC in the new AZ, you need to create a subnet * and migrate it to a multi-AZ to increase the database availability;
- however, the access delay may be also increased.
-
When switching the multi-AZ to a single AZ;
- The modification is not supported in the single availability zone where the multi-AZ is automatically switched to a single AZ in which the master node of the instance is locaed. For example, in case of a multi-AZ (A + B) where the master node of the instance is located in the single availability zone A, it is switched to the single availability zone A by default.
- Although migration to a single AZ can reduce the access delay, the advantage of disaster recovery across data centers may be lost.
From Single AZ to Multi-AZ
- On the "SCS - Instance List" page, select "Instance Name/ID" of the availability zone to be switched, and click the instance name to enter the instance details page.
- On the instance configuration information page, click "Switch" to enter the availability zone switch menu page; select and confirm the available subnet for the availability zone B, and click "OK" button to enter the next step.
Note: Migration of the instance to a Multi-AZ will increase the database availability, but may increase the access delay. It takes 3-5 minutes to switch the availability zone, so you have to wait a while patiently.
- On the pop-up security verification page, enter the SMS verification code and click "OK" button to switch the availability zone.
From a Multi-AZ to a Single AZ
- On the "SCS - Instance List" page, select "Instance Name/ID" of the availability zone to be switched, and click the instance name to enter the instance details page.
- On the instance configuration information page, click "Switch" to enter the availability zone switch menu page; after confirming that the information is incorrect, click "OK" button to enter the next step.
Note: Migration of the instance to a single AZ can decrease the access delay, but the advantage of disaster recovery across data centers may be lost. It takes 3-5 min to switch the availability zone, so you have to wait a while patiently.
- On the pop-up security verification page, enter the SMS verification code and click "OK" button to switch the availability zone.
Modify Instance Information
- On the "SCS - Instance List" page, ensure that the instance is "Running".
- Click the instance link under "Cluster ID/Name" to enter the "Instance Details" page. The user can complete such actions as changing instance name, copying ID, renewal, adjusting capacity, changing/copying domain name.
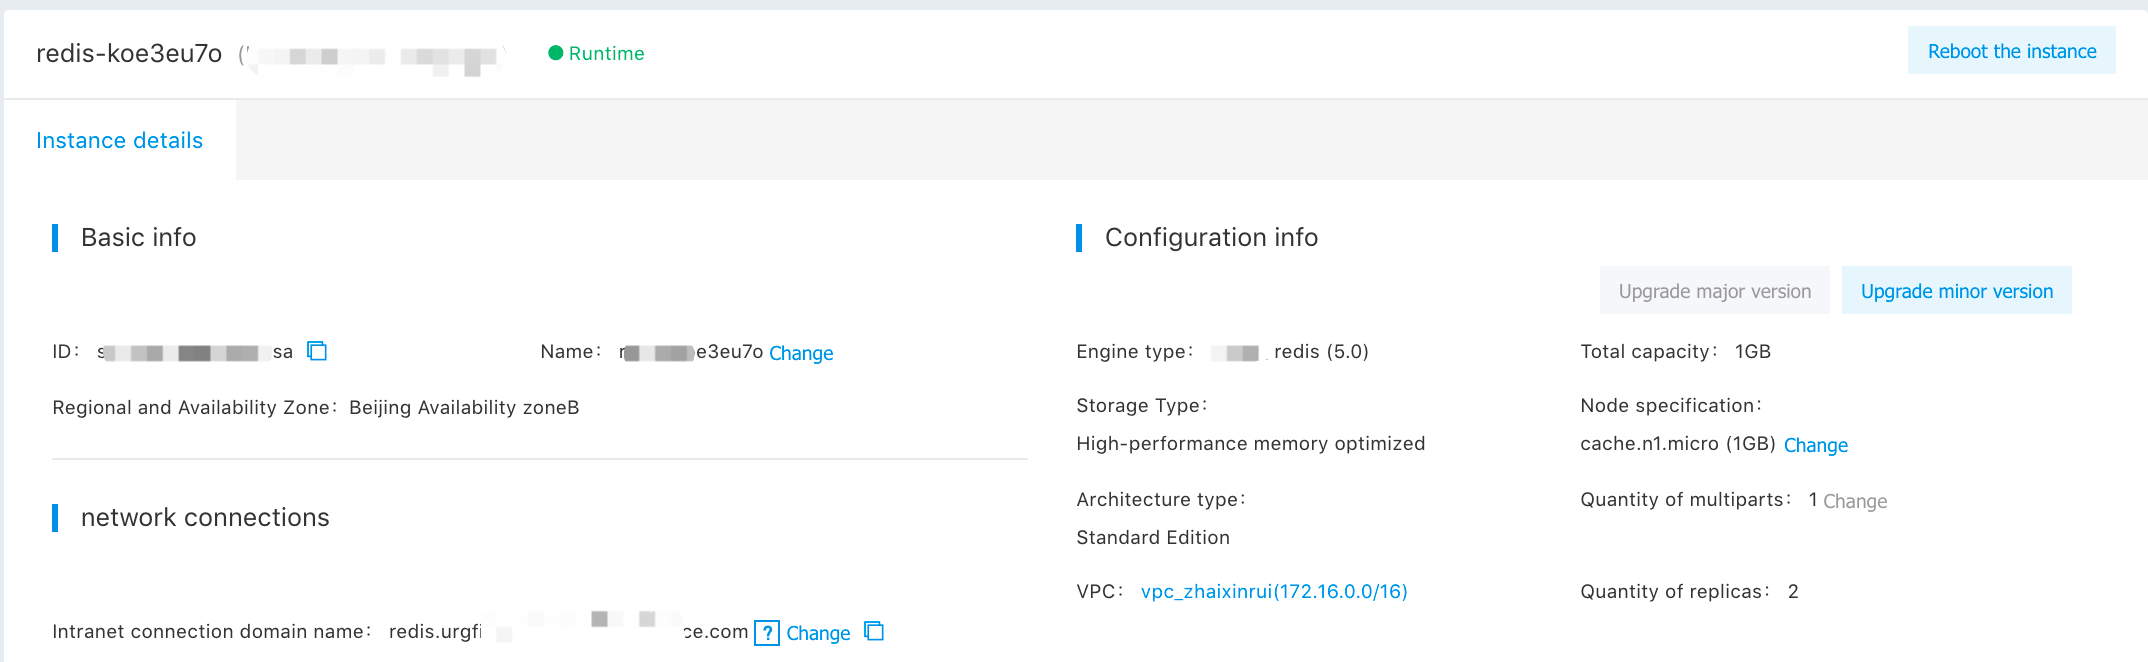
Description: When adjusting the capacity, if your instance version is too low to adjust directly, create a instance or obtain technical support through a ticket.
Release Instance
- On the "SCS-Instance List" page, select "Instance Name/ID" to be released.
- Click "Release" to pop up the release confirmation interface.

Note: The pre-paid SCS instances cannot be released in advance.
- Click "OK" button to complete the release.
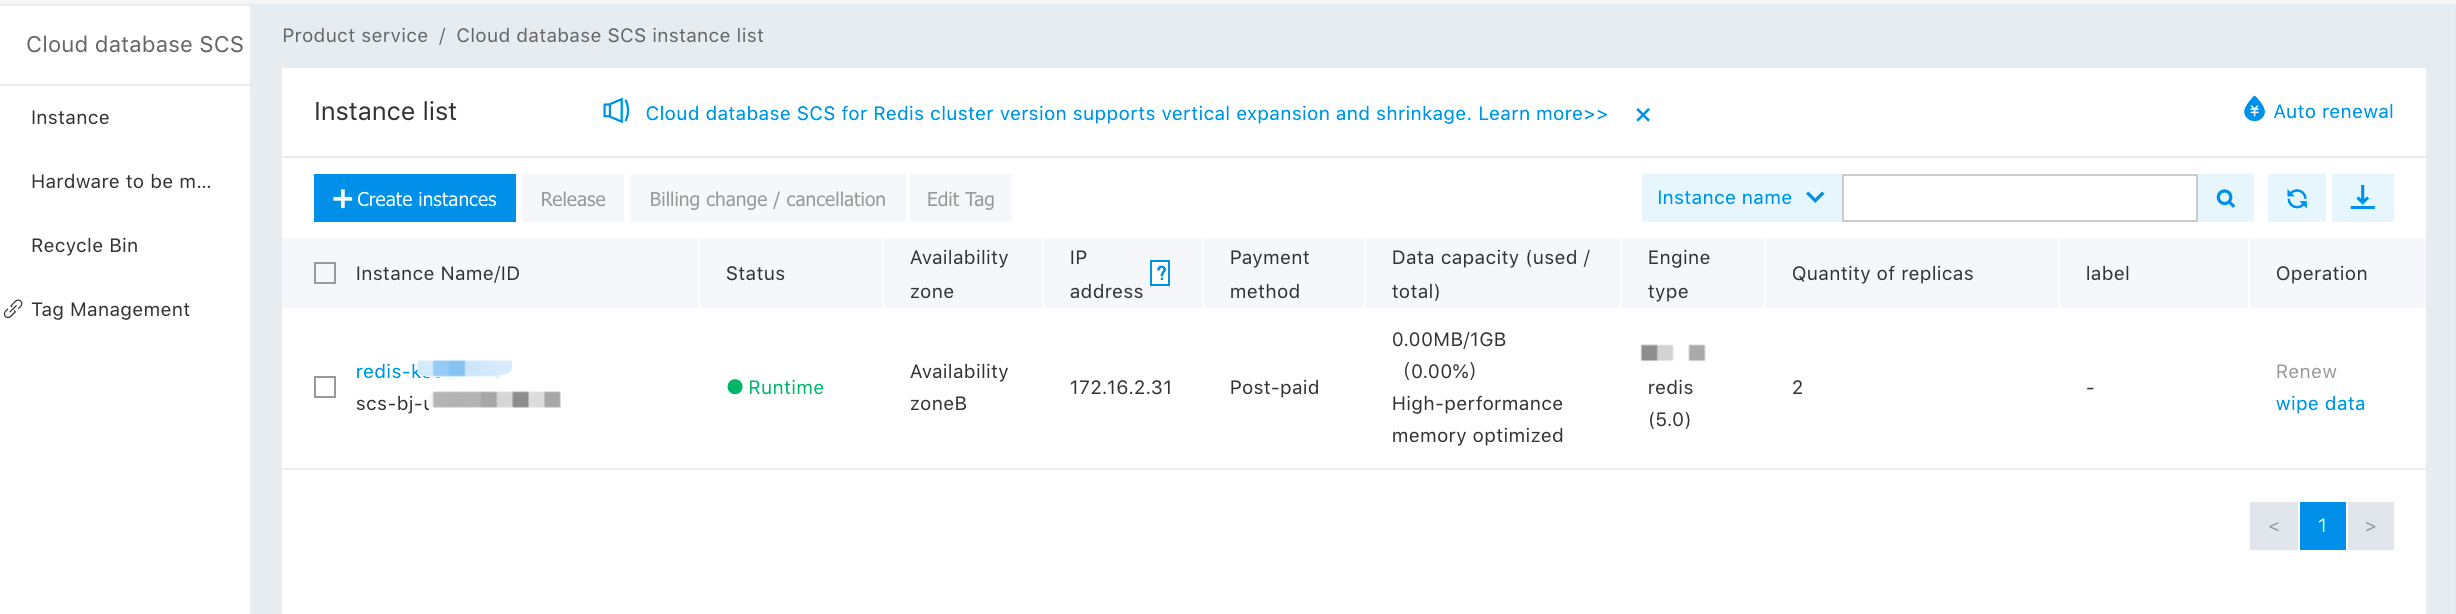
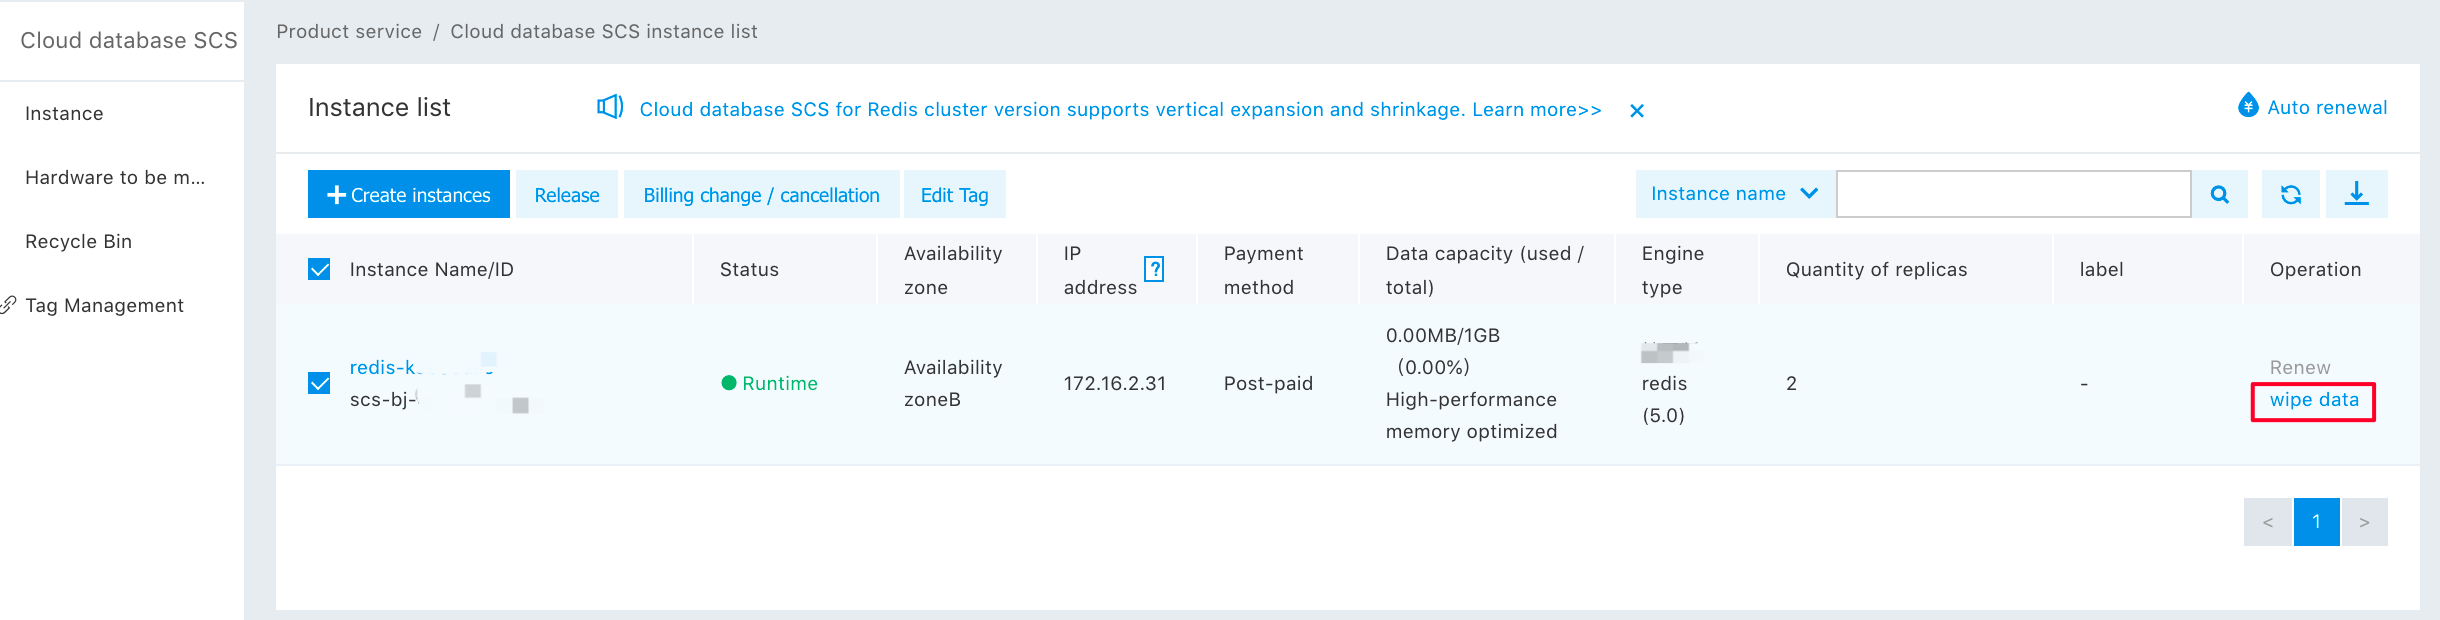
Clear Instance
- On the "SCS-Instance List" page, select "Instance Name/ID" to be cleared, and then click "Clear Instance".
- Enter the SMS verification code and click "OK" button.
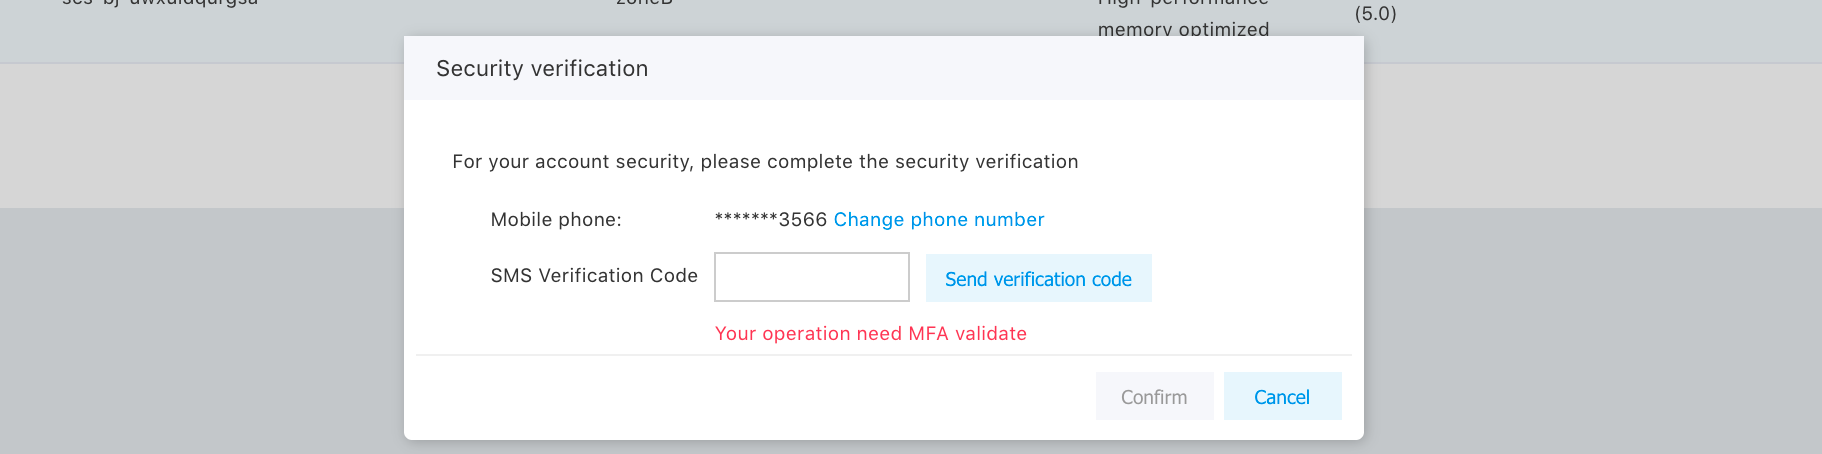
Note: After the instance is cleared, the instance data cannot be recovered and the instance is returned to the running status; carry out the operation carefully.