
Quick Start
MeDo Homepage
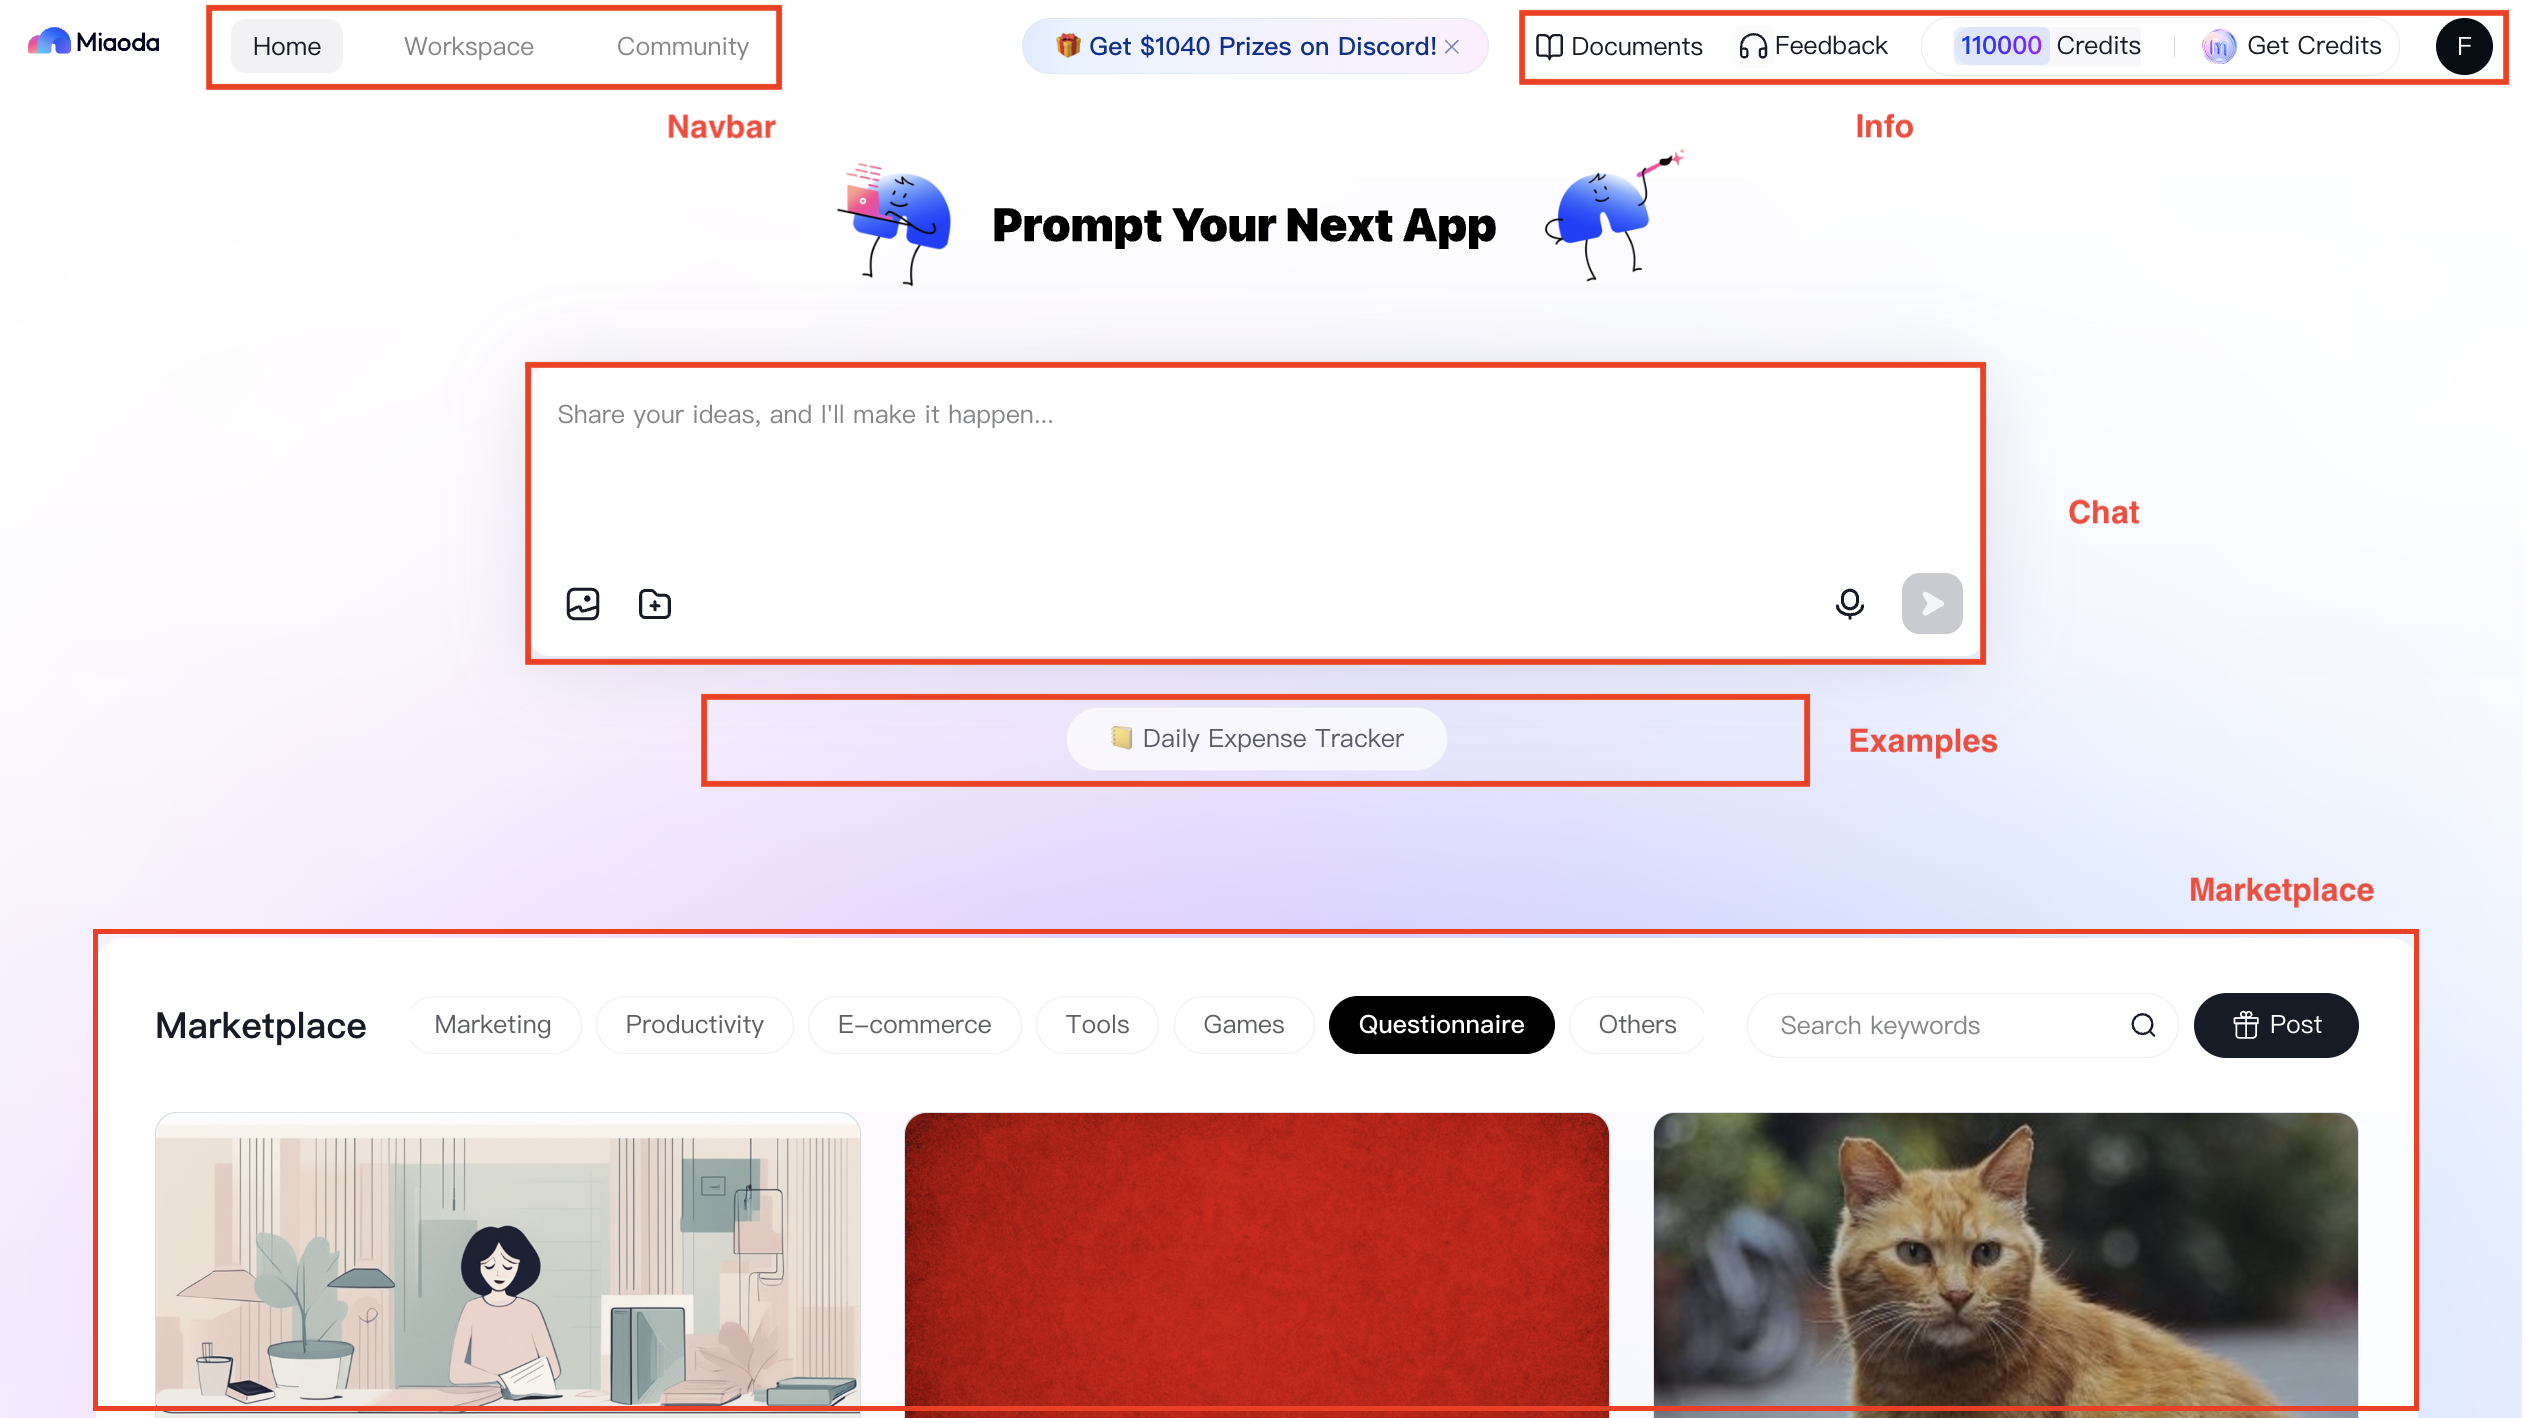
The MeDo Homepage is structured into the following sections:
- Navigation Bar The navigation bar includes two main entries: Homepage and My Applications, making it easy to switch between the landing page and your list of applications.
- Platform Resources This section provides quick access to MeDo Events, Tutorial Videos, Product Documentation, Customer Support & Feedback, Credits, and your Personal Account Center.
- Dialogue Area Here you can directly interact with MeDo to build applications. Describe your requirements via file upload, text input, or voice commands. (Login is required to unlock the full set of dialogue features.)
- Dialogue Examples Use the built-in examples to quickly generate template applications.
- Marketplace Browse curated cases and top-rated user applications selected by MeDo.
Requirement Description Page
MeDo uses continuous dialogue to refine your needs and generate applications that match your expectations. Throughout the conversation, MeDo will provide hints to help you clarify your requirements. You can end the dialogue and return to the homepage at any time.

Workspace
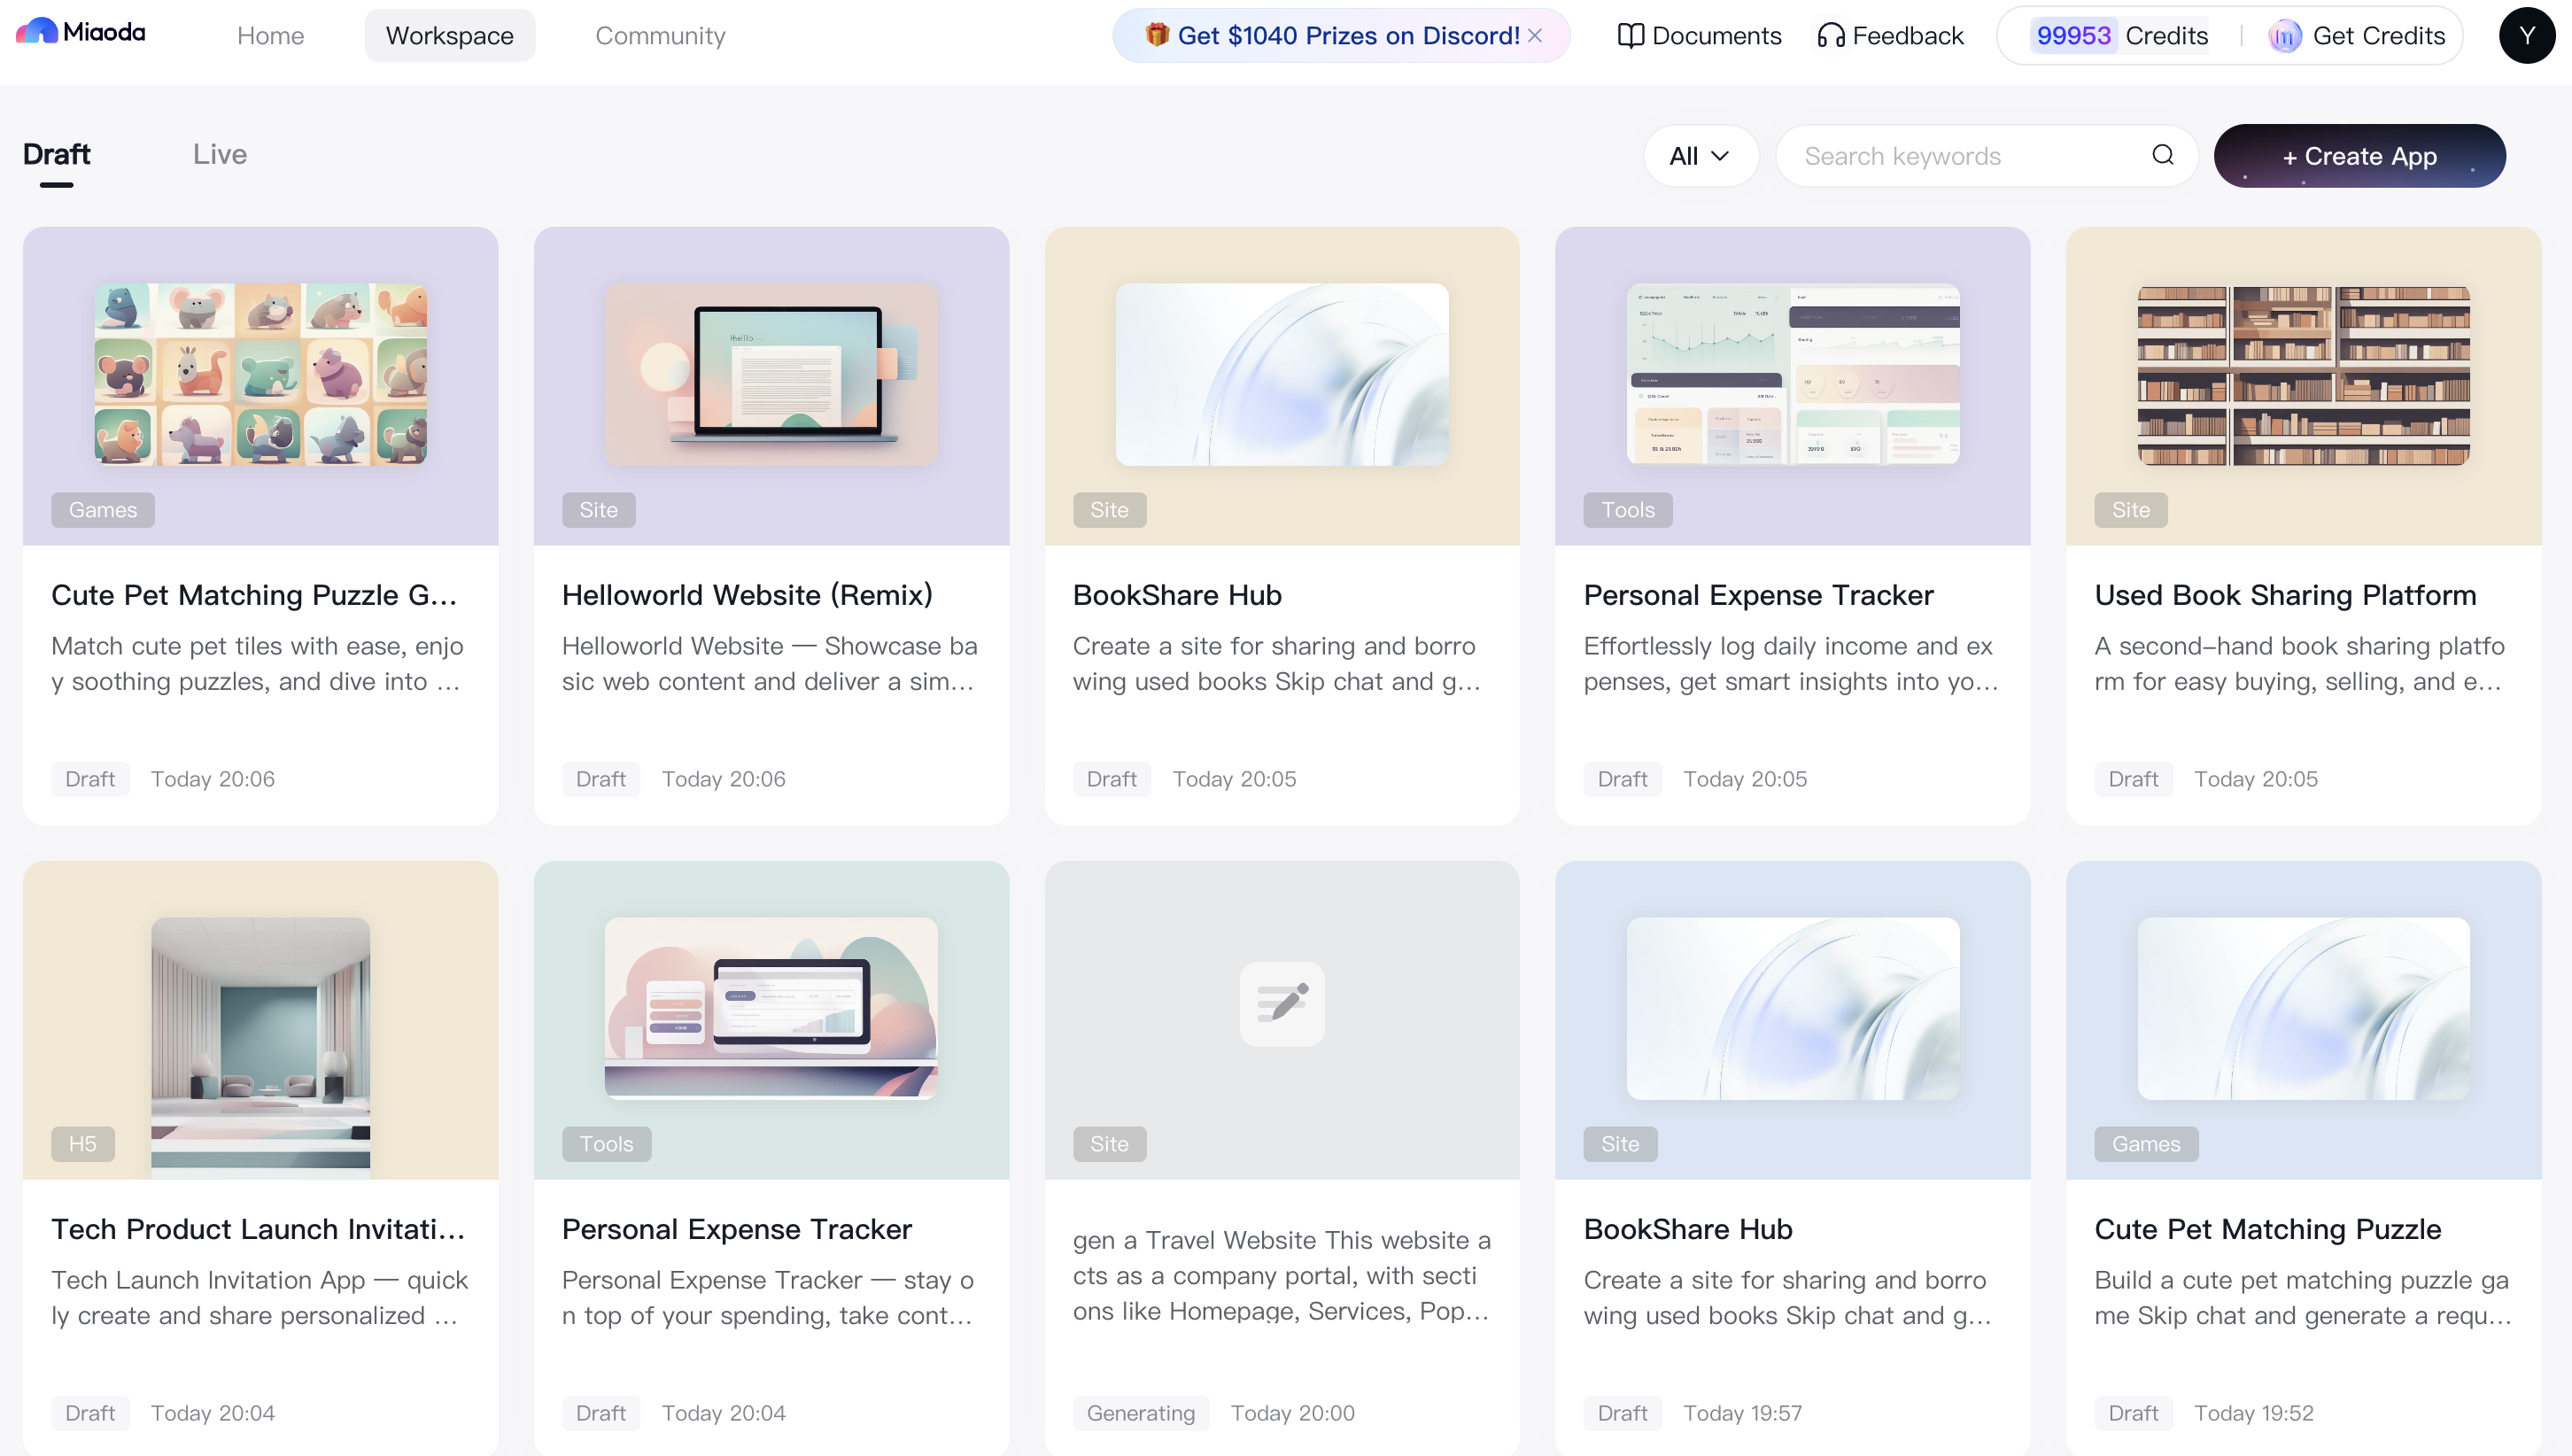
All applications you’ve generated or published are shown on the Workspace page. From here, you can manage and review your work. Drafts appear under the Draft tab, while published applications are listed under Live.
Draft vs. Live Applications
Draft and live versions run in separate environments so you can edit without affecting the live version. For example, once an app is published, it appears under Live but also remains in Under Development, where you can keep editing. Changes only take effect after republishing.
Application Editing Page
When you open an application from Workspace → Draft, you’ll enter the Application Editing page. Here you can update app details, edit content, review past conversations, and either preview or publish your app.

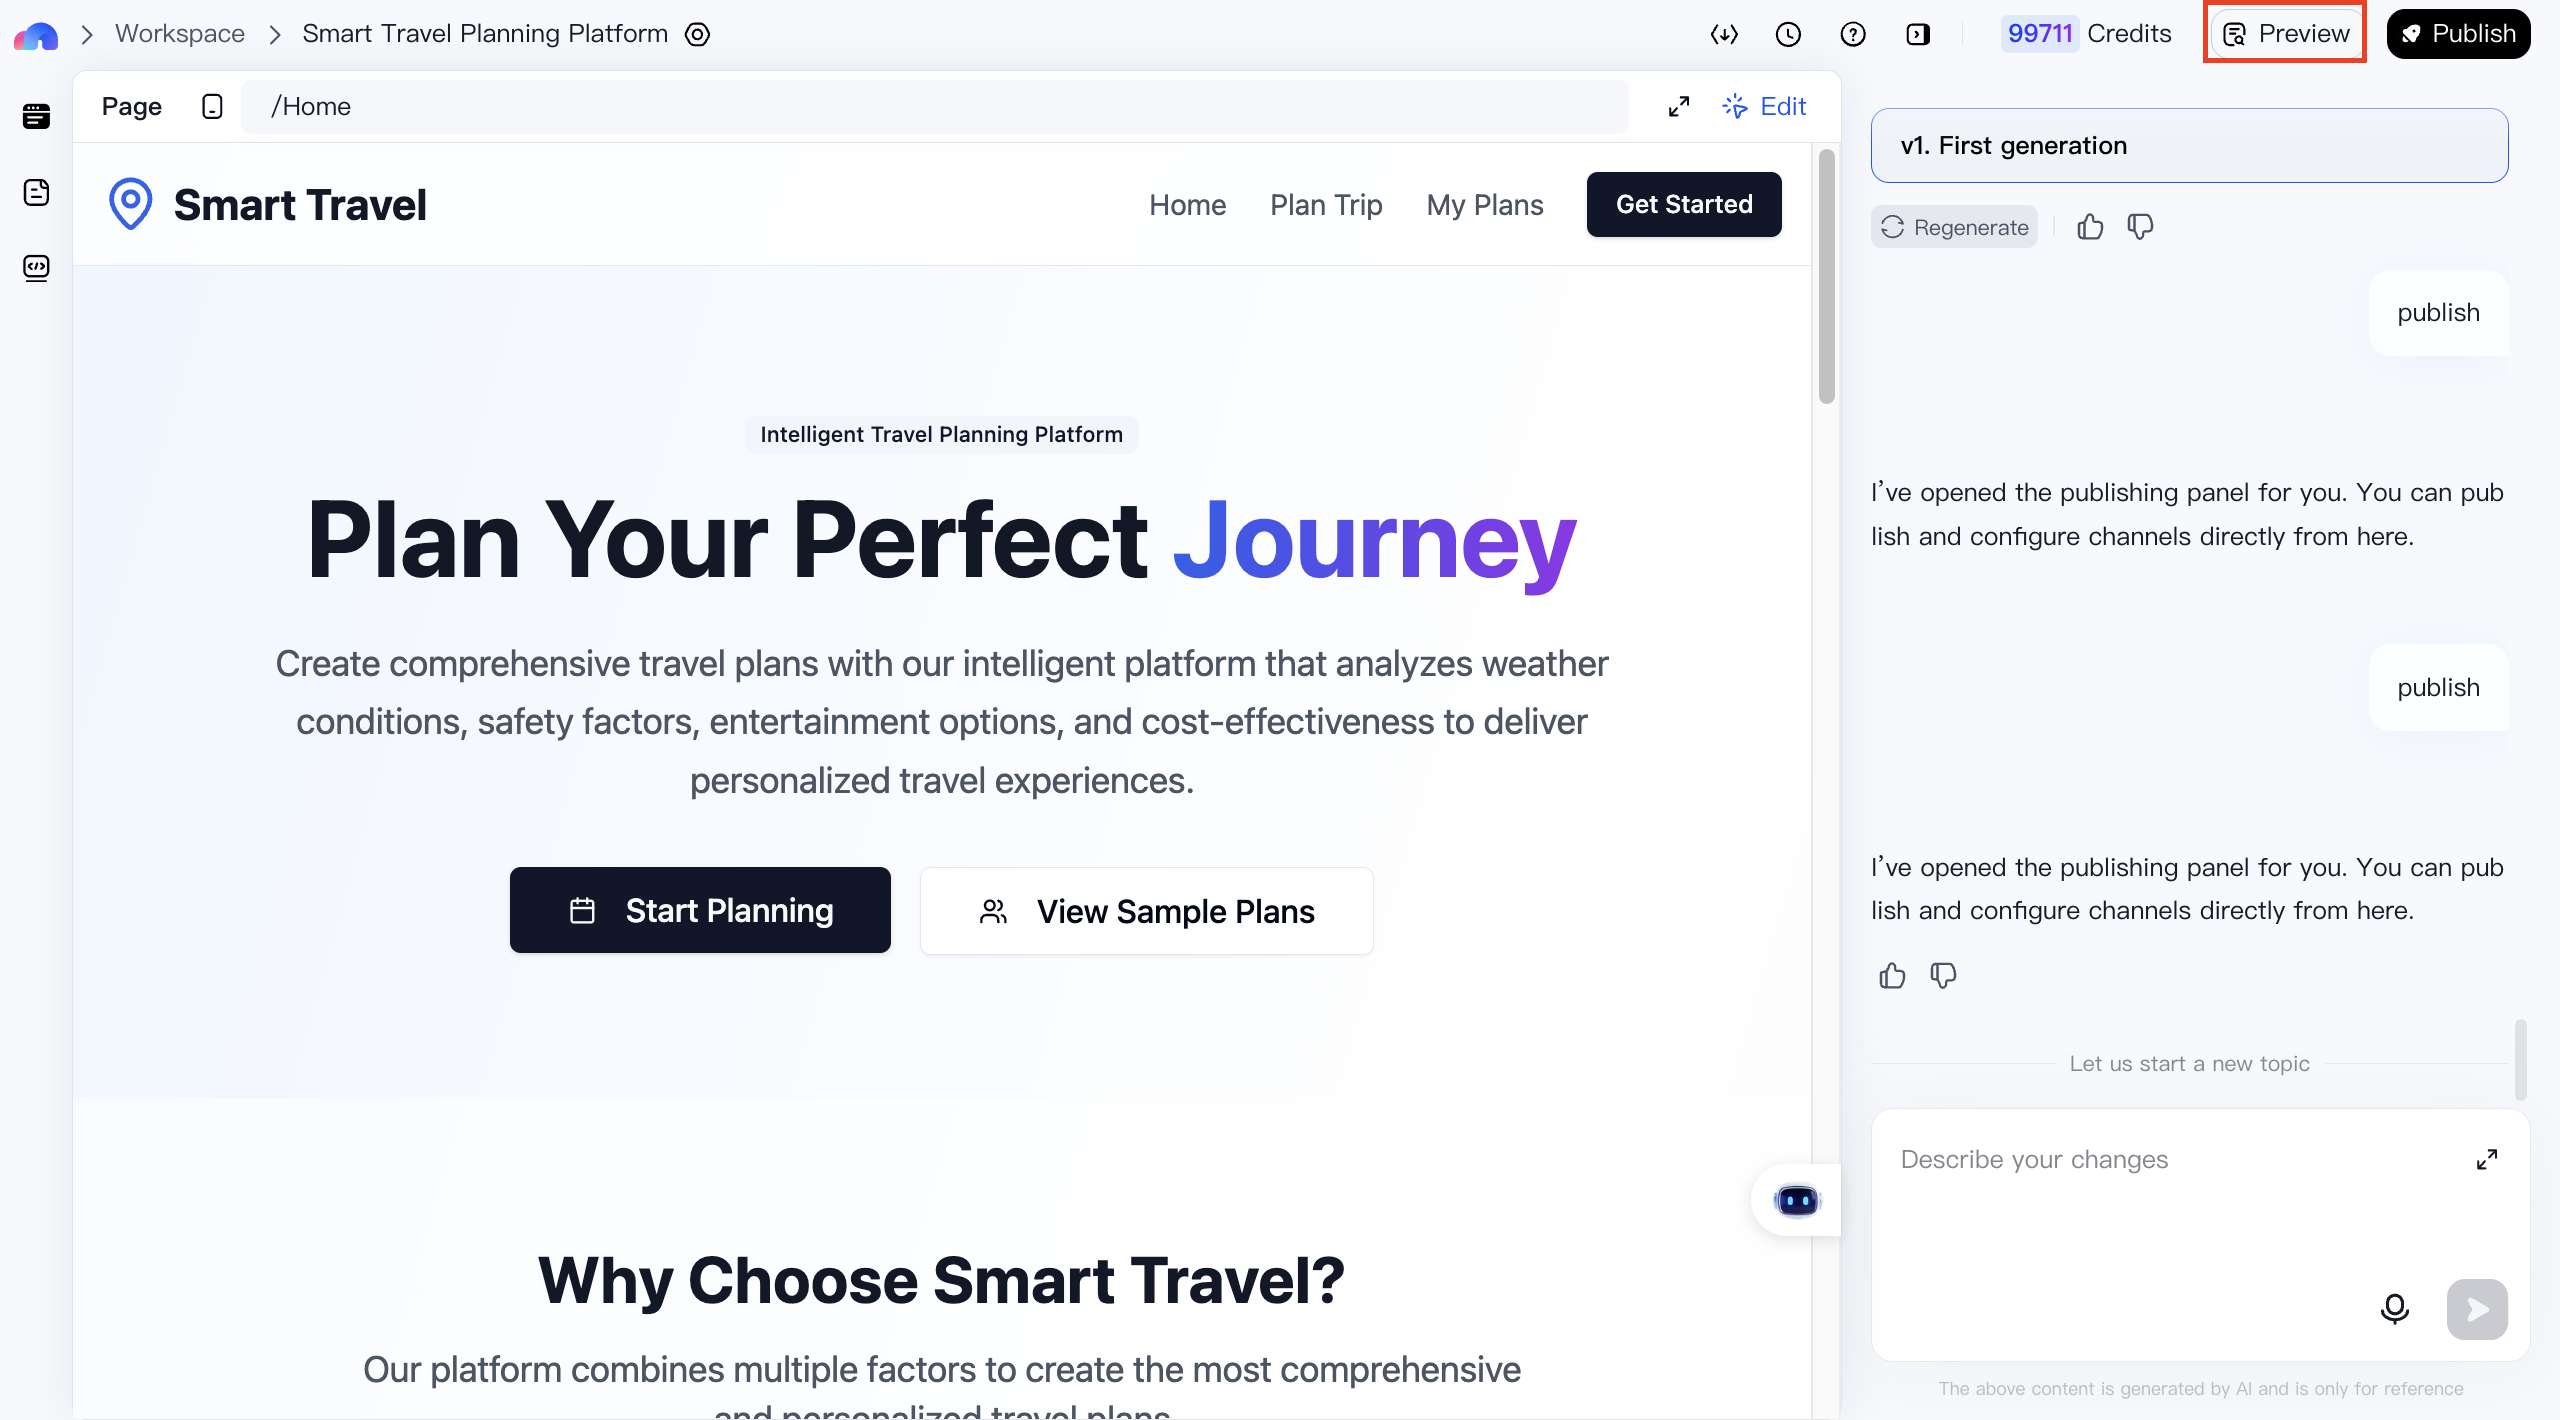
Application Preview Page
Draft applications can be previewed under Workspace → Draft.

Click Preview on the editing page to see how your application will look.
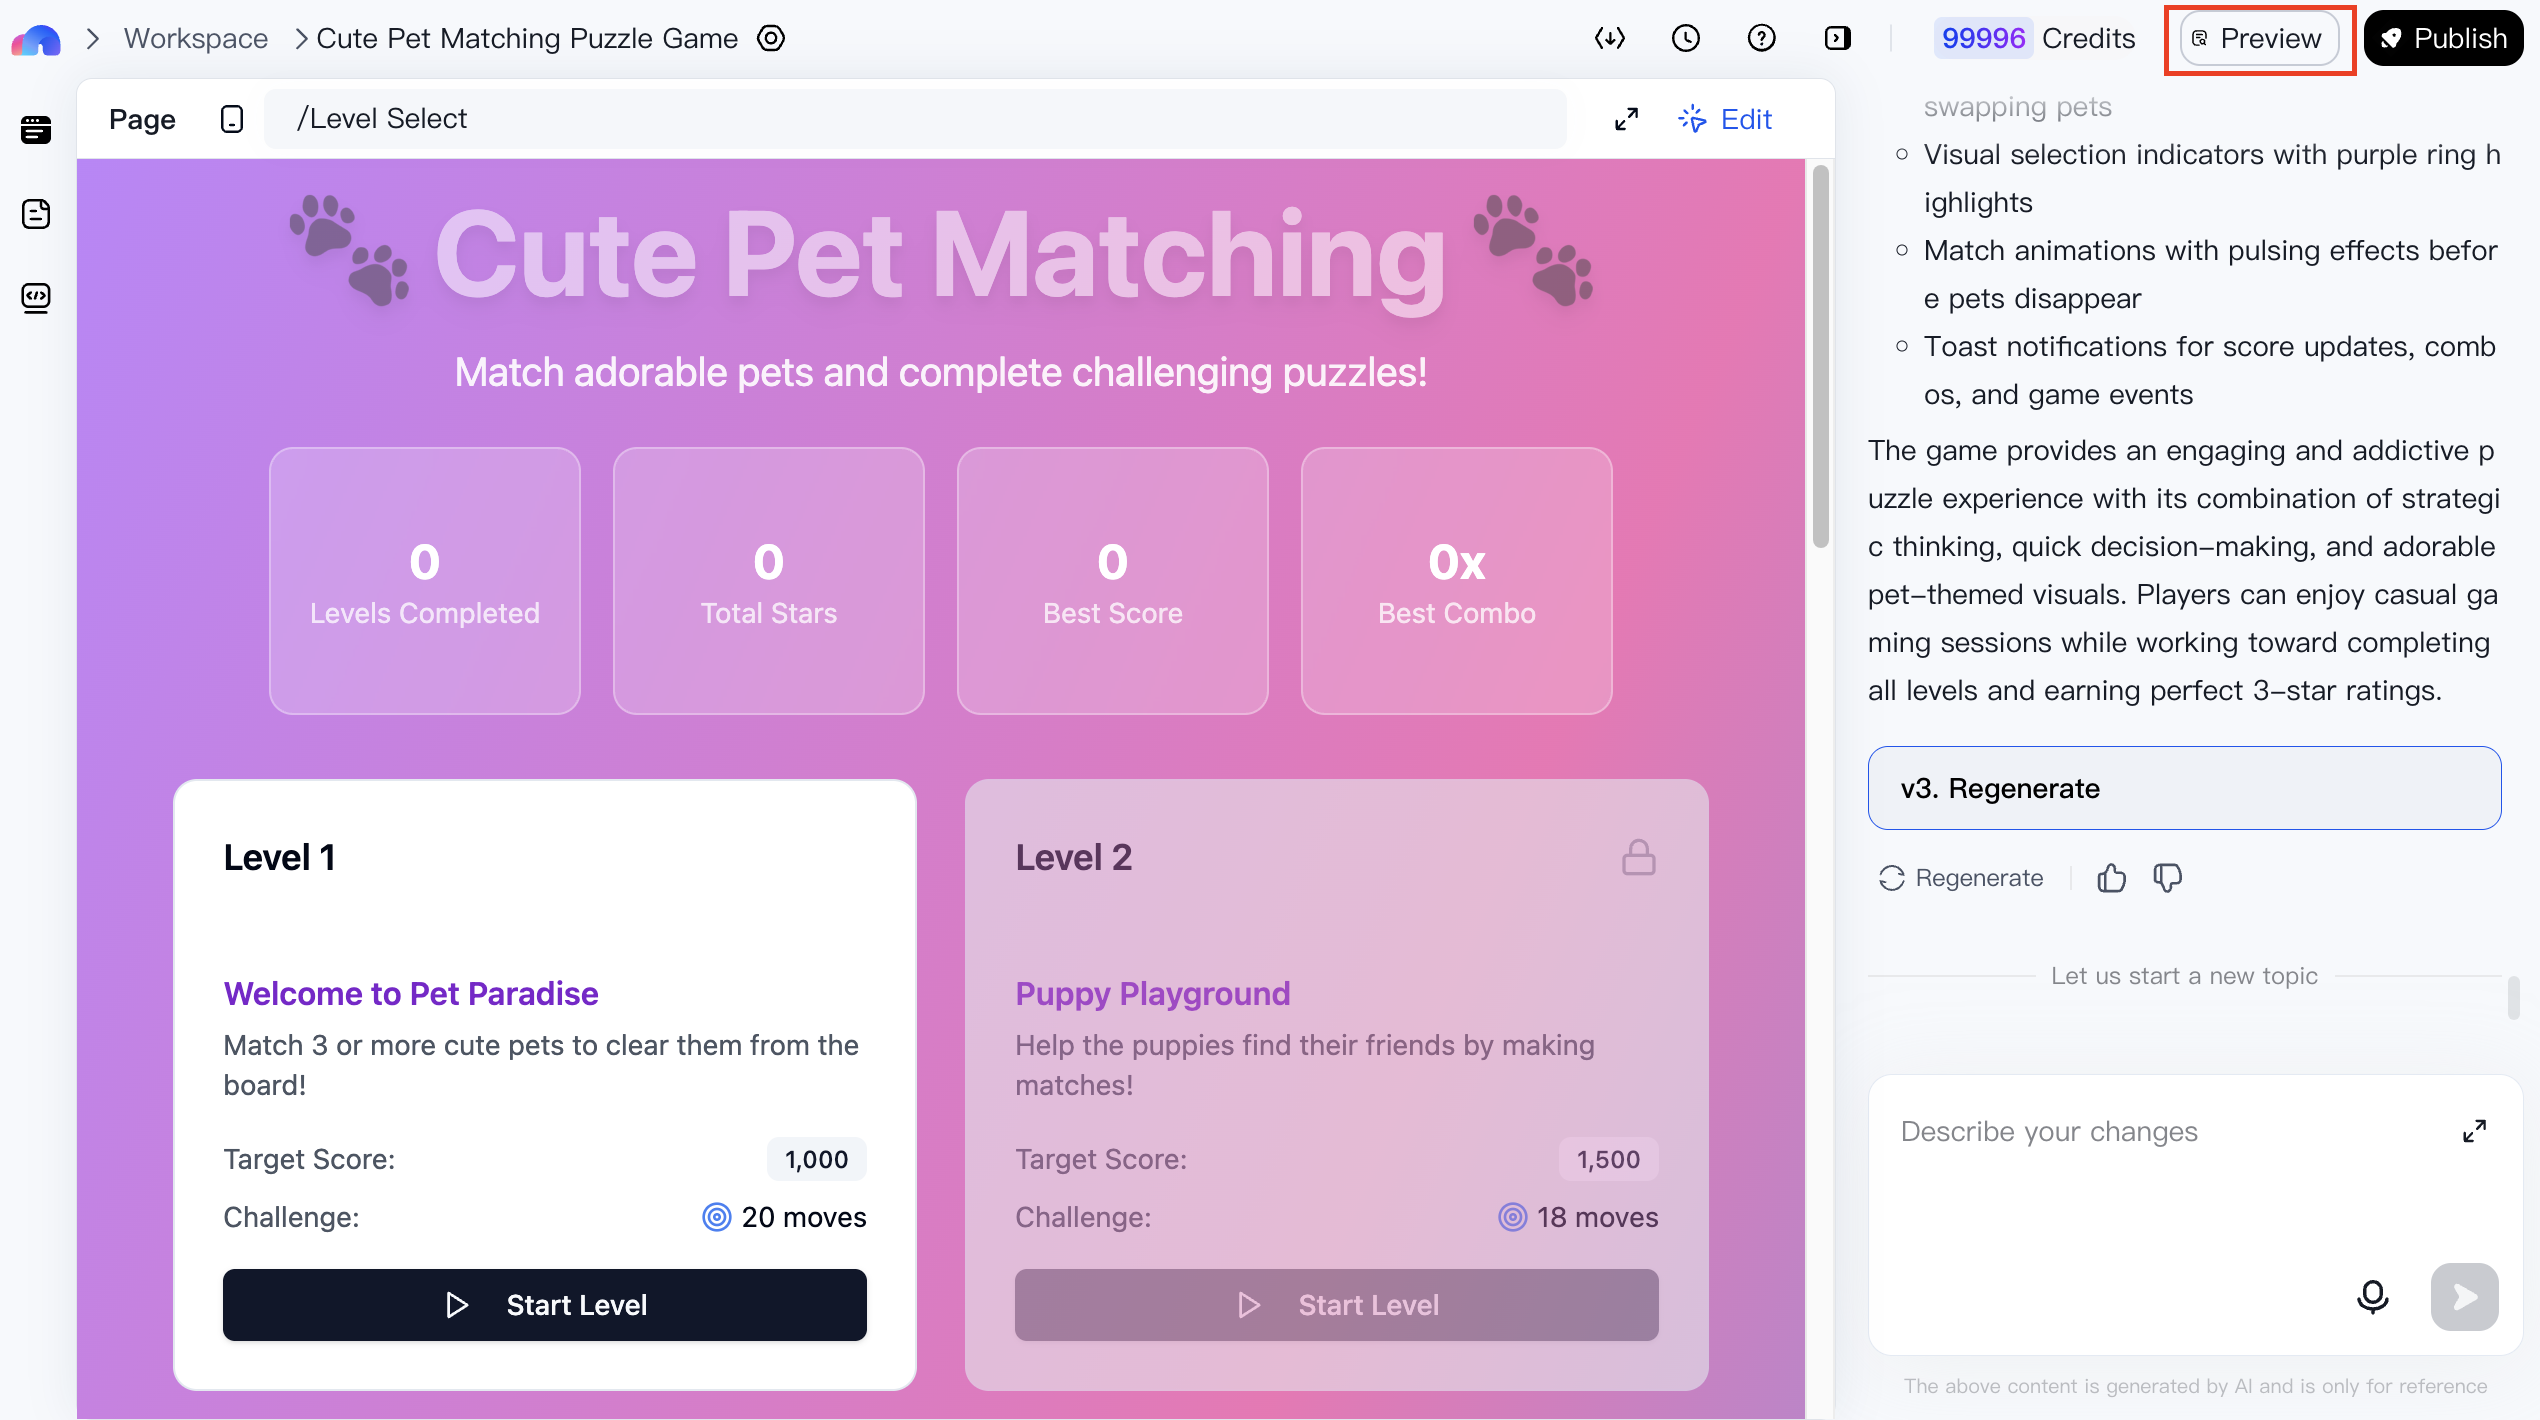
Note: Draft applications are only visible to the creator until published.
Example: Building an Application
Miaoda makes it easy to create applications—even without coding experience. Below is an example of how to quickly build a travel website.
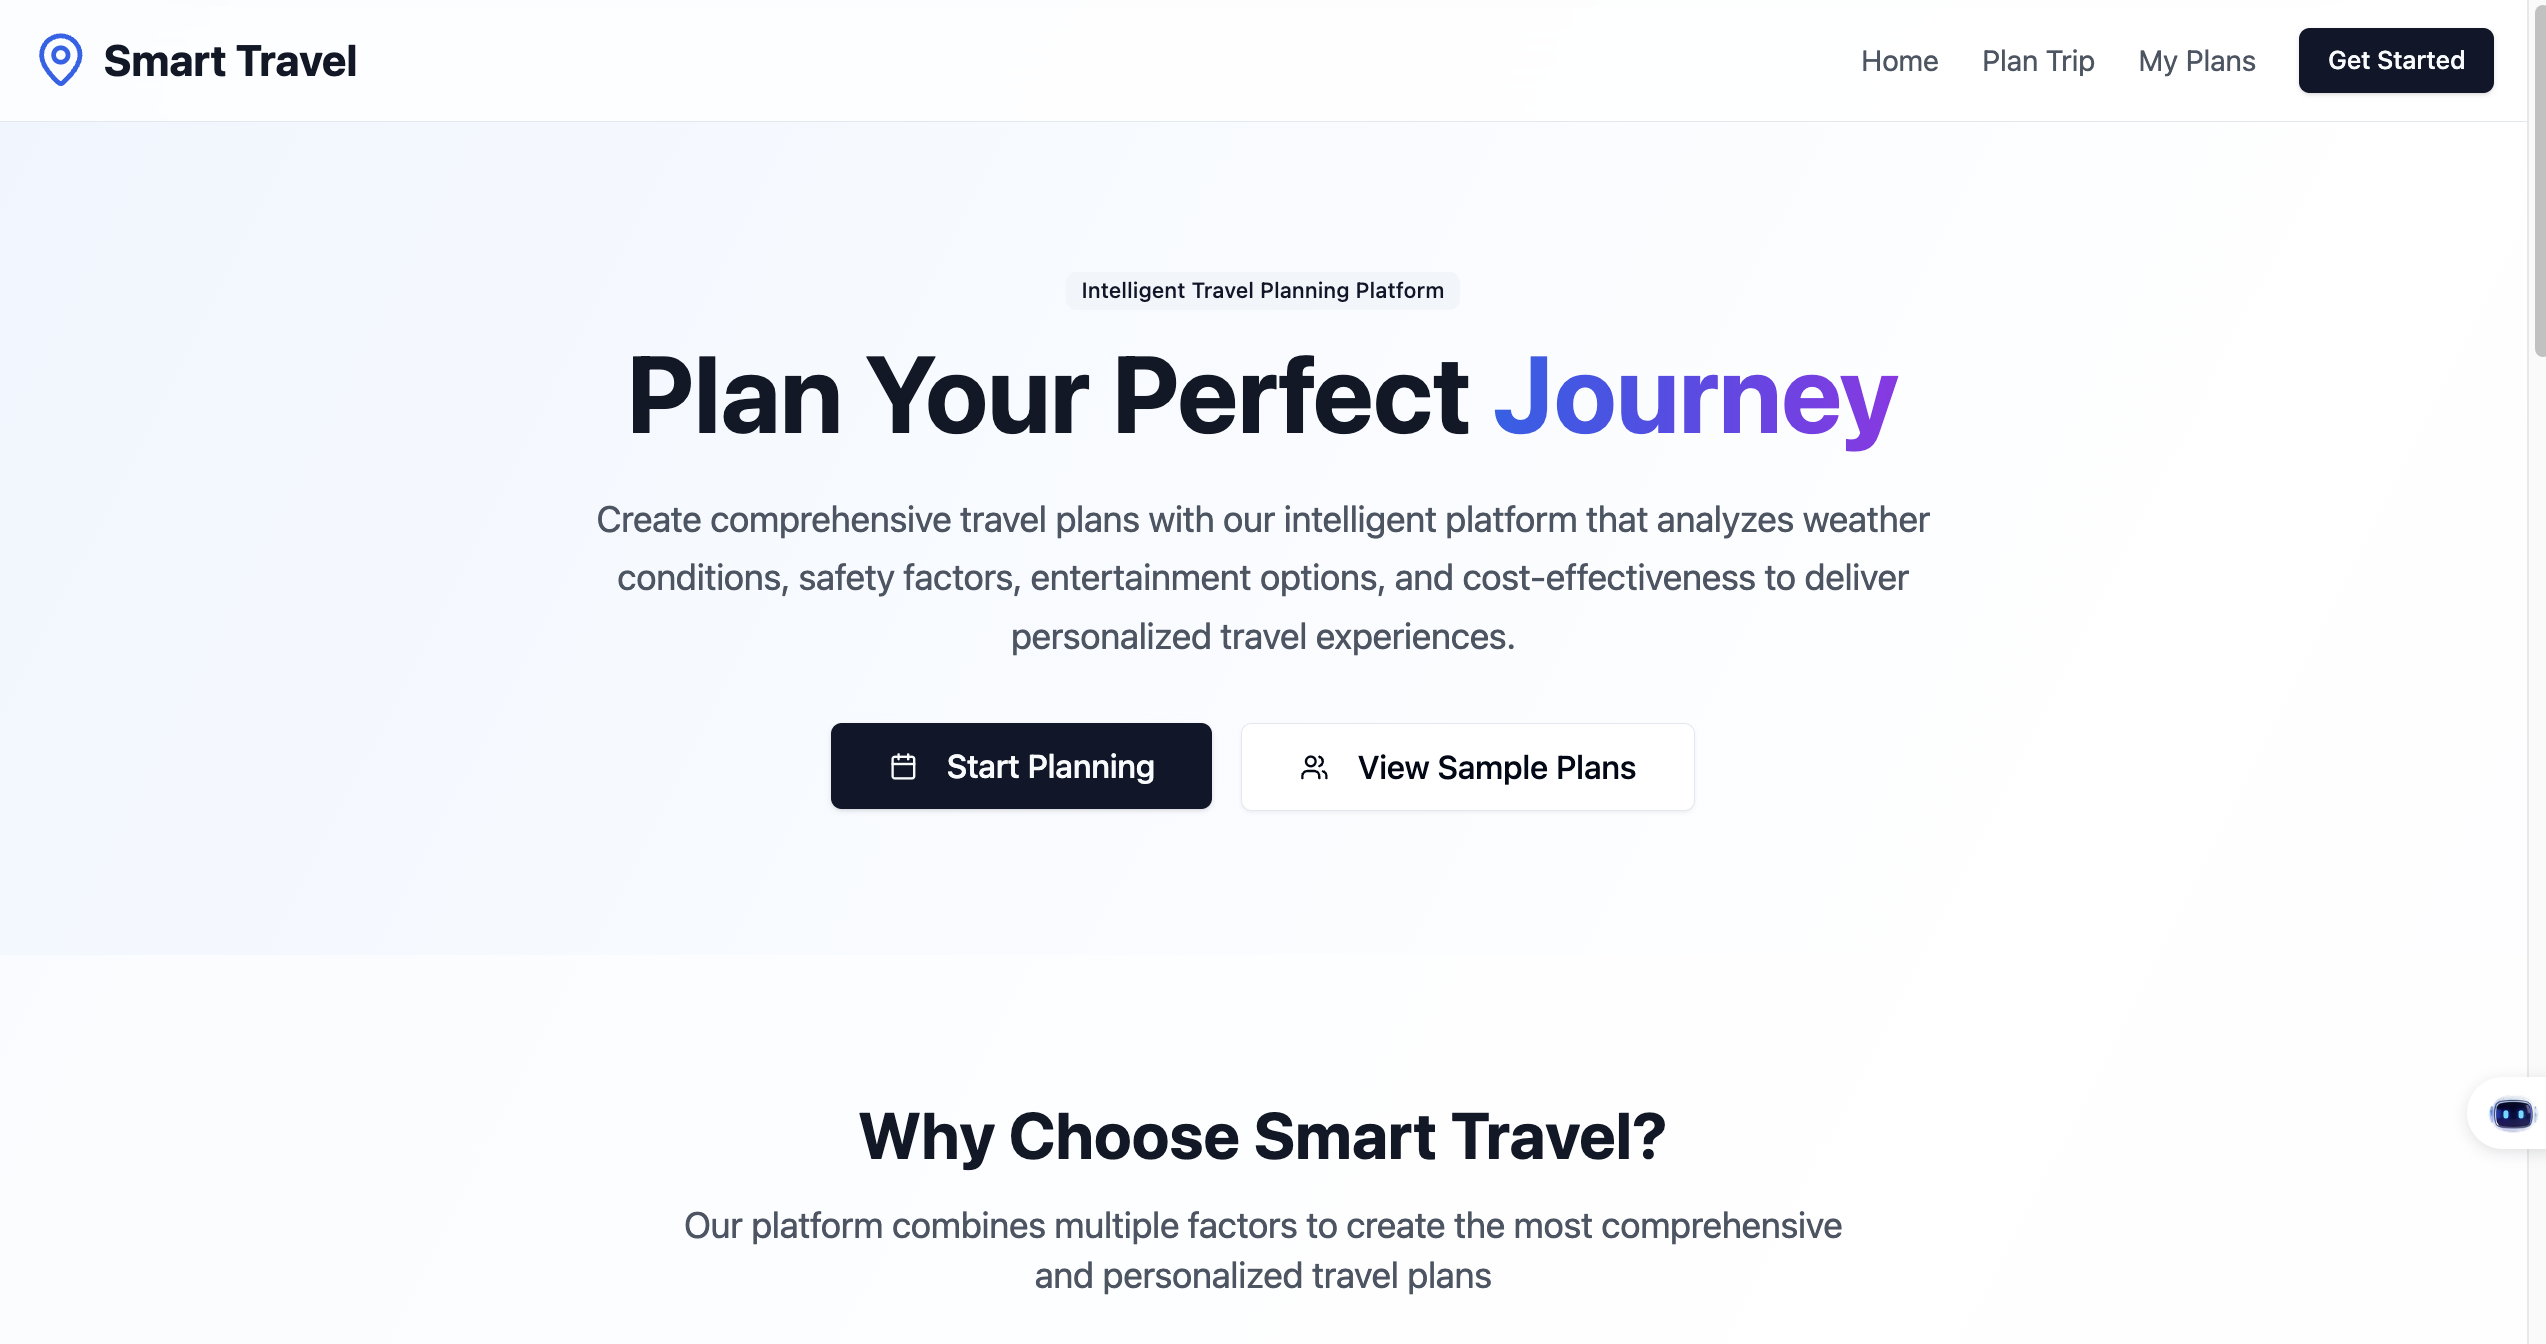
Travel Website Example
This website acts as a company portal, with sections like Homepage, Services, Popular Routes, and Contact Us. It showcases the company’s offerings and provides visitors with quick access to key information. With MeDo, you can generate the site in minutes and fine-tune it before going live.
Step I: Define Your Application
Start by outlining your requirements. For example, for a travel portal:
11. Website type: Informational
22. Website name: Happy Go
33. Description: Happy Go delivers premium travel services by integrating unique domestic and international resources, creating personalized and high-quality experiences.
44. Pages:
5   a. Homepage: Showcase destinations, featured packages, seasonal deals, and customer reviews.
6   b. Services: Detail offerings like group tours, custom trips, and themed packages (e.g., family, honeymoon).
7   c. Popular Routes: Highlight classic domestic/international routes with itineraries, prices, and must-see attractions.
8   d. Contact Us: Include a store locator, contact info, 24/7 hotline, live chat, and company credentials.
95. Style: Clean and natural, primarily blue, with destination imagery and a practical, elegant layout.
From this outline, the website will include:
1a. Four main pages with cross-navigation
2b. Mobile and desktop access
3c. Backend management for some page content
4d. A clean, image-rich design in blue tones
Once planned, you can start building with Miaoda.
Step II: Generate Your AI Application
After defining your requirements, follow these steps:
- Describe Requirements Enter your description in the dialogue box on the MeDo Homepage.
- Confirm Requirements MeDo summarizes your request. Once confirmed, the app will be generated.
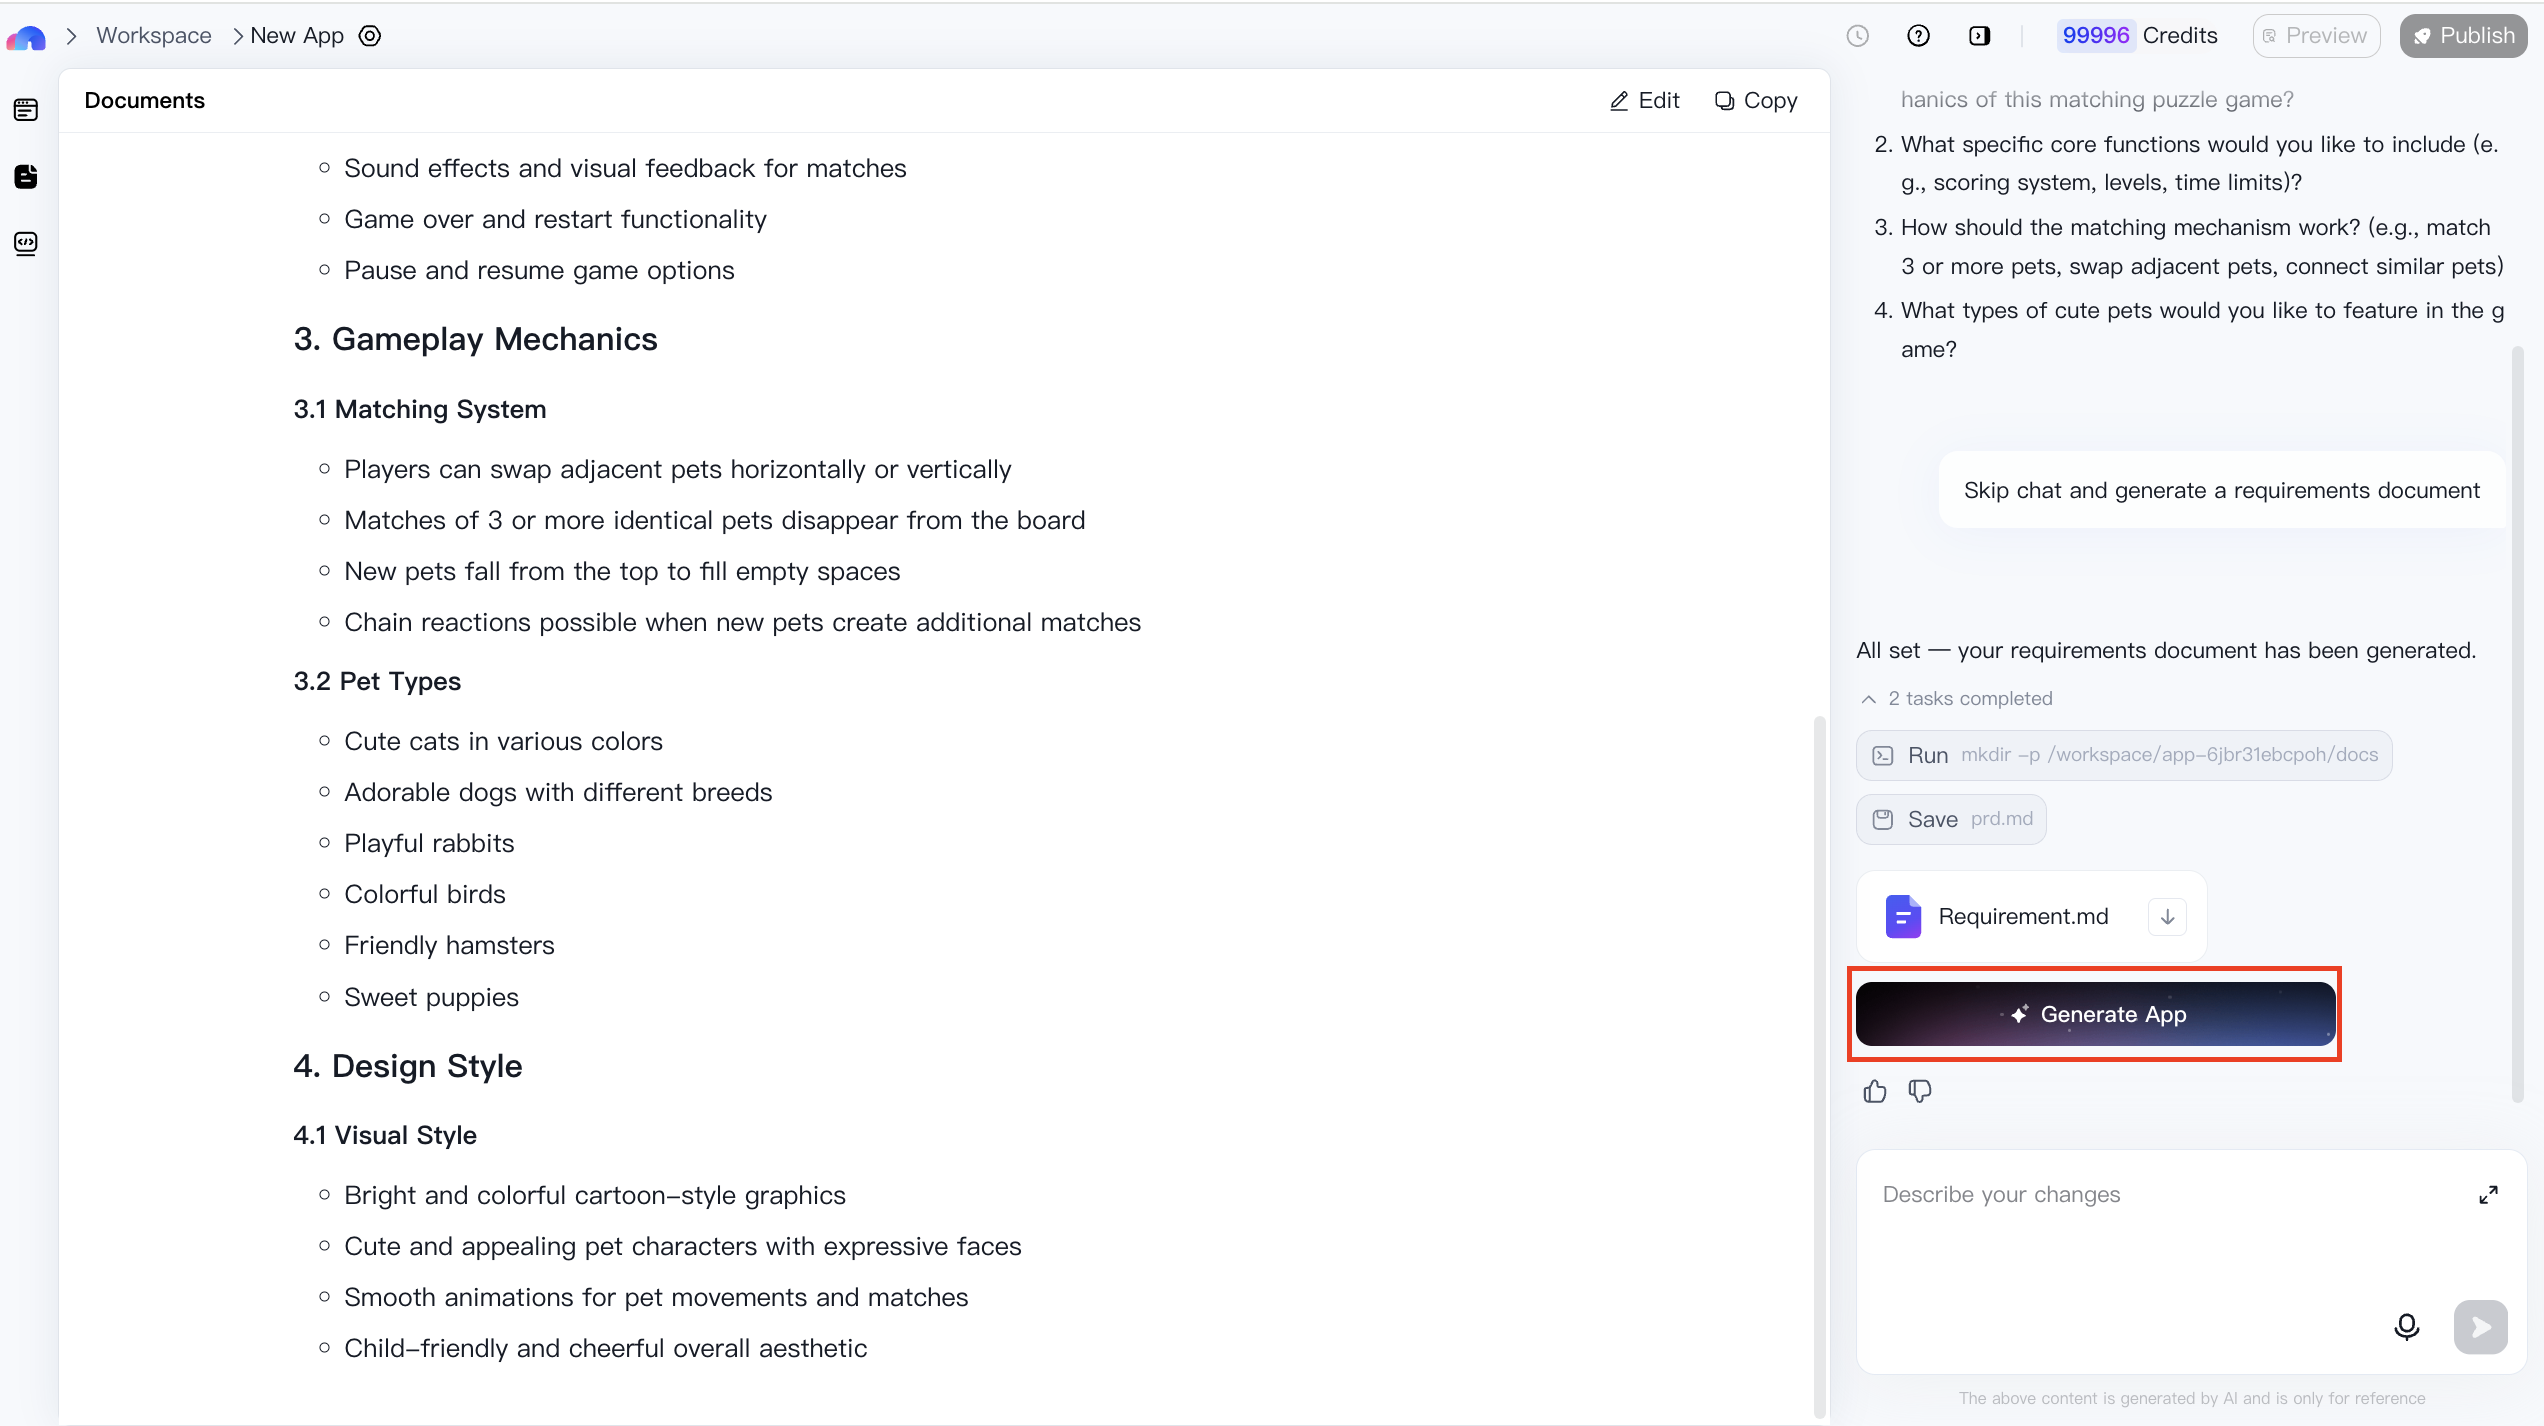
- Application Generation During generation, editing is locked. Stay on the page while your application is built.
Step III: Edit Your Application
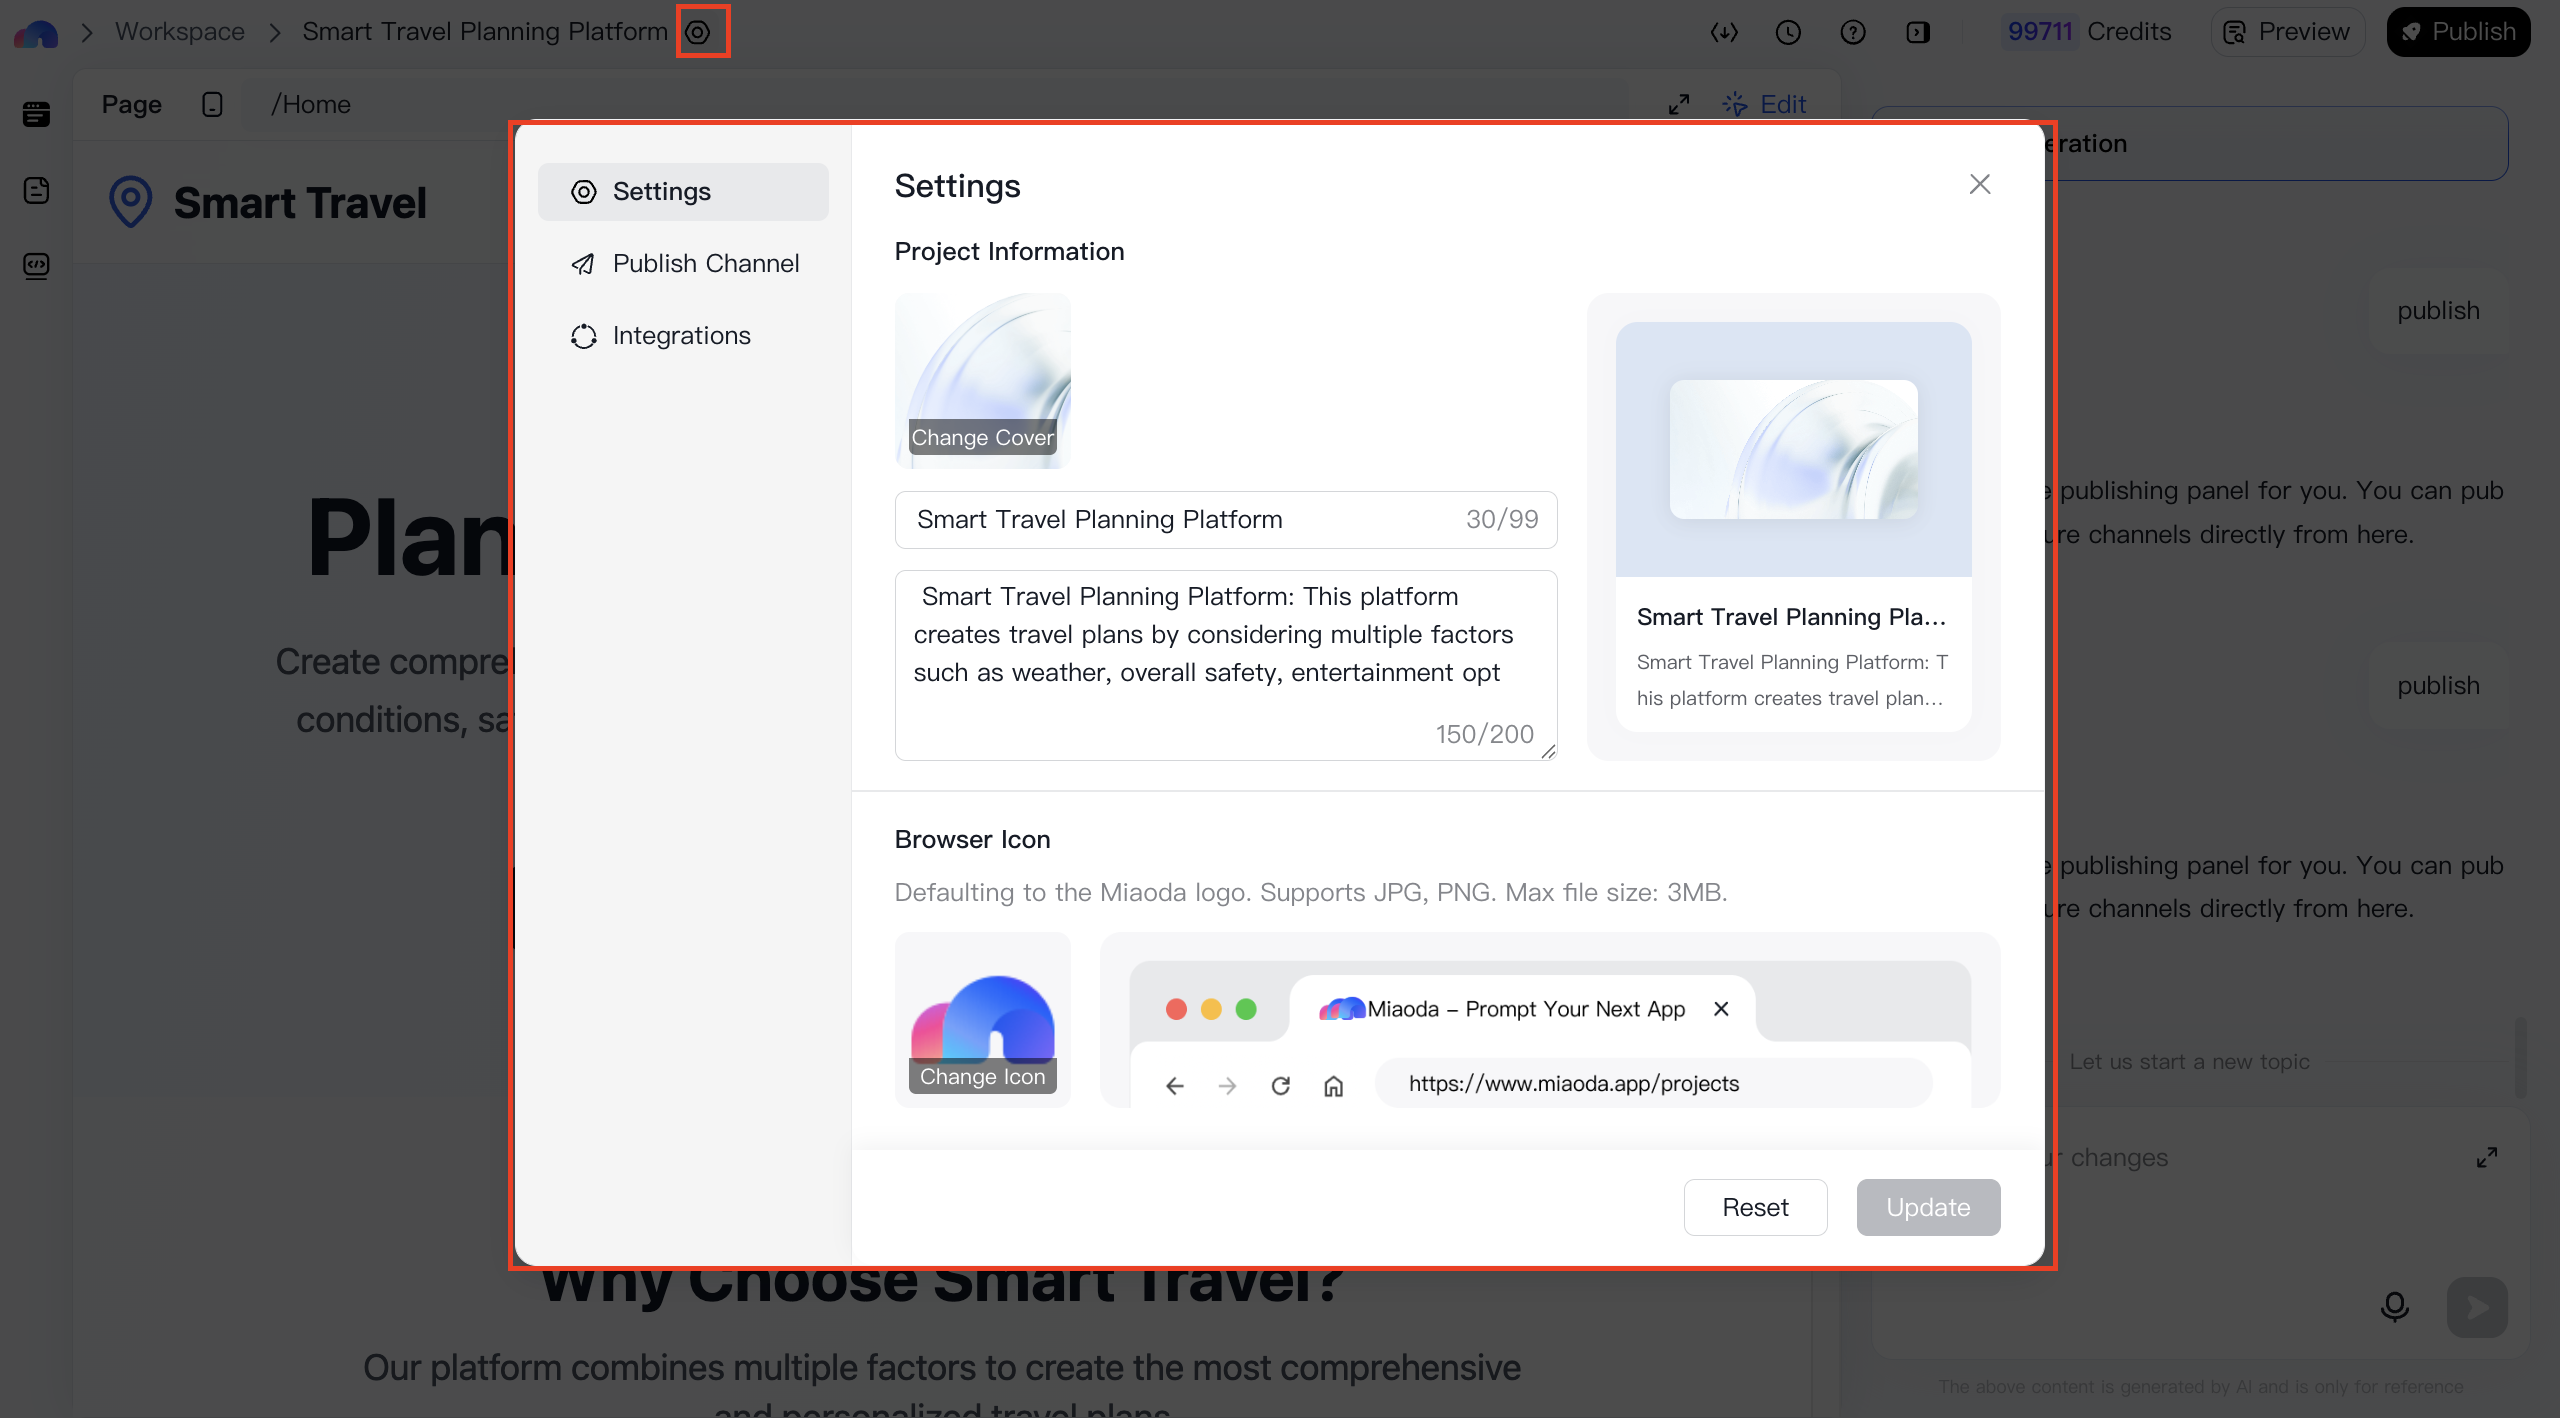
- Edit Name MeDo creates a default name based on your description. To change it, enter editing mode and go to Settings → Basic.
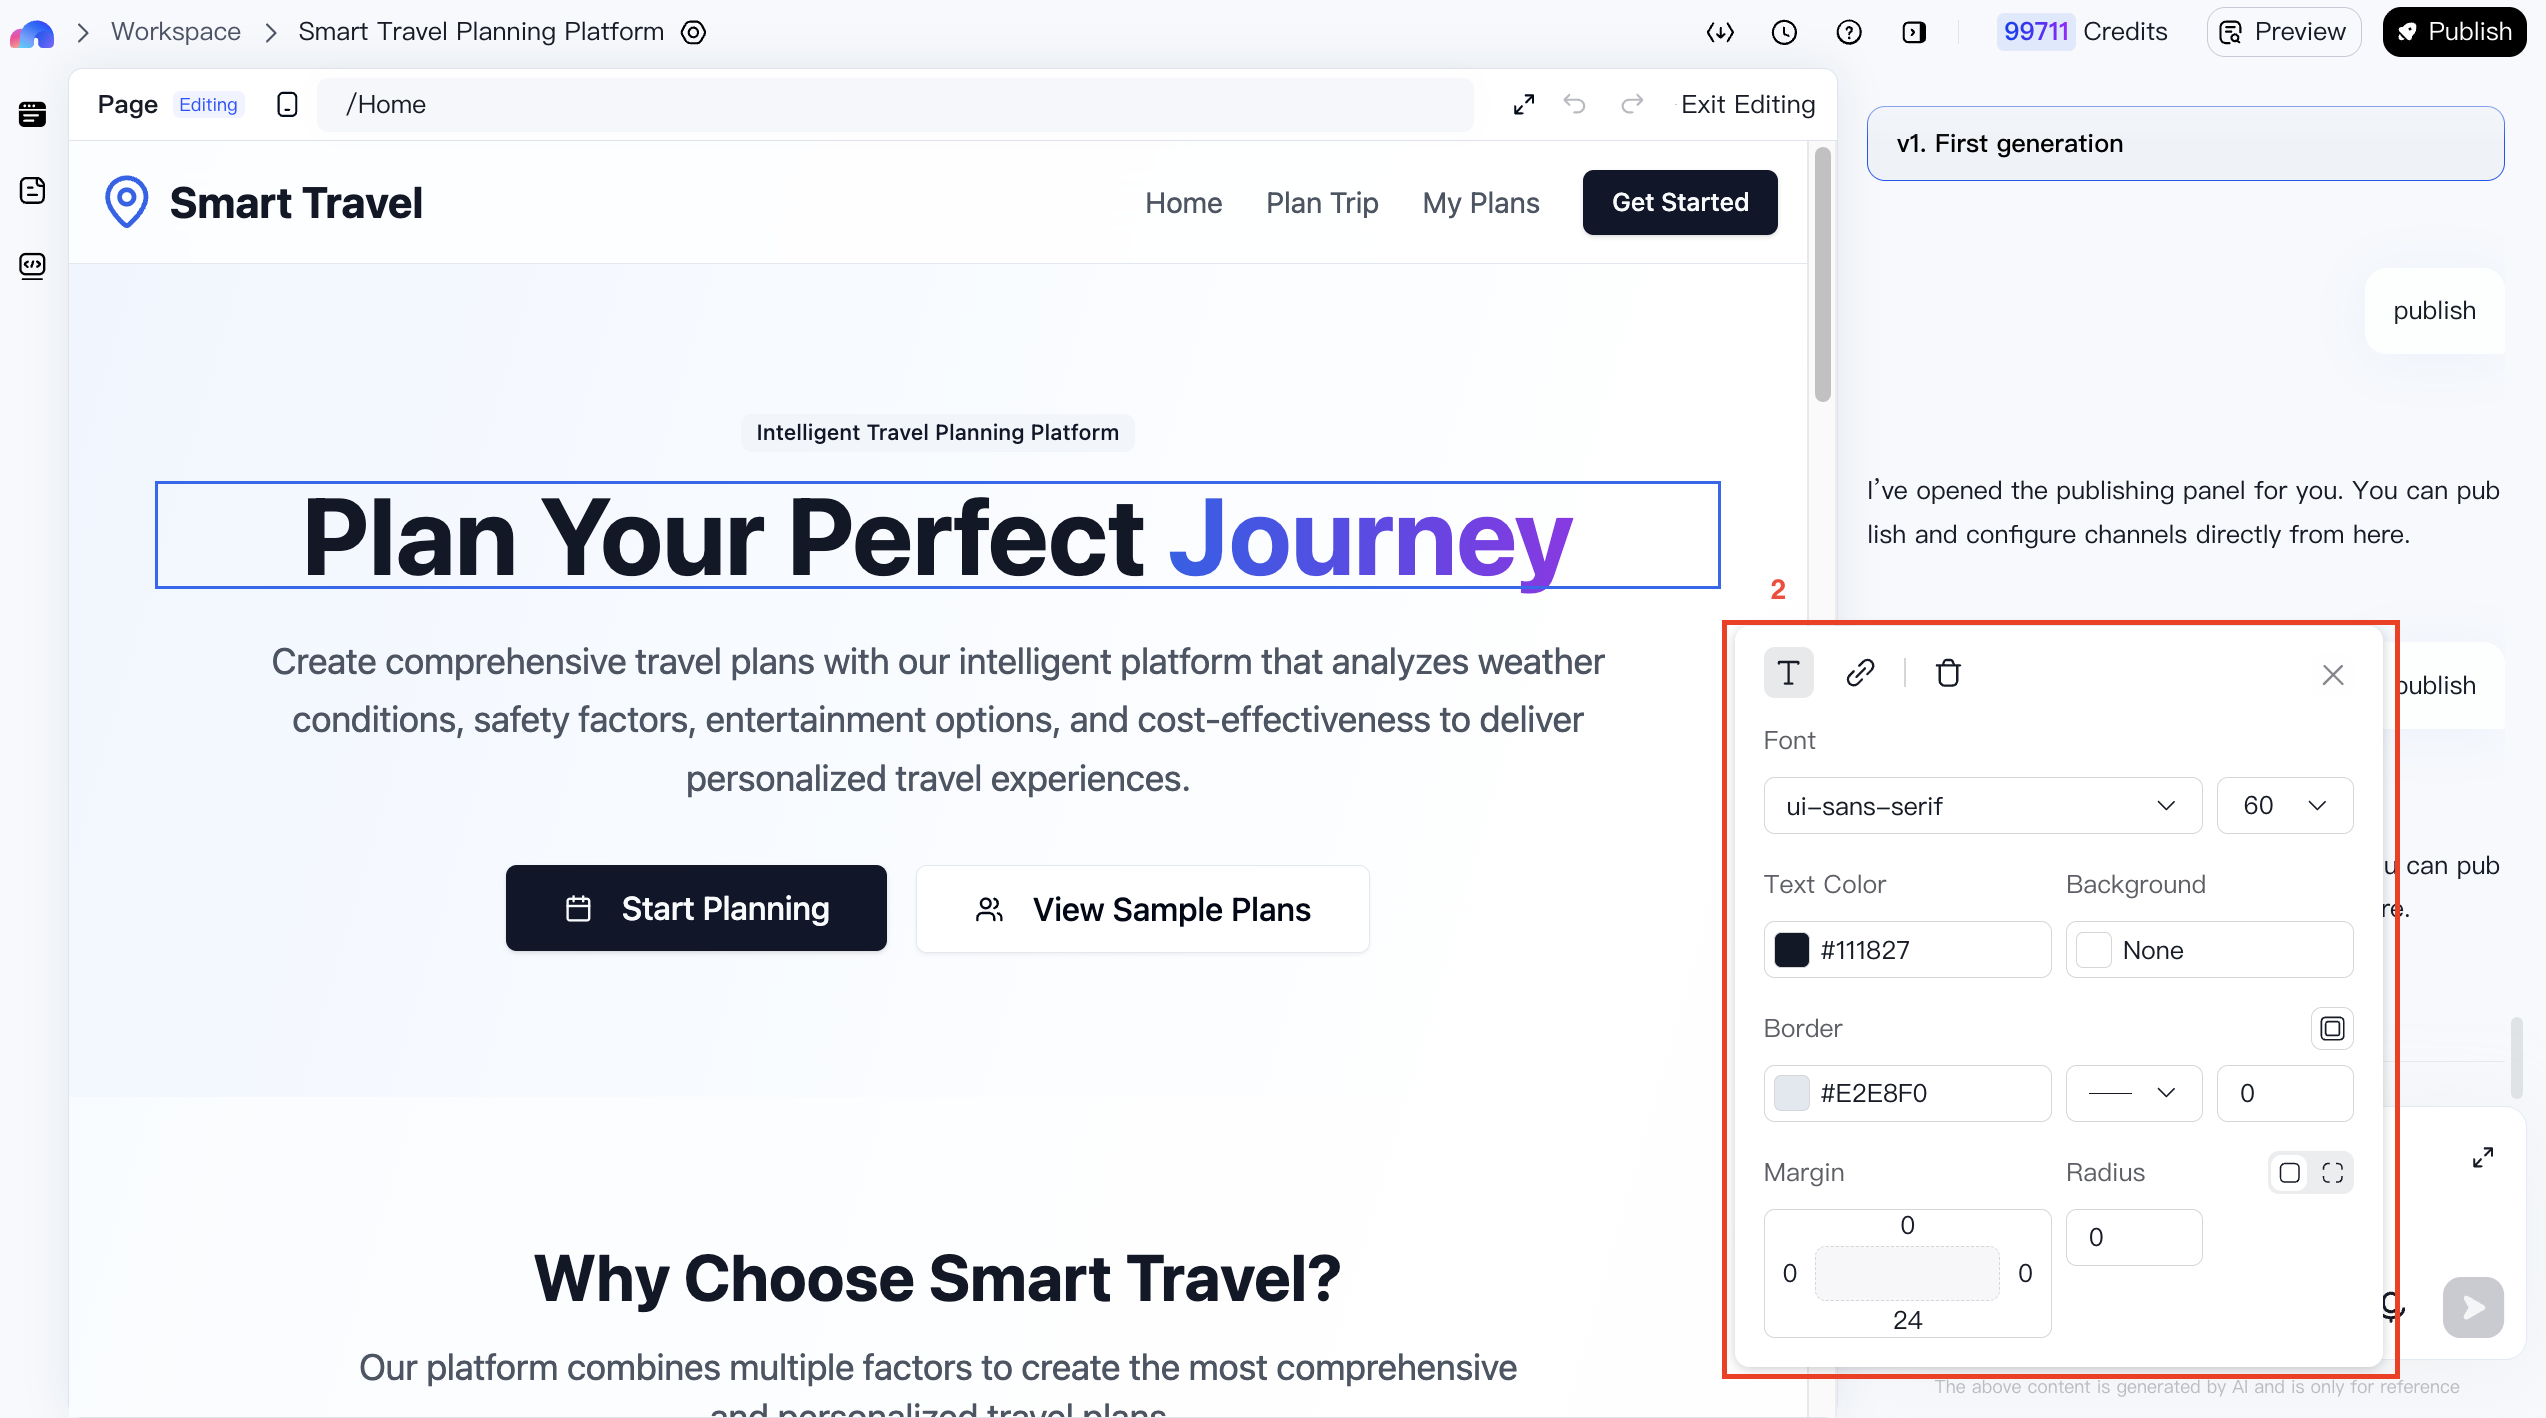
- Edit Content You can directly edit text, images, and other elements in editing mode.
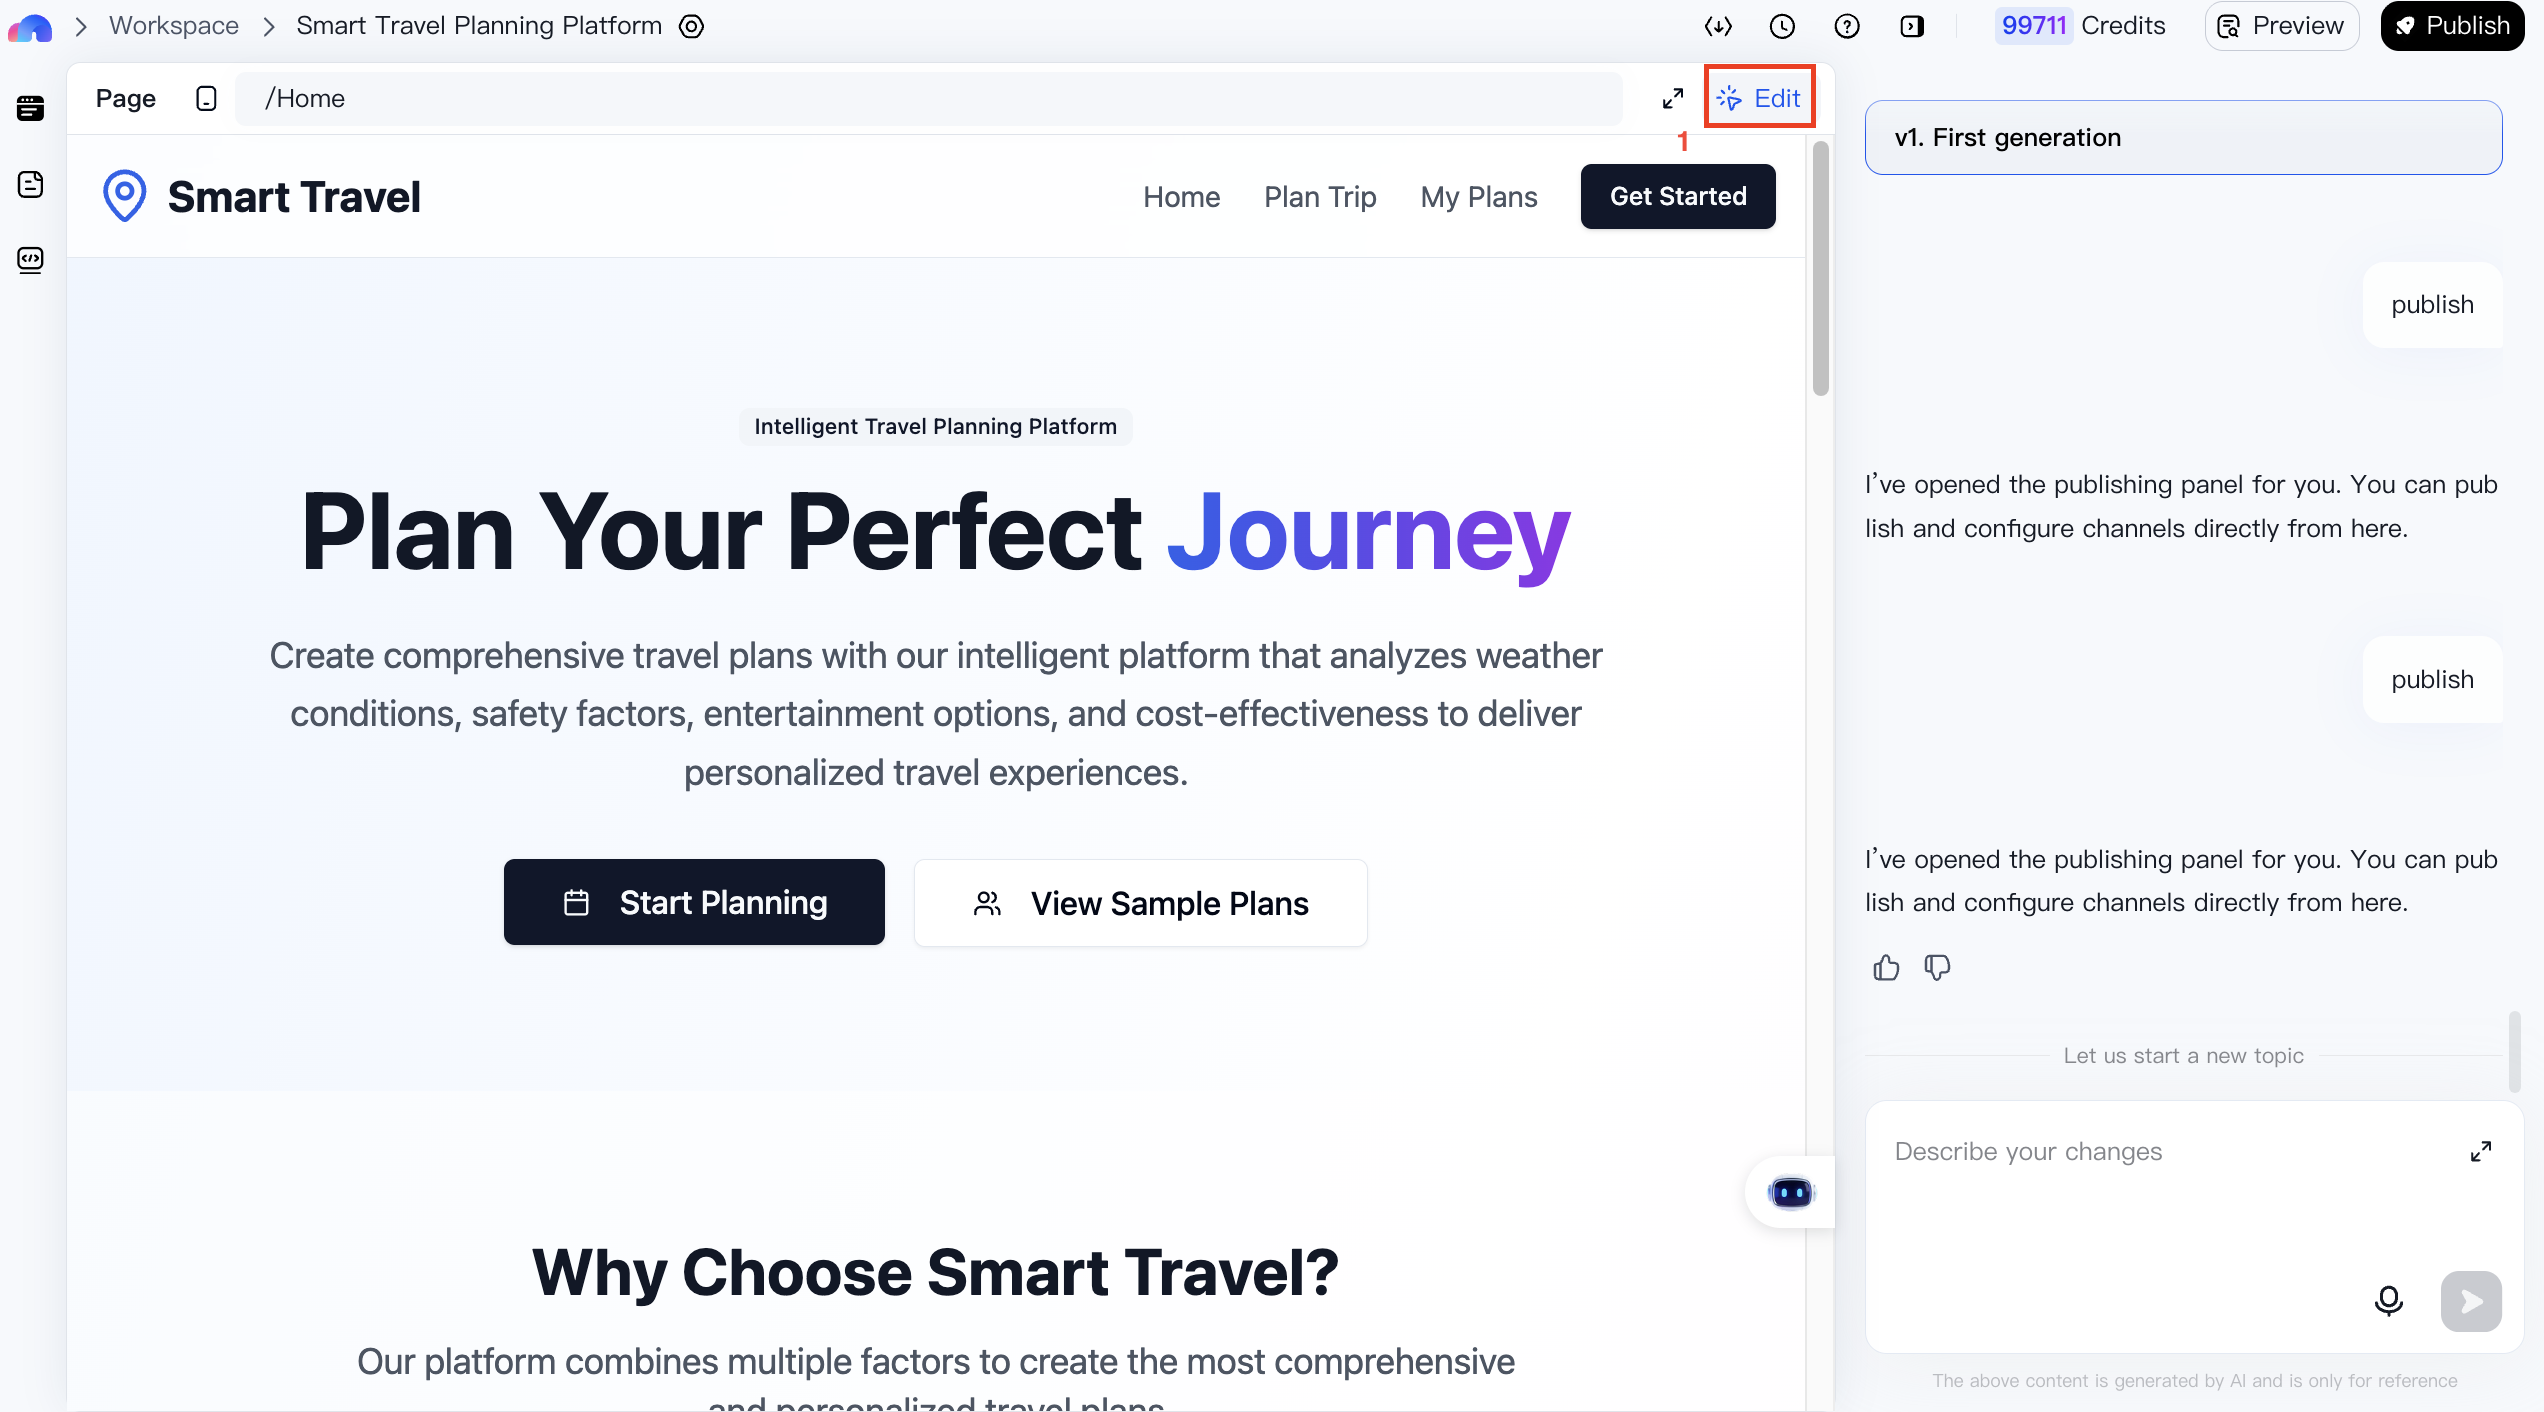
You can also switch between pages to make edits. (Note: detail pages are not yet editable.)

Step IV: Preview Your Application
For apps with backend functionality, MeDo generates both frontend pages and an admin backend. You can preview both before publishing.
Step V: Publish Your Application
Publishing deploys your application to the production environment, making it accessible to external users.
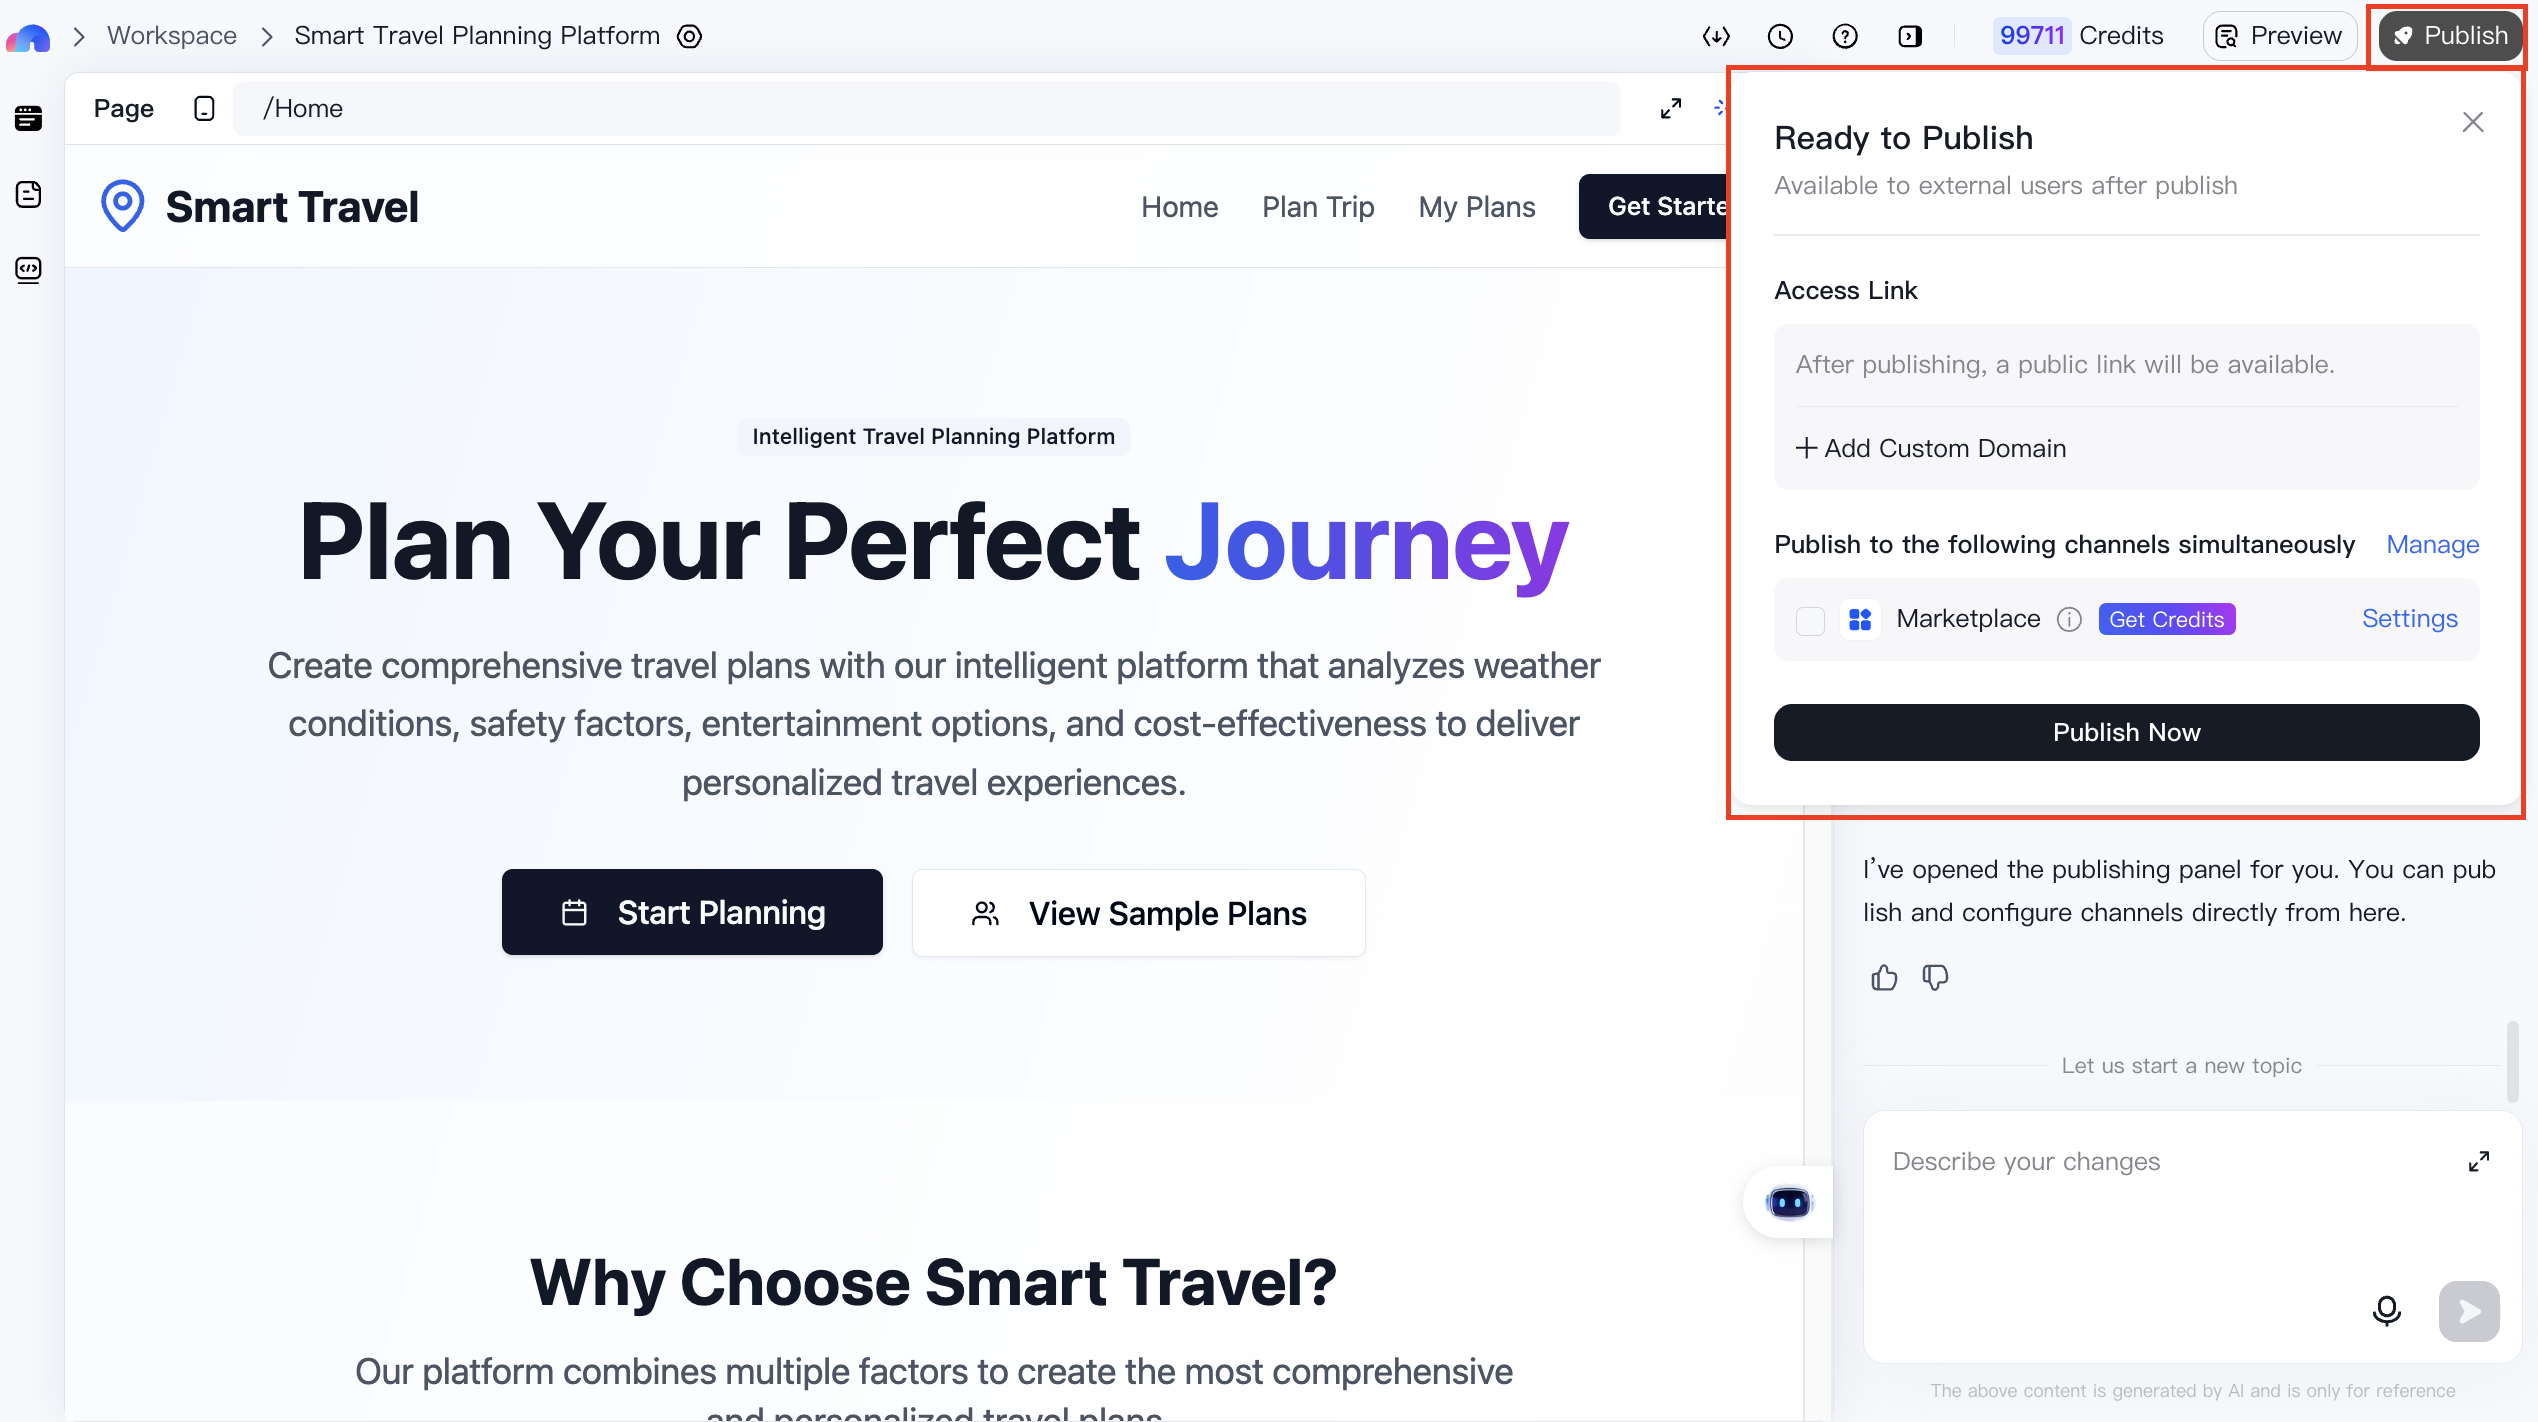
Once published, your application will remain available online, allowing others to access it continuously.