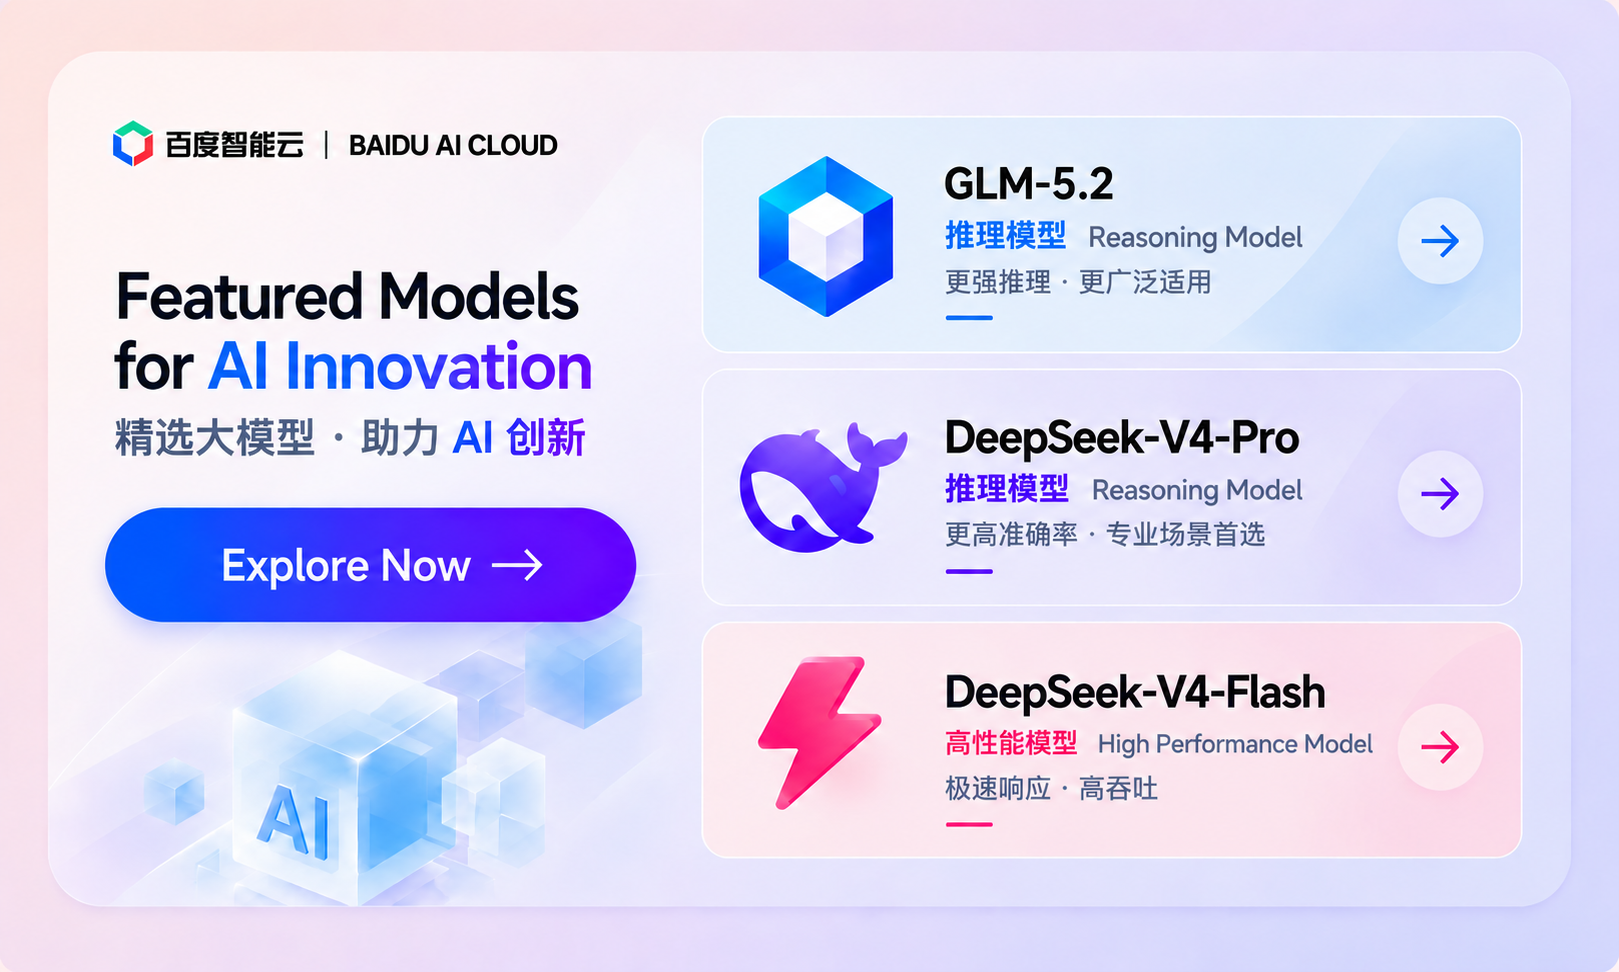
Zero-Configuration Integration: 3-Step Guide to Connect AI Coding Tools with DeepSeek-V4-Flash Model
Learn how to seamlessly integrate DeepSeek-V4-Flash with your AI coding assistant using a proxy-based approach that requires zero code modification. This guide covers model access credential setup, proxy deployment, and tool configuration with security best practices.
Technical Context and Core Value
Developers face challenges like high model switching costs and complex configurations in AI-assisted programming. DeepSeek-V4-Flash, a high-performance inference model, would traditionally require code-level modifications for integration - increasing technical debt and maintenance overhead. Our solution implements proxy abstraction layer technology to achieve:
- Zero Code Intrusion: No modifications to IDE source code or config files needed
- Transparent Model Switching: Maintain existing UI while routing requests through proxy
- Security Isolation: Physical separation of API credentials from development environment
Ideal use cases include:
- Rapid model performance validation
- Multi-model comparative testing
- Enterprise-grade security compliance requirements
Prerequisites
Technical Requirements
- AI coding assistant (v2023.12 or later)
- Basic knowledge of network proxy configuration
- Stable internet connection (≥50Mbps recommended)
Recommended Tool
The cc-switch proxy (MIT License) offers:
- Dynamic model switching via config files
- Comprehensive API call logging
- Real-time traffic monitoring
Implementation Guide
Step 1: Obtain Model Credentials
- Access model service console
- Navigate to
API Management→Key Generation - Create new key with
Programming Assistancescope - Copy 32-character key (format:
sk-xxxxxxxxxxxxxxxxxxxxxxxxxxxxxxxx)
Security Recommendations:
- Set key permissions to read-only
- Enable IP whitelisting (127.0.0.1 recommended)
- Rotate keys every 90 days
Step 2: Deploy Proxy Layer
- Download proxy tool (v1.4.2 recommended)
- Extract to local directory (
~/cc-switch) Configure
config.yaml:proxy:port: 8080timeout: 30models:default: deepseek-v4-flashendpoints:deepseek-v4-flash:api_key: "sk-xxxxxxxxxxxxxxxxxxxxxxxxxxxxxxxx"base_url: "https://api.model-service.com/v1"
Start service:
cd ~/cc-switch./cc-switch --config config.yaml
Verification:
curl -X POST http://localhost:8080/health# Expected response: {"status":"ok","version":"1.4.2"}
Step 3: Configure IDE
- Open settings (
Ctrl+,) - Navigate to
Network Proxysection - Set HTTP proxy to
127.0.0.1:8080 - Select
Custom Modelin model picker - Restart IDE to apply changes
Troubleshooting:
- Connection timeout: Check firewall rules for port 8080
- 401 errors: Verify API key formatting
- Model not visible: Clear IDE cache and retry
Validation and Debugging
Basic Test
Verify integration with Python:
import requestsheaders = {"Content-Type": "application/json","Authorization": "Bearer dummy-token" # Proxy handles authentication}data = {"prompt": "Implement quicksort in Python","max_tokens": 100}response = requests.post("http://localhost:8080/v1/completions",headers=headers,json=data)print(response.json()["choices"][0]["text"])
Advanced Debugging
- Request Tracing: Enable
debug_mode: truein config - Performance Metrics: Access
/metricsendpoint for QPS/latency - Log Analysis: Check
logs/directory for detailed records
Production Deployment
Security Hardening
Nginx reverse proxy configuration:
server {listen 443 ssl;server_name api.your-domain.com;location / {proxy_pass http://localhost:8080;proxy_set_header Host $host;}ssl_certificate /path/to/cert.pem;ssl_certificate_key /path/to/key.pem;}
API rate limiting:
# Add to config.yamlrate_limit:enabled: truerequests_per_minute: 120
High Availability
For enterprise deployments:
- Active-standby proxy nodes
- Redis for session state management
- Docker deployment example:
FROM python:3.9-slimWORKDIR /appCOPY . .RUN pip install -r requirements.txtCMD ["gunicorn", "--bind", "0.0.0.0:8080", "app:app"]
Conclusion and Future Directions
This proxy-based architecture standardizes model integration processes. Developers can extend support to other models like GPT-4 or Llama3 by modifying configuration files. Future enhancements may include:
- Automated model performance benchmarking
- Intelligent routing based on request characteristics
- Cost monitoring and optimization modules
Stay updated with model service provider announcements, particularly API protocol changes requiring proxy adjustments. For large-scale deployments, consider implementing comprehensive AI operation systems with log analysis tools.